Individual 3D Printing
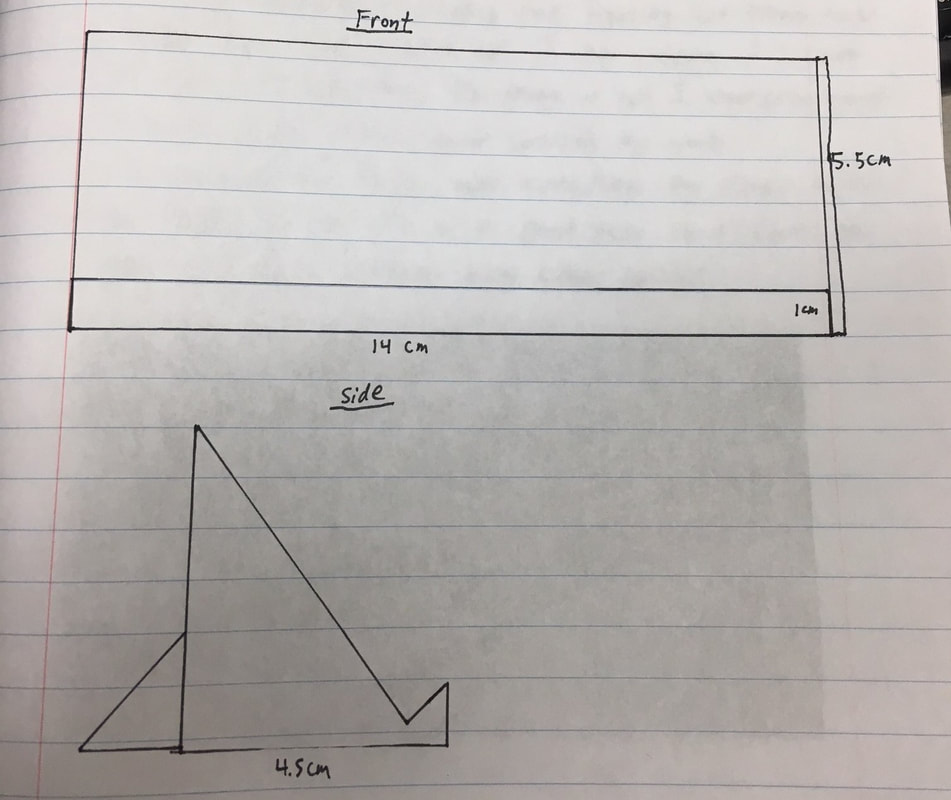
I chose to create a phone holder, because I decided that it would be the most useful item for me. I started by sketching a design in my designer notebook. I then measured approximate dimensions of my phone, so I could properly dimension the holder.
I then created my holder using the AutoDesk Inventor. I created an .stl file, then followed the basic steps of sketch, dimension, and extrude.
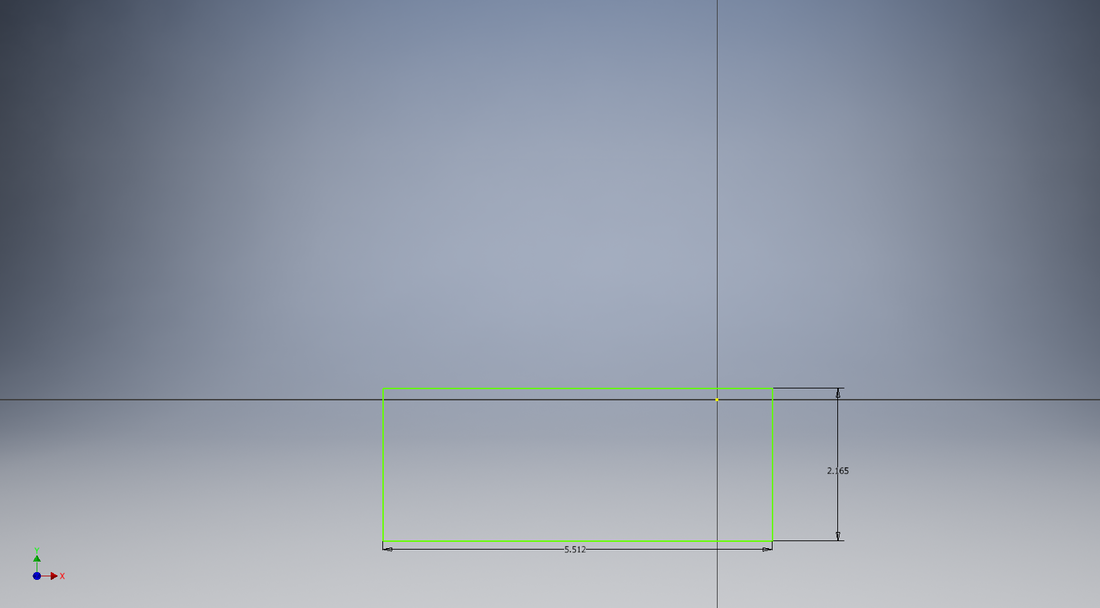
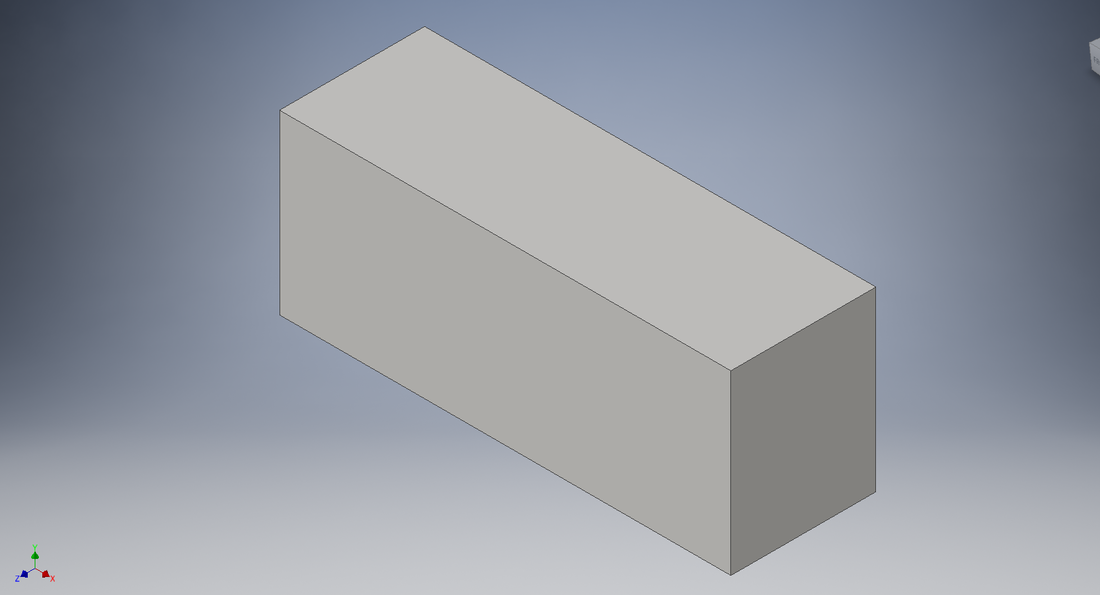
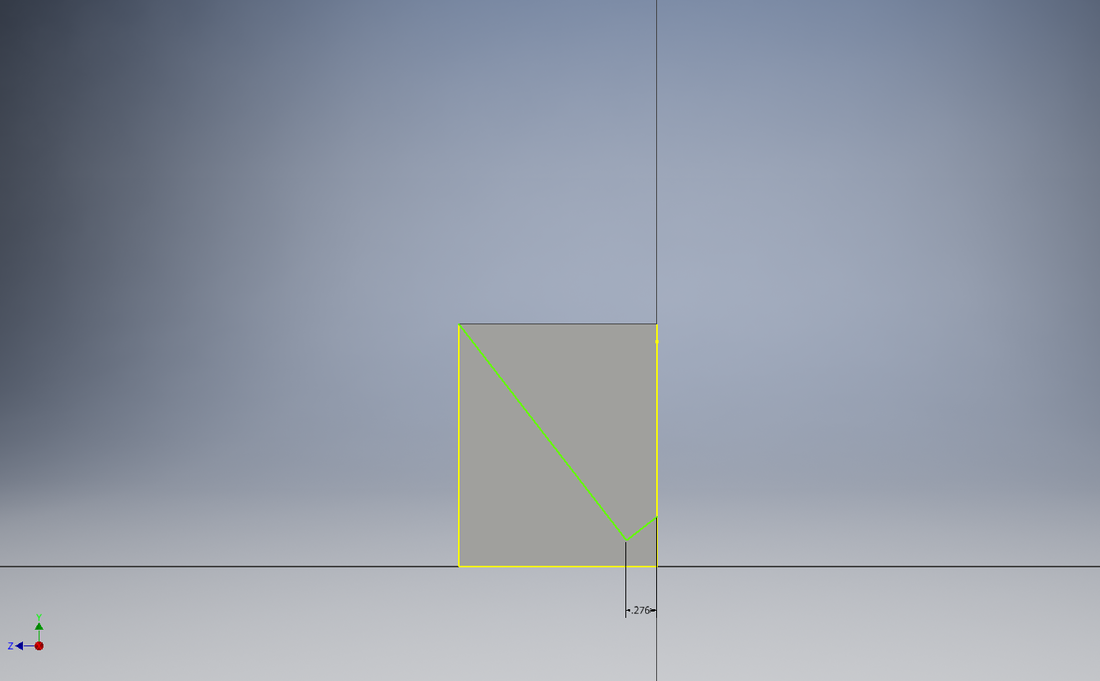
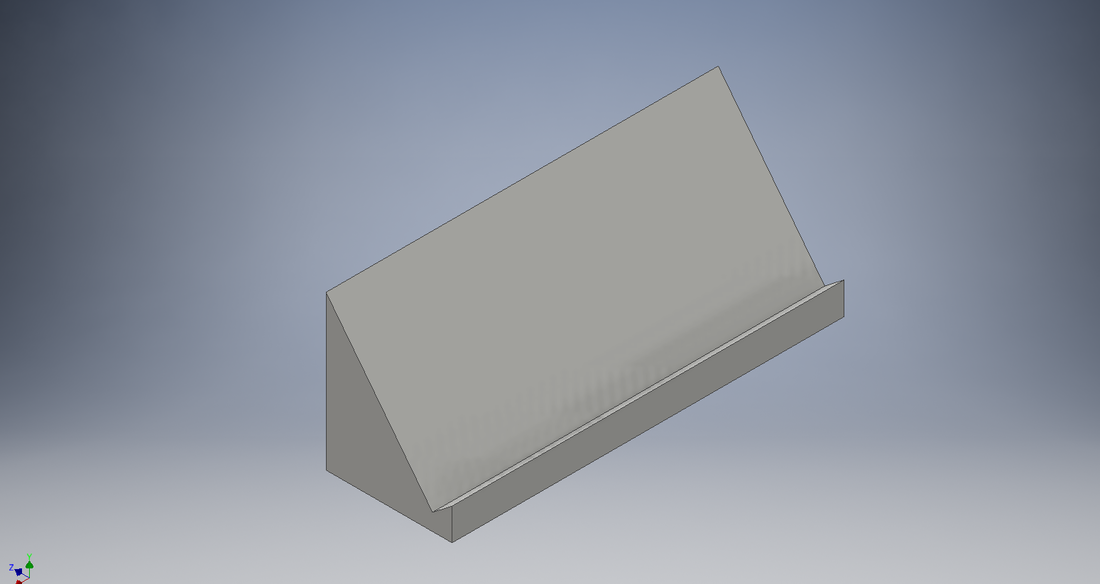
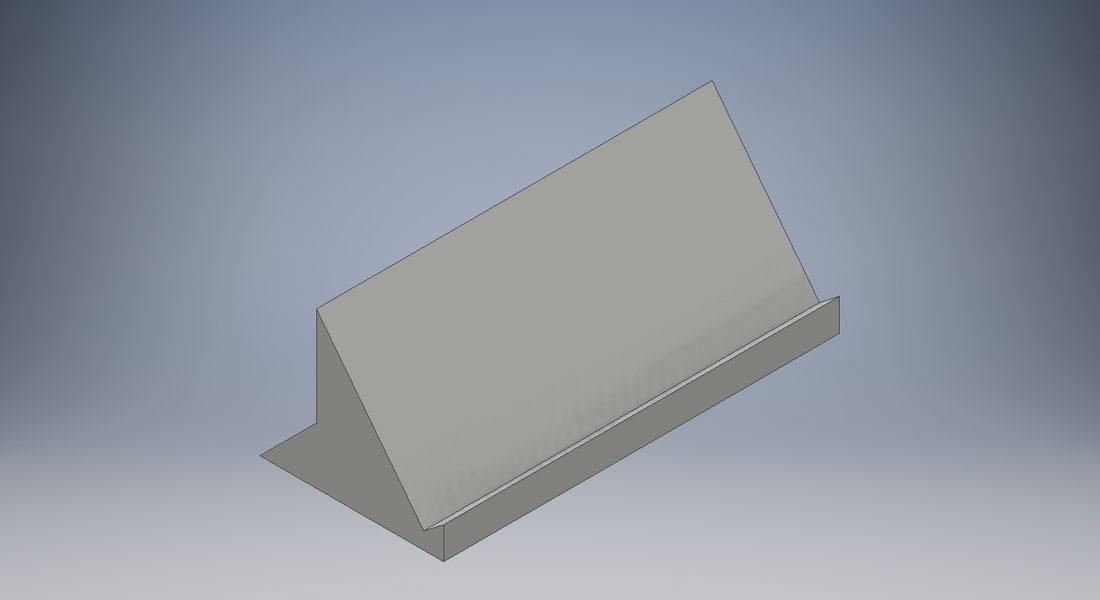
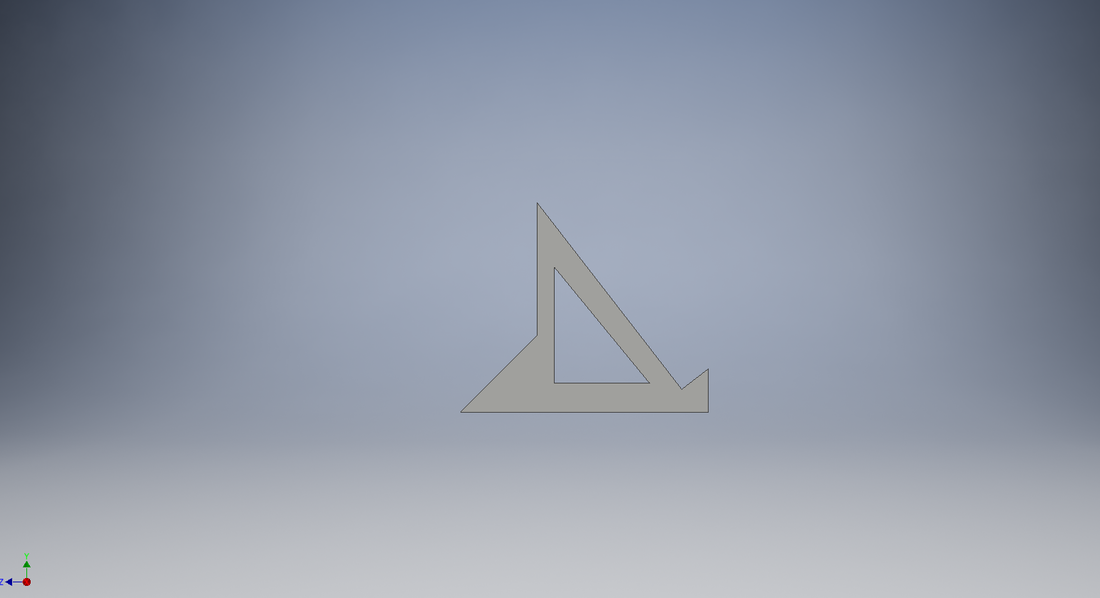
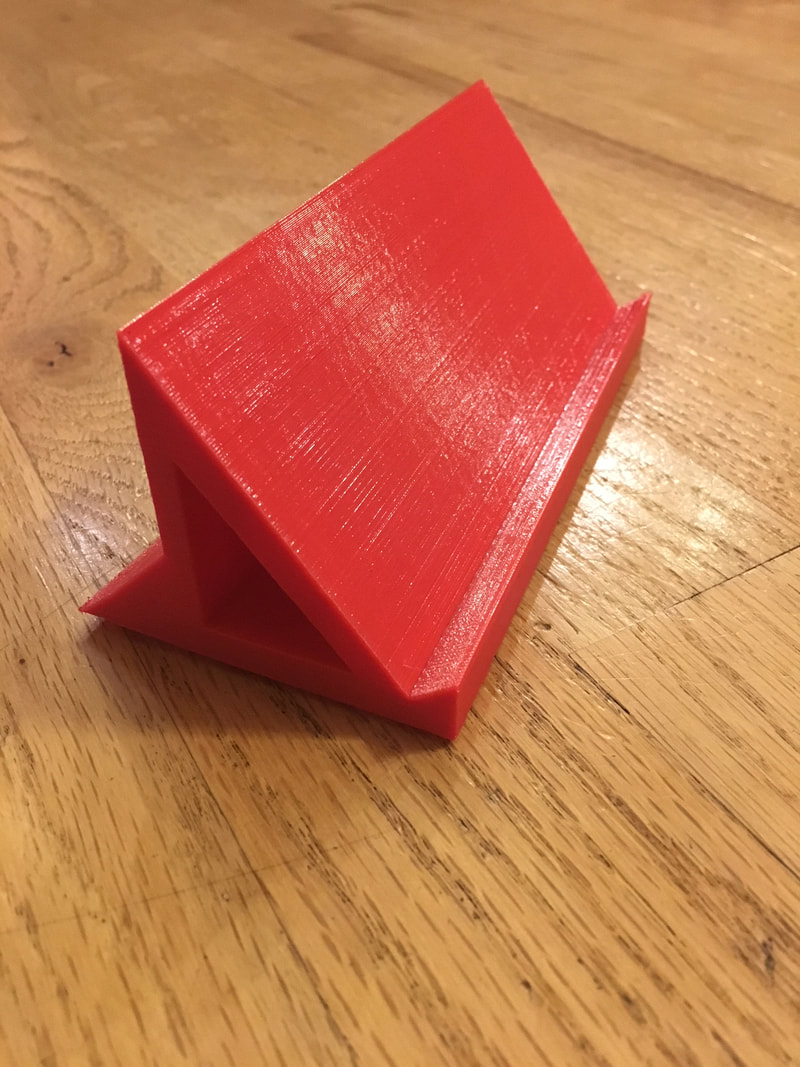
Initially, I sketched a simple rectangle. I dimensioned it using the measurements that I put in my designer notebook, then proceeded to extrude. I then sketched a check mark shape on the short end of the extruded rectangle and dimensioned it keeping in mind the thickness of my phone in its case. I reversed the extrusion: resulting in the area above the check mark to be cut out. Next, I added a back support to make sure the holder would stay upright when the phone sits on it. I did this by sketching a triangle on the short side of the object, dimensioning it to be a one inch equilateral triangle, and extruding it to the same length as the rest of the holder. The final thing that I added to the holder was a triangular hole that can be used to amplify music by putting the phone's speaker up to opening. I added the triangle on the short side and dimensioned it so that it was a quarter of an inch away from where the phone is held. I extruded it, cutting it the full length of the holder.
Initially, I sketched a simple rectangle. I dimensioned it using the measurements that I put in my designer notebook, then proceeded to extrude. I then sketched a check mark shape on the short end of the extruded rectangle and dimensioned it keeping in mind the thickness of my phone in its case. I reversed the extrusion: resulting in the area above the check mark to be cut out. Next, I added a back support to make sure the holder would stay upright when the phone sits on it. I did this by sketching a triangle on the short side of the object, dimensioning it to be a one inch equilateral triangle, and extruding it to the same length as the rest of the holder. The final thing that I added to the holder was a triangular hole that can be used to amplify music by putting the phone's speaker up to opening. I added the triangle on the short side and dimensioned it so that it was a quarter of an inch away from where the phone is held. I extruded it, cutting it the full length of the holder.
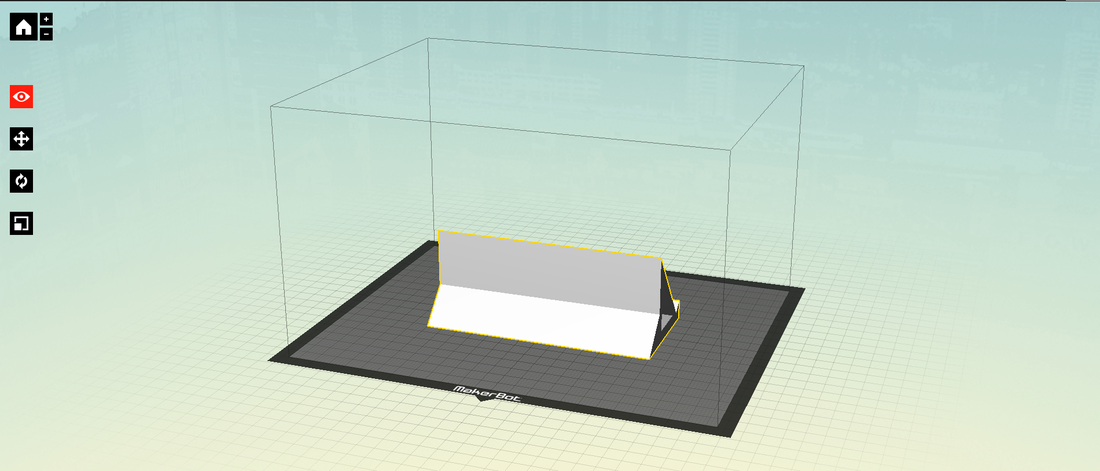
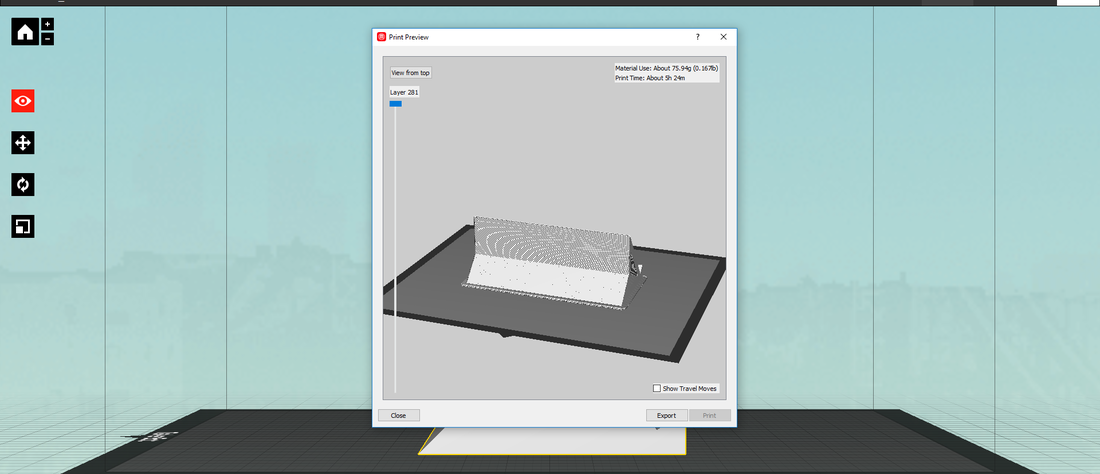
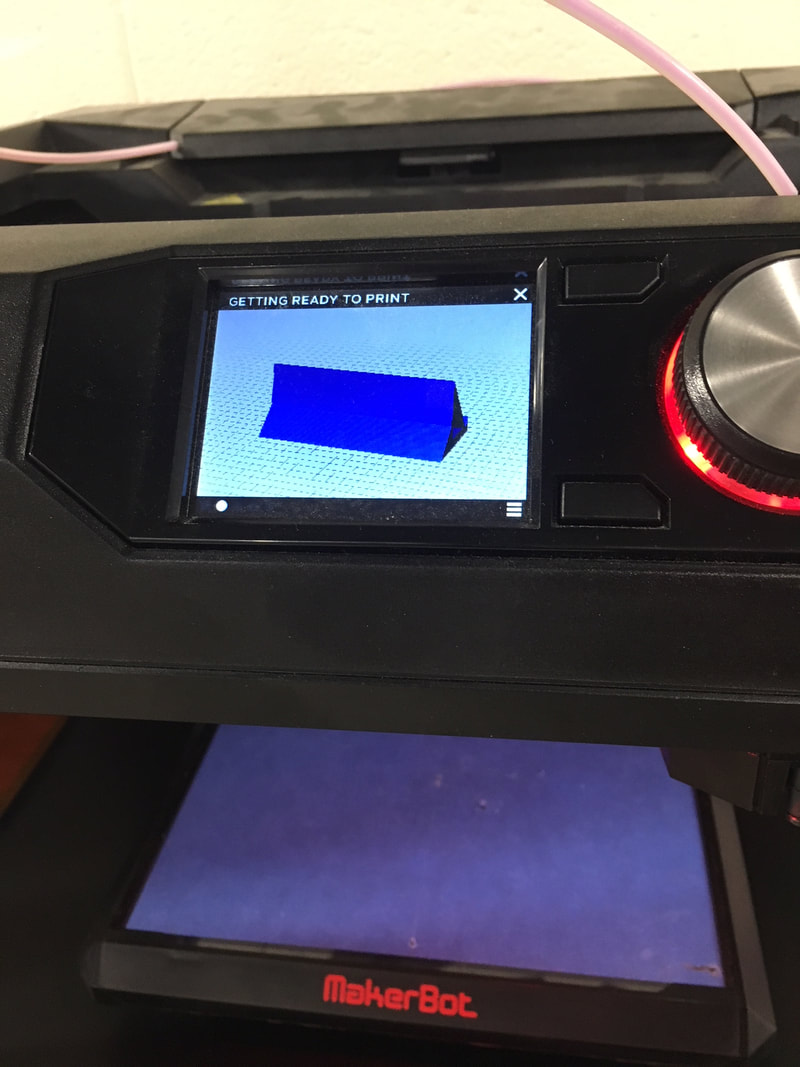
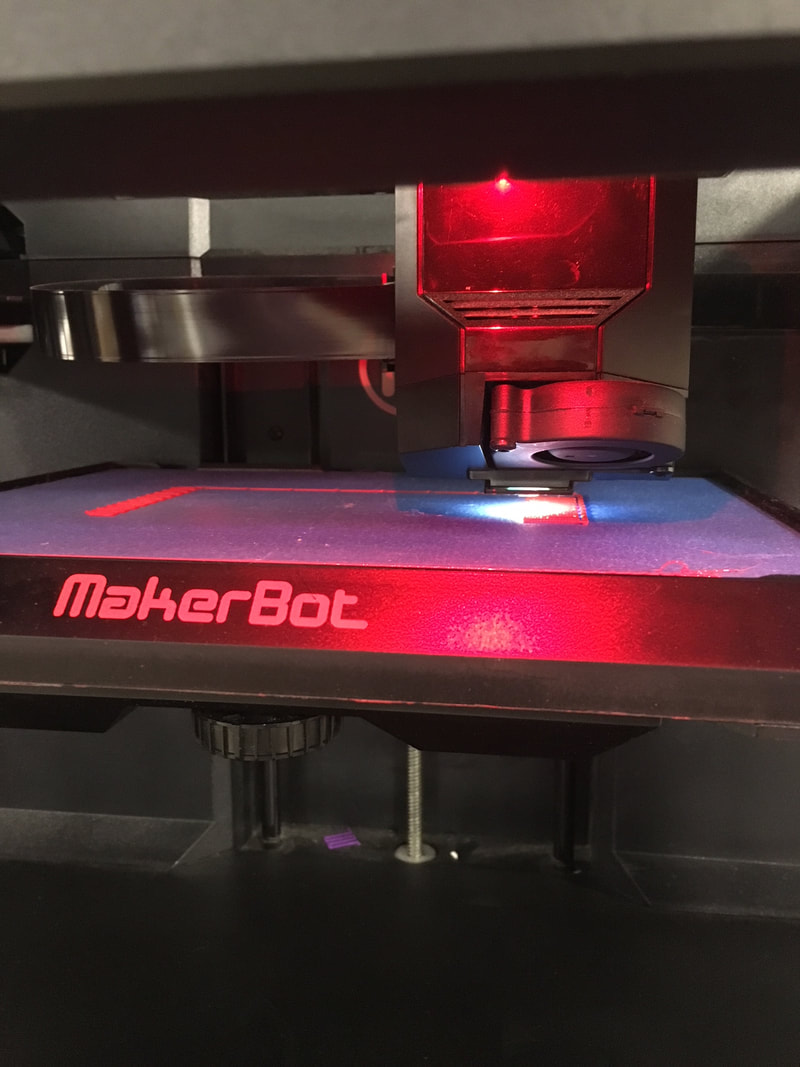
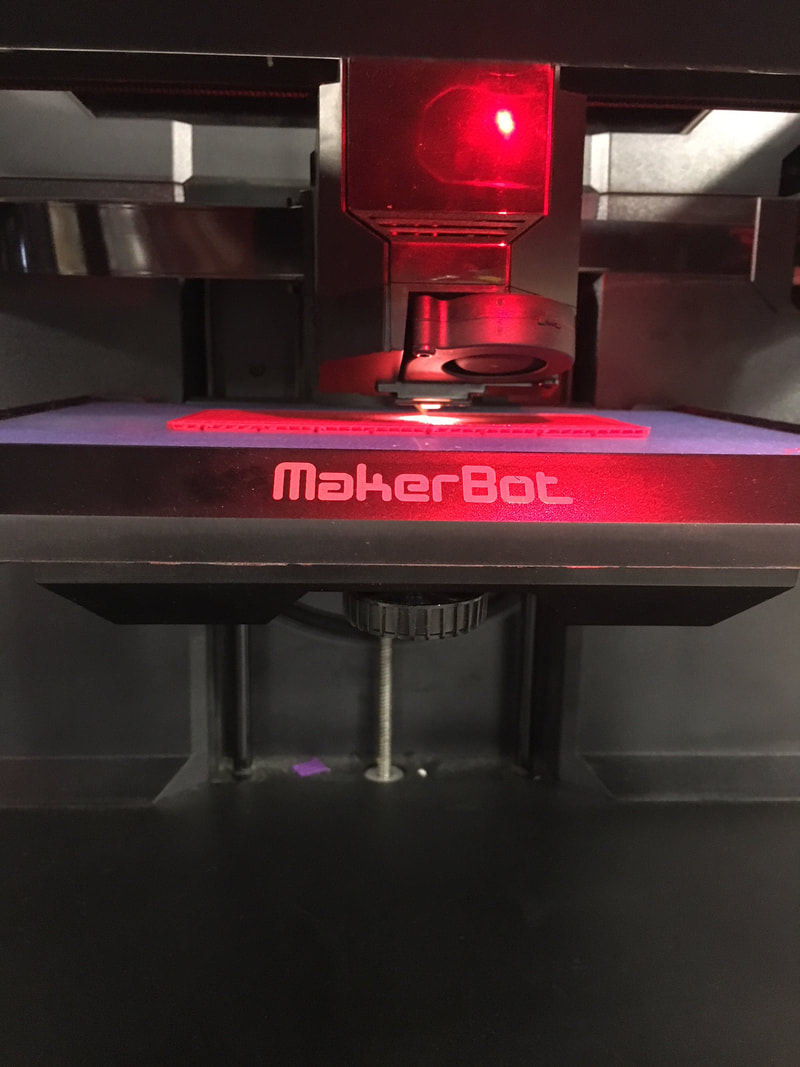
Next, I uploaded my file into the MakerBot software. I centered the holder, then scaled the dimensions to x1000. I chose to add supports and a raft to limit potential for error. I then looked at the preview screen to see how it would print and find out the time that it will take to print. Finally, I exported my file onto a flash drive then took it to the 3D printer. I changed the printer from purple to red, then proceeded to print my holder.
What did I learn?
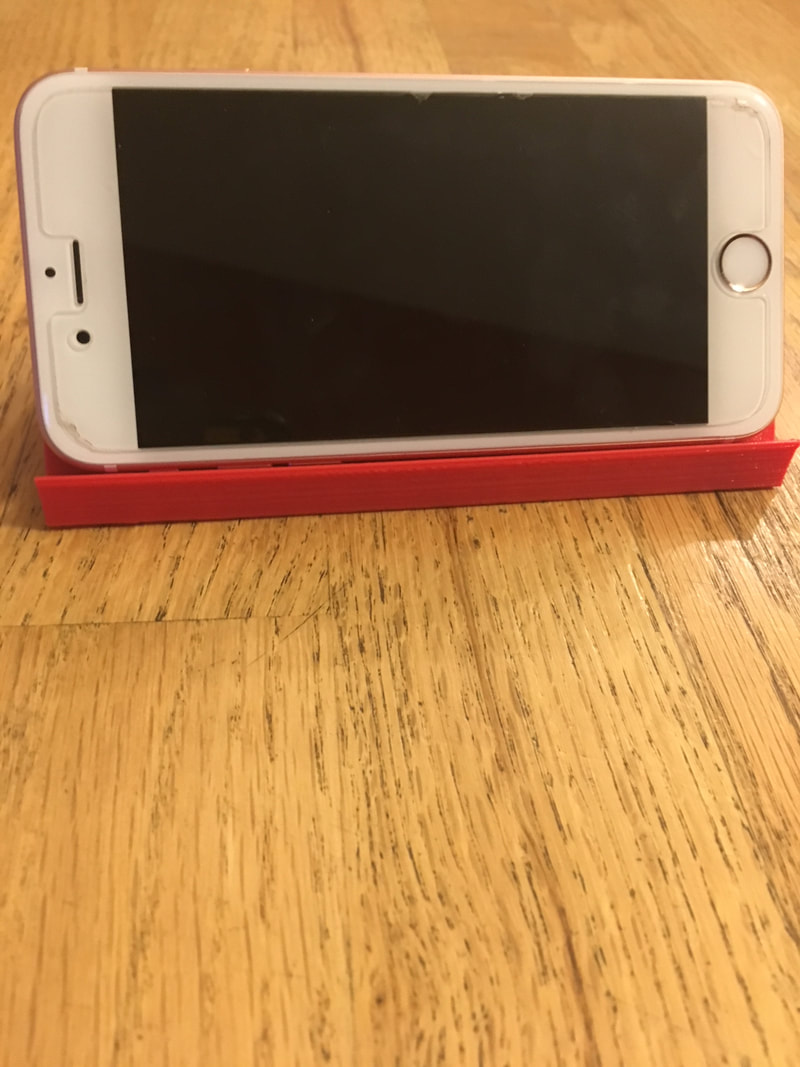
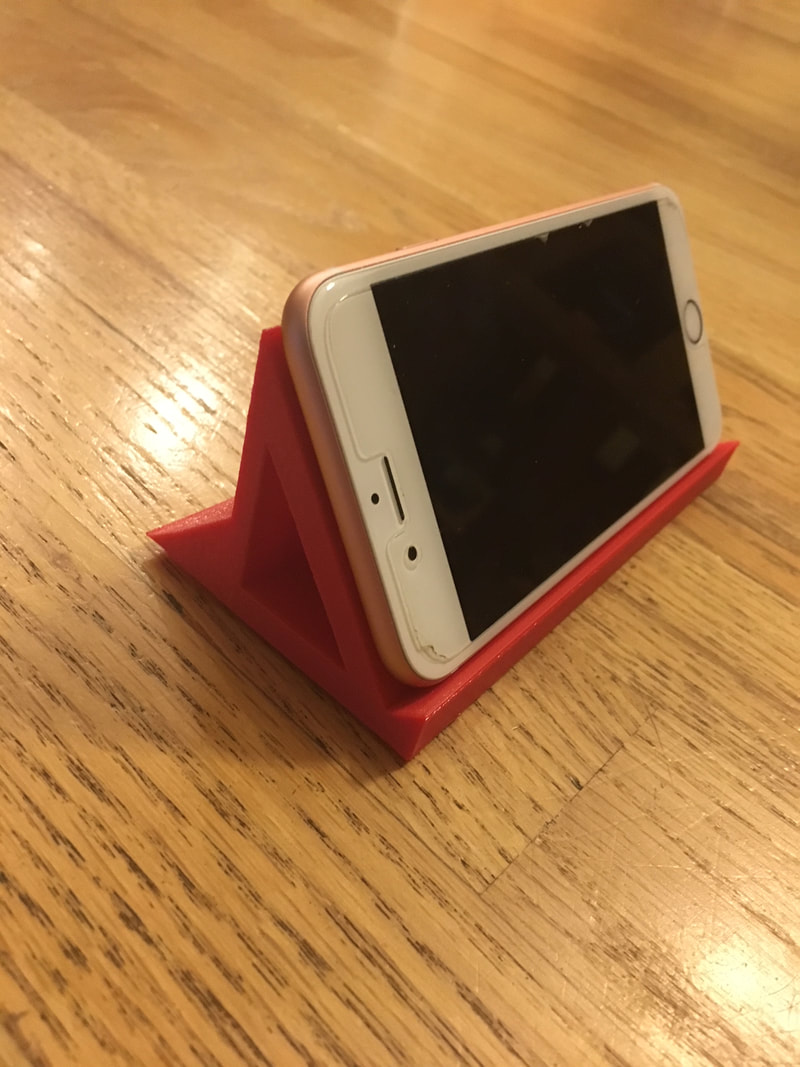
By creating the phone holder I was able to better my AutoDesk Inventor and 3D printer skills. I learned how to change the color in the printer when I changed the cartridge from purple to red. It was cool to be able to create something that I can actually use. Currently, I use the holder to hold my phone on my nightstand.
