Individual Mill Project
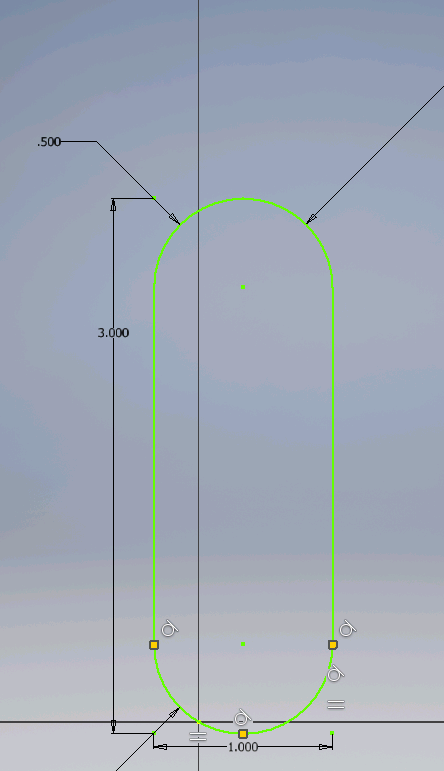
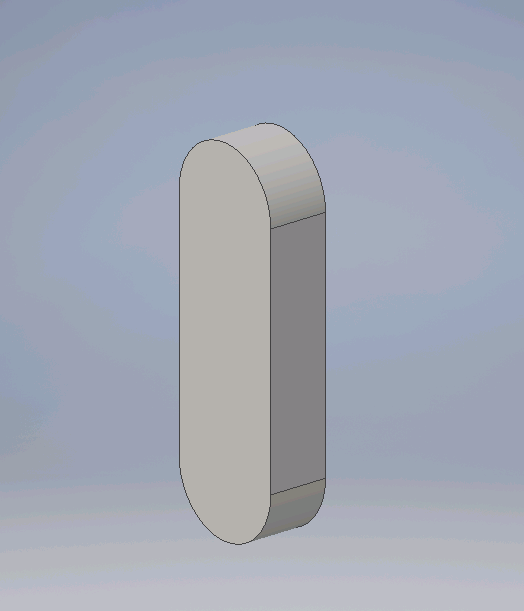
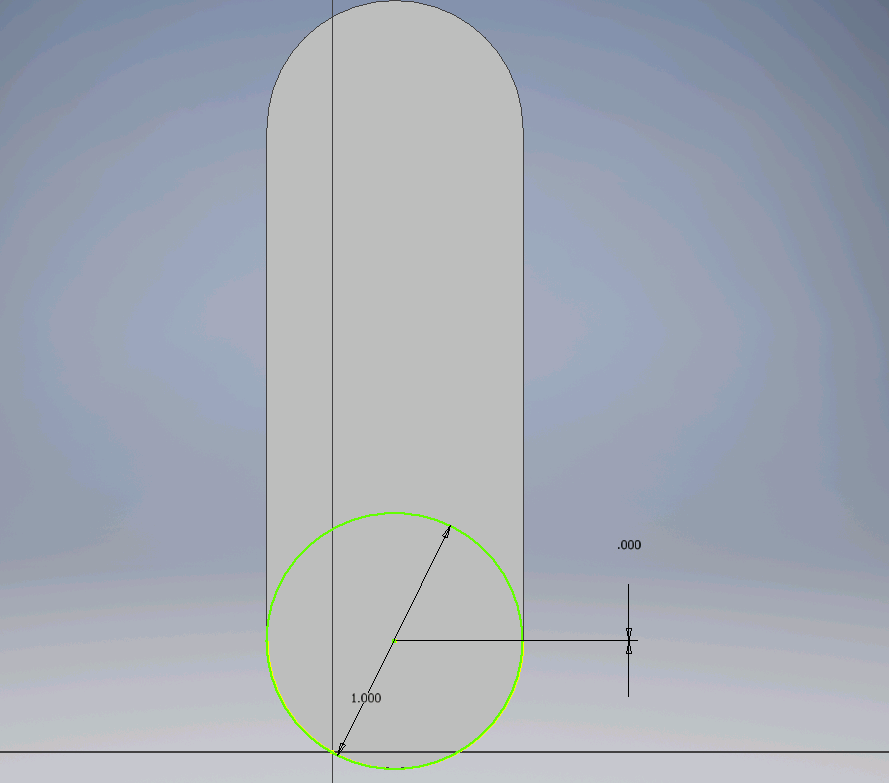
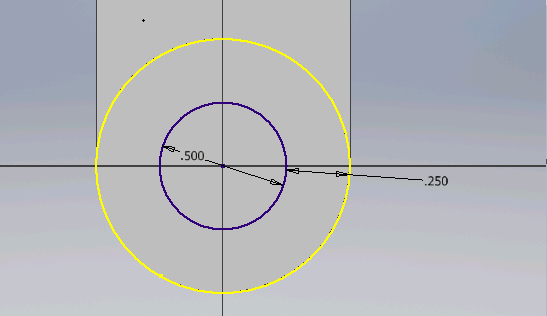
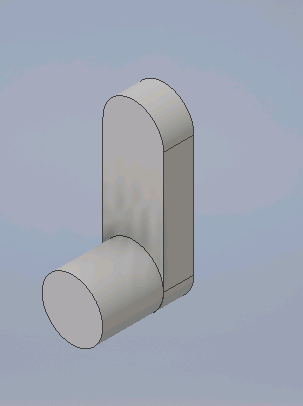
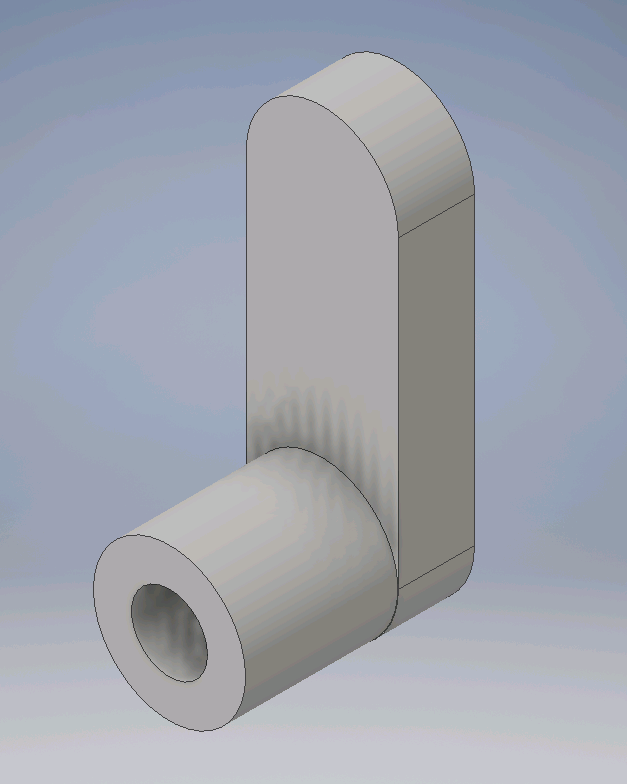
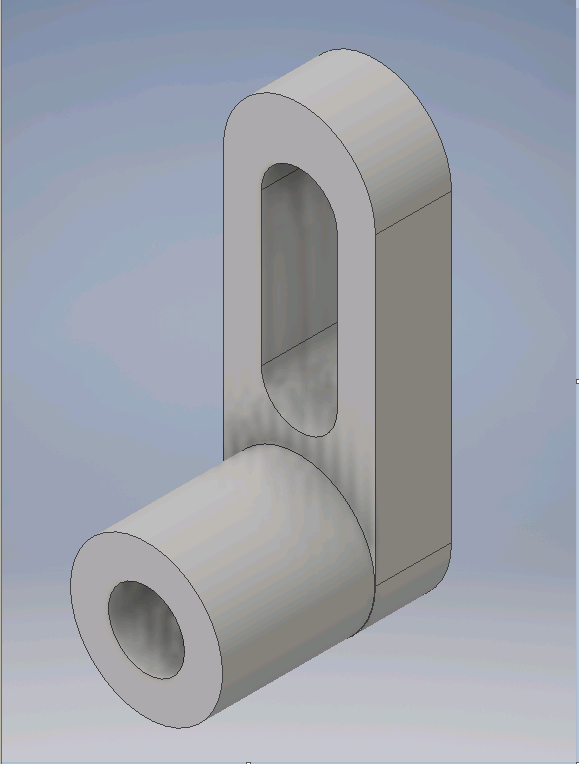
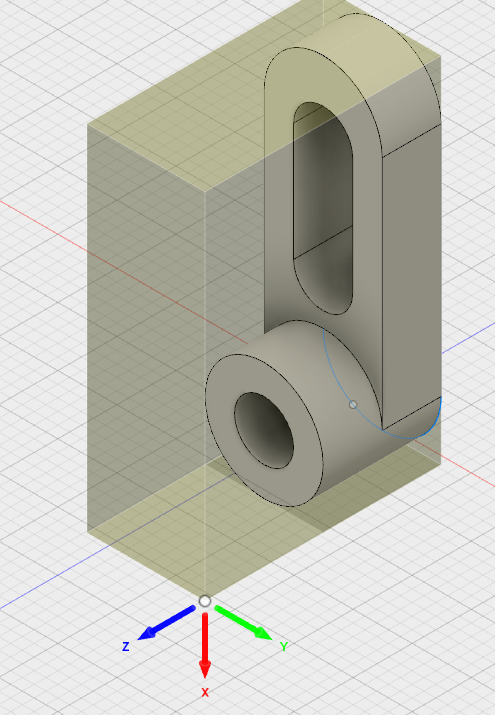
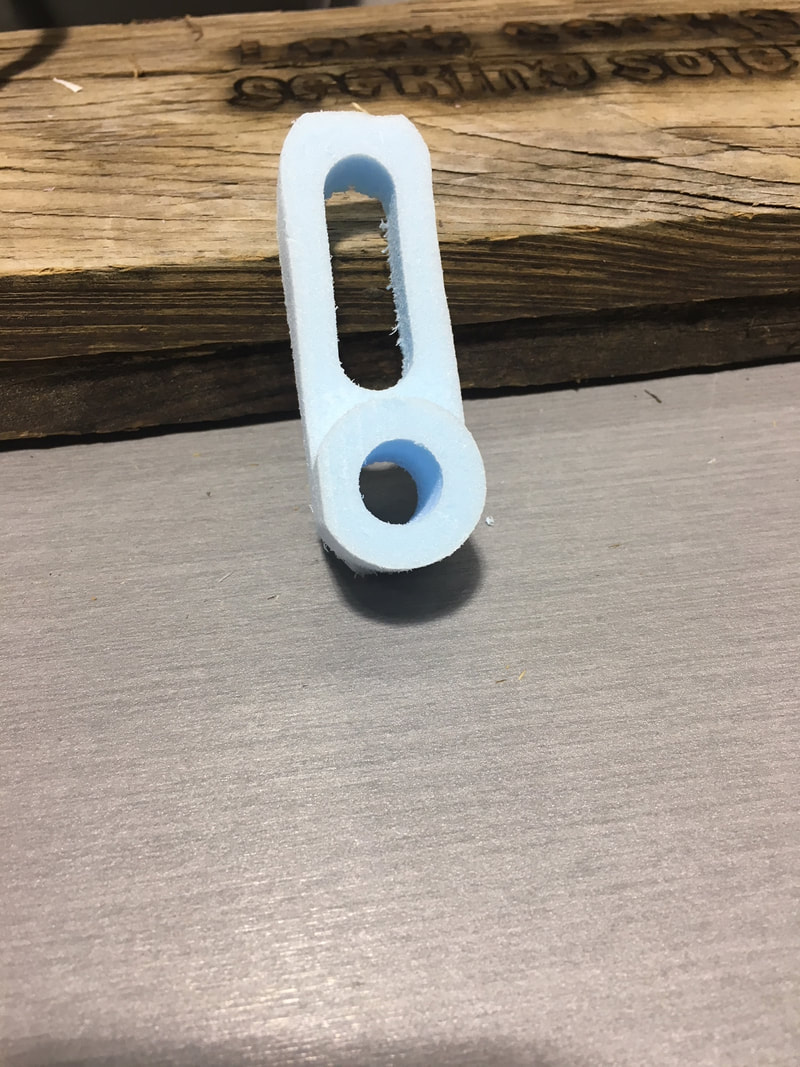
For the mill project we were given a sheet of graph paper with a "widget" drawn on it. Each grid space was equal to 0.25 inches, so I started by adding grid spaces and writing down the dimensions on the drawing. I then opened Inventor and started sketching the widget. To start, I sketched a rectangle and used the "fillet" option on each corner to round them. I extruded the sketch, then sketched a circle at the bottom of my extruded shape. I extruded the circle, then sketched out a circle in the middle of the extruded circle. I reversed the extrusion of the smaller circle to create a hole through the entire widget. Next, I added the hole on the original shape, which was a smaller version of that shape. I did this by sketching it, using the fillet option, then reversing the extrusion to create the hole.

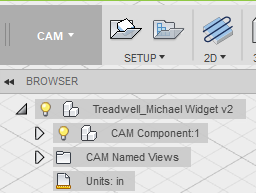
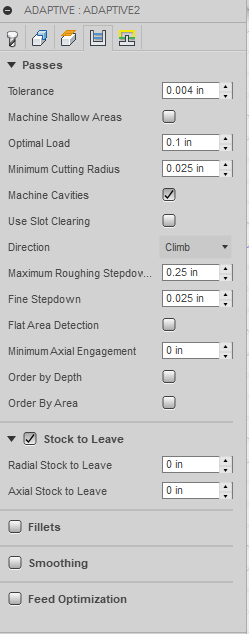
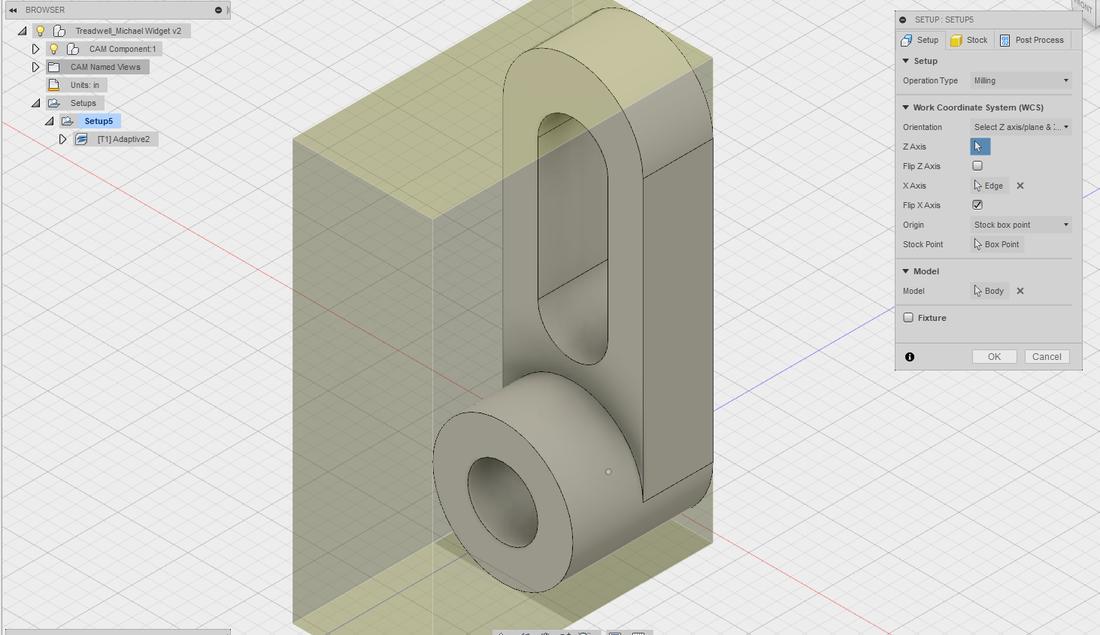
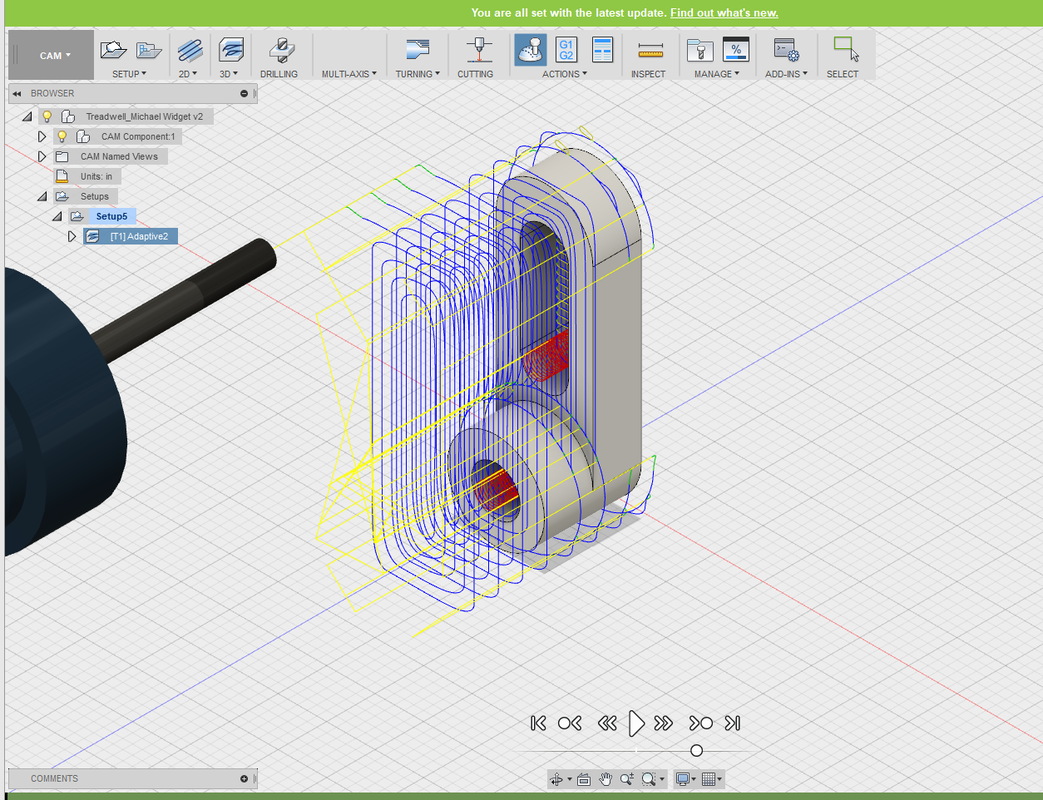
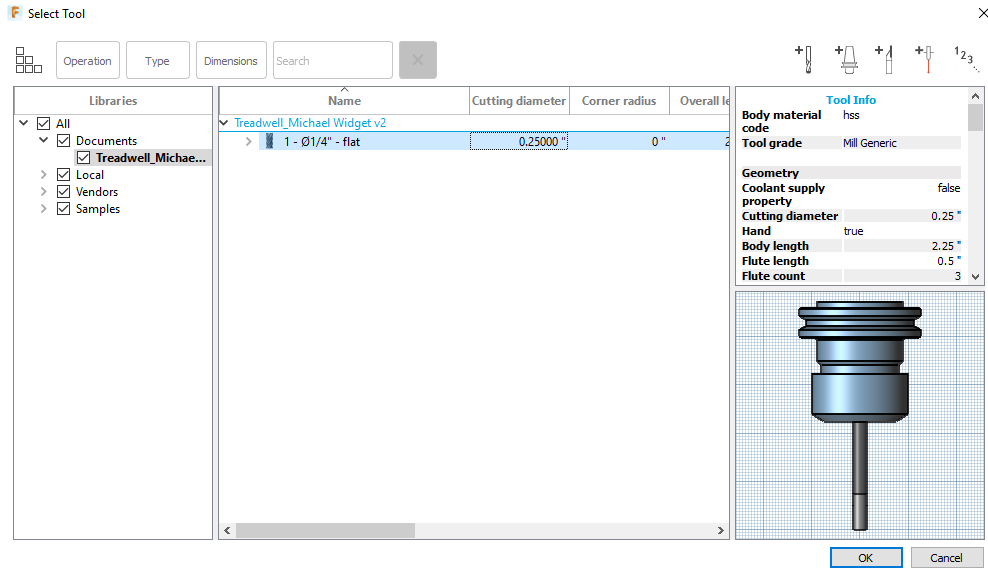
Next, I uploaded the widget into Fusion 360. I first had to change the mode to CAM and the units from millimeters to inches. I then had to set up the axes. I set up a stock box point on one of the top (left face in pictures) corners and messed with the settings until the z faced up, y faced the short side, and x was along the long side. I then set up a 3D Adaptive Clearing. I first set up the tool, selecting a 0.25 inch flat end mill tool with a body length of 2.25 inches. I then adjusted some settings so that the widget would be milled out more accurately. I changed the maximum roughing step down and stock to leave. Next, I ran a simulation to ensure that the process would run smoothly and correctly. After successfully running my simulation, I selected the "Actions" button, Post Process, and "tormachpathpilot." I then posted and saved the new G-Code to my H drive and flash drive.
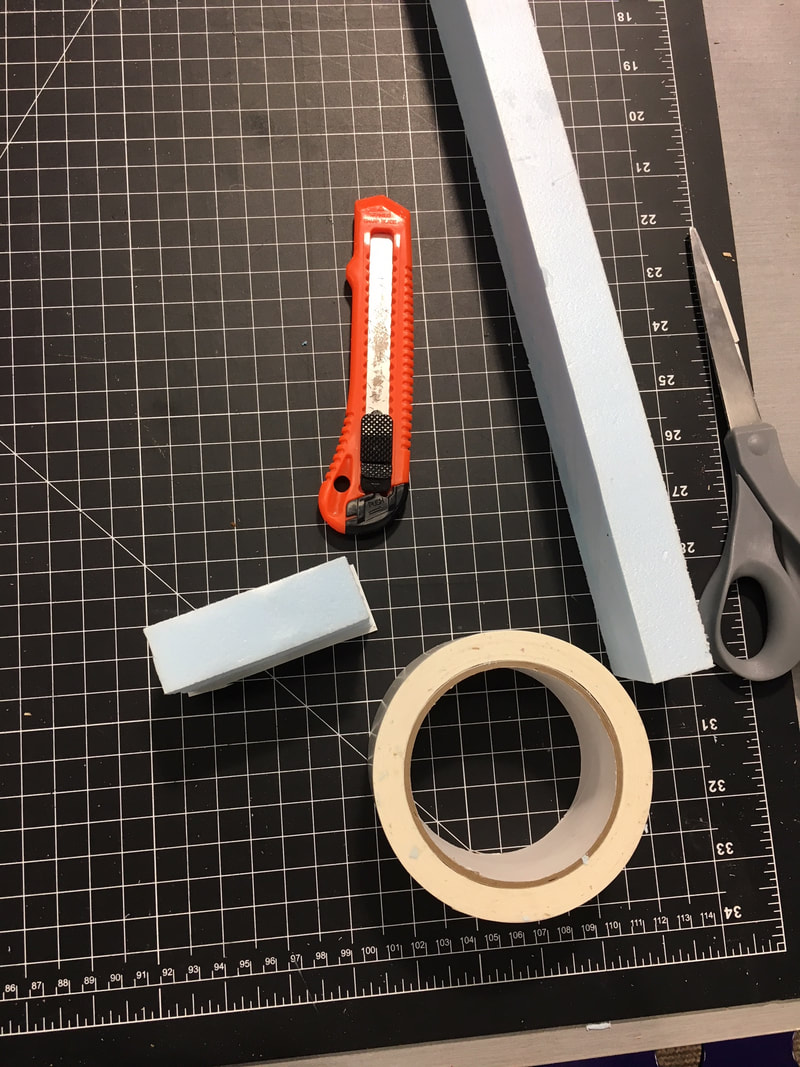
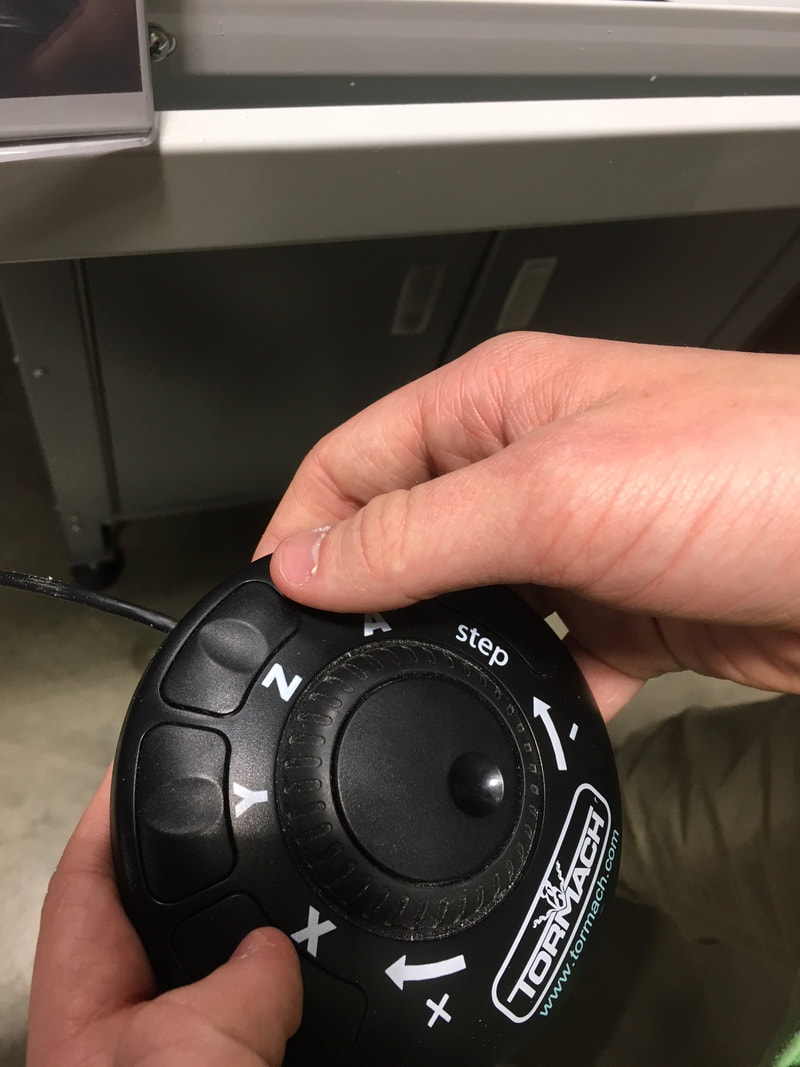
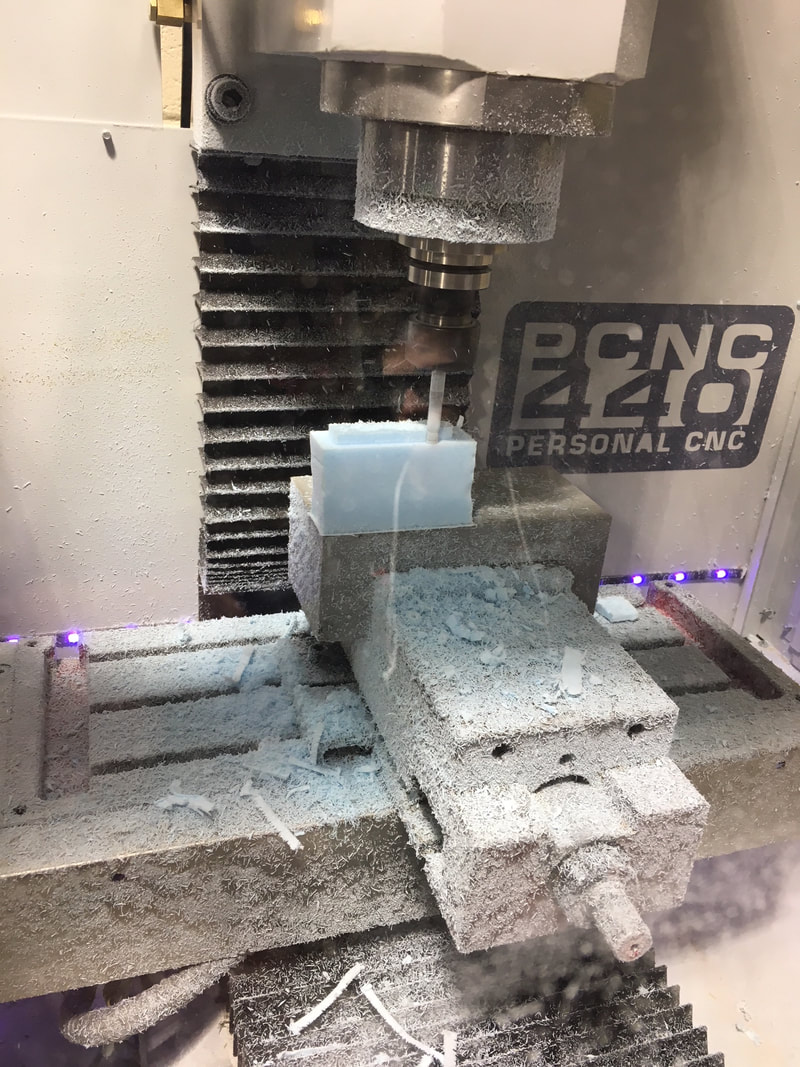
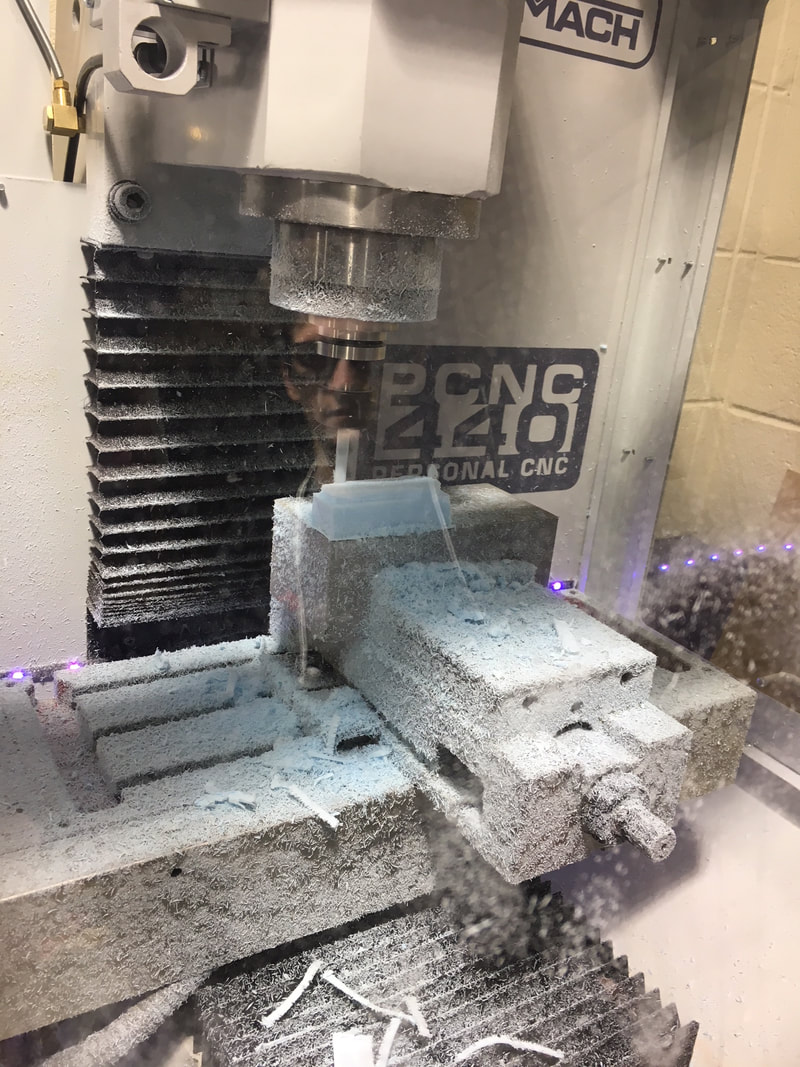
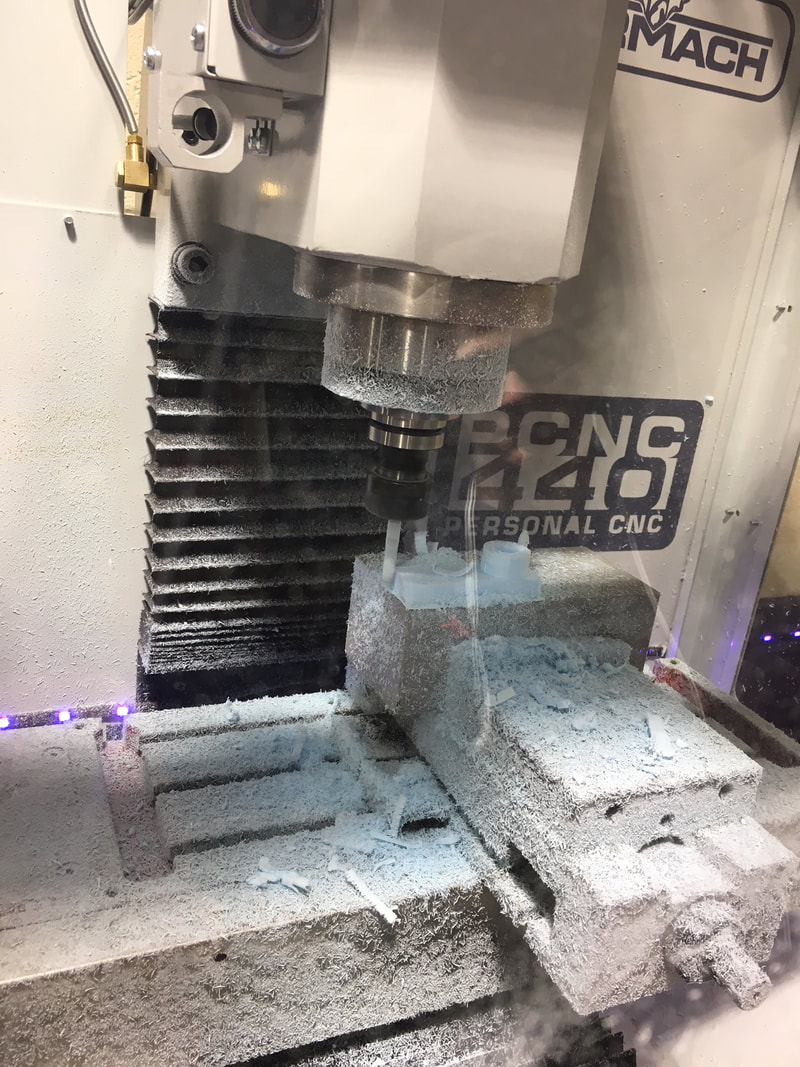
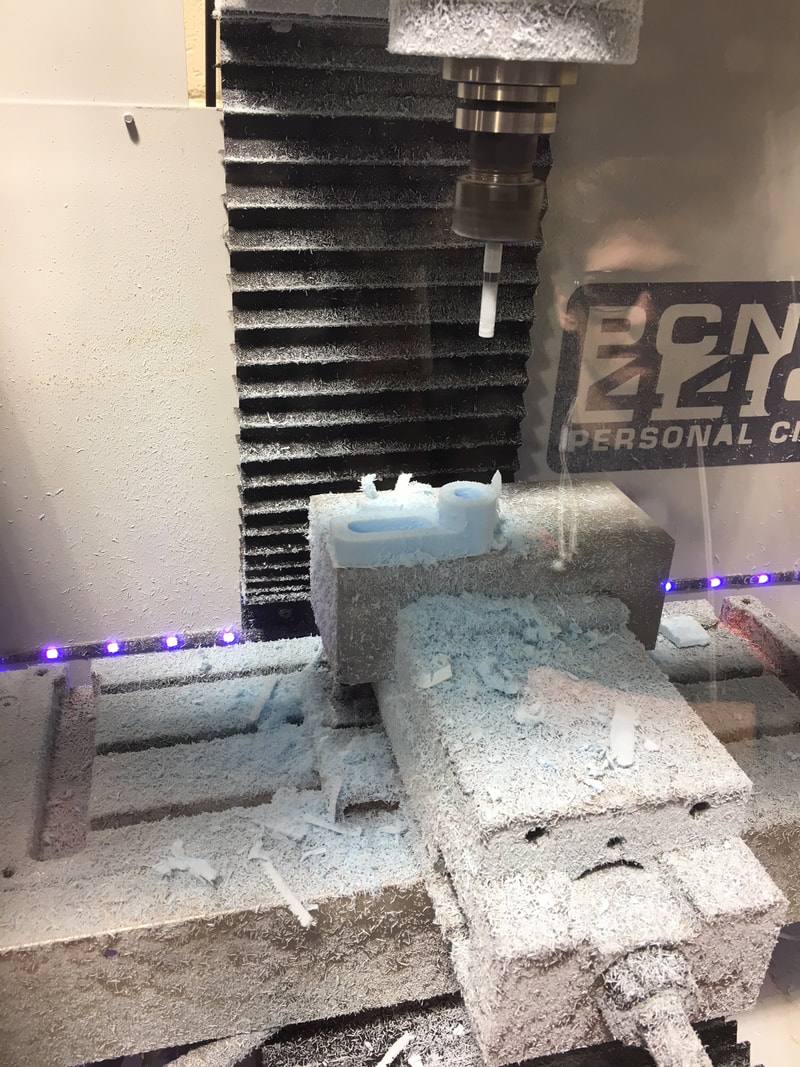
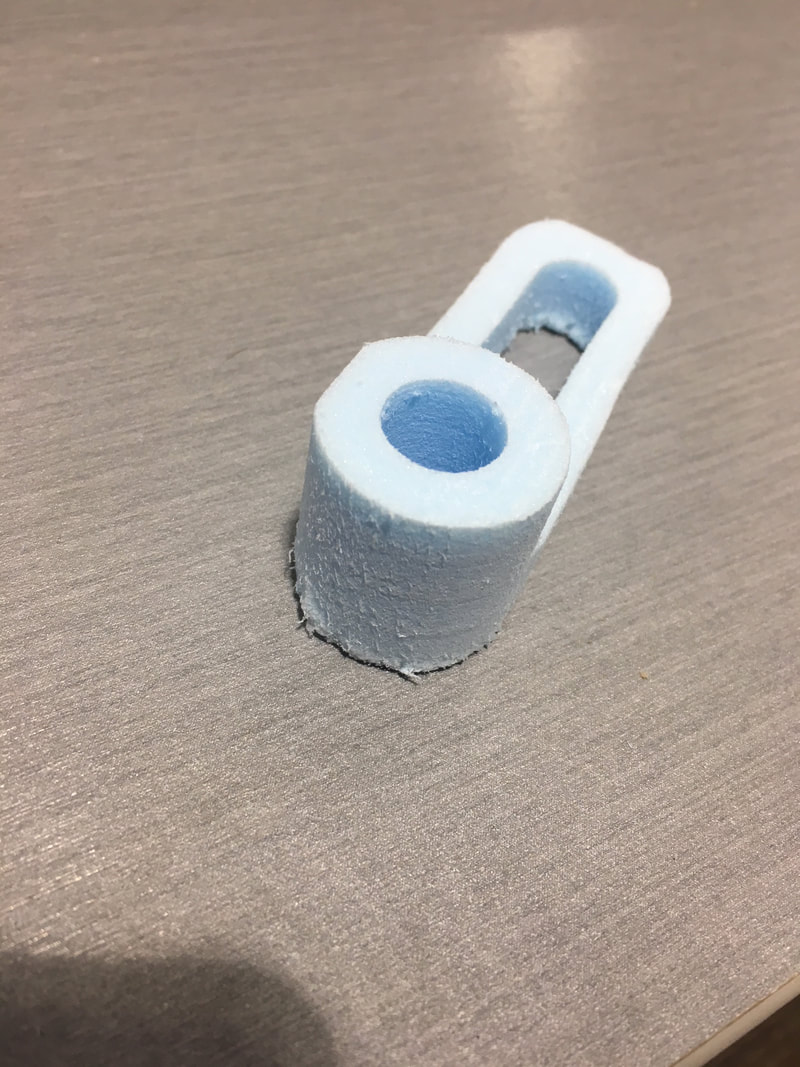
The final process that I completed was the milling of the widget. First, I cut out a block of foam. I then put double sided tape on the bottom of the piece of foam and peeled off the paper from the bottom of the tape. I placed the foam--tape side down--on the front left corner of the milling block. I then shut the doors of the mill and used the tool controller to properly line up the bit with the front left corner of the block. I then plugged in my flash drive and copied my g-code onto the milling software. Next, I zeroed out the axes so the origin would be the front left corner of the block (where I set up the bit). Finally, I ran the mill, keeping my finger next to the space bar just in case the machine malfunctioned and needed to be stopped. The mill ran as it did in the simulation with no problems. After the widget was completed I used the putty knife to lift the foam off of the milling block.
What Did I Learn?
By completing the milling project I was able to learn how to use a new machine and new computer software. First, I learned how to use the fillet tool in Inventor. I had not used this tool before, but I was able to use it when creating the widget because I used rectangles and rounded the corners. Also, I learned how to use Fusion 360. I also used this software for the CNC Router assignment, but I was able to use different things within the software, such as 3D Adaptive Clearing this time around. The final new thing I did was use the mill. I had never seen a mill run before, so it was cool to see how the machine worked. It was also neat to learn how to run the mill by using the controller and the computer software.
