Autodesk Inventor is a computer software that allows people to design three dimensional objects and or prototypes. Because Autodesk Inventor is a professional software, many large companies use it to design their products. For instance, Boeing used the Inventor software to design their latest aircraft, the 787.
Recently I have made multiple "widgets" using the Autodesk Inventor software.
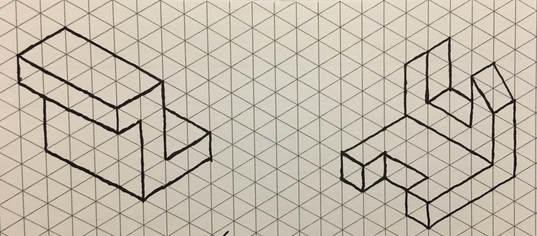
Sketches of two widgets drawn in my Designer Notebook
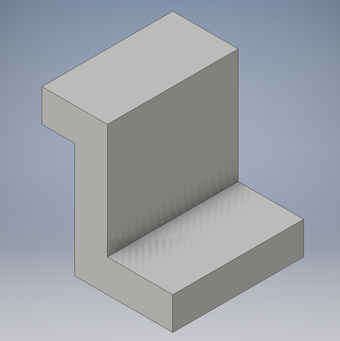
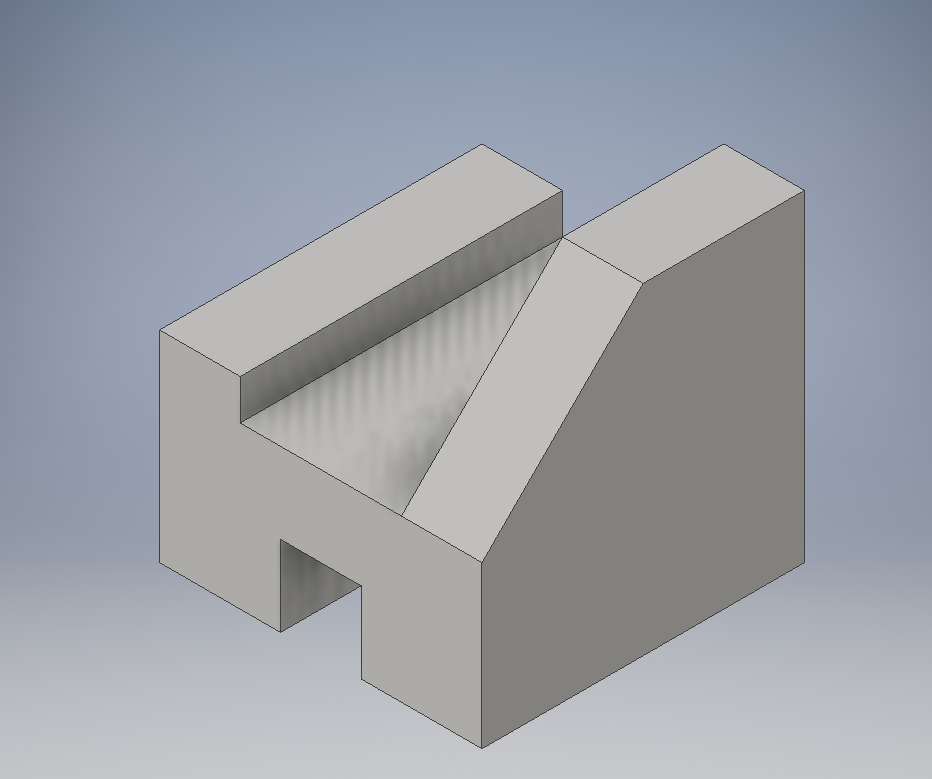
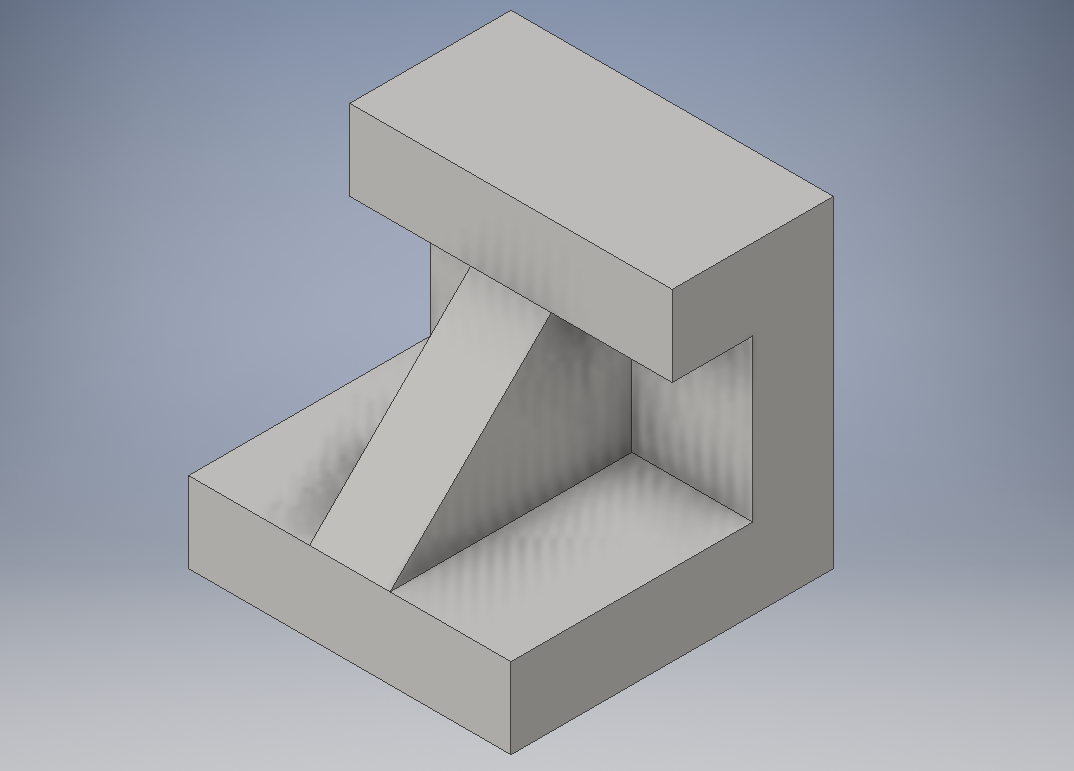
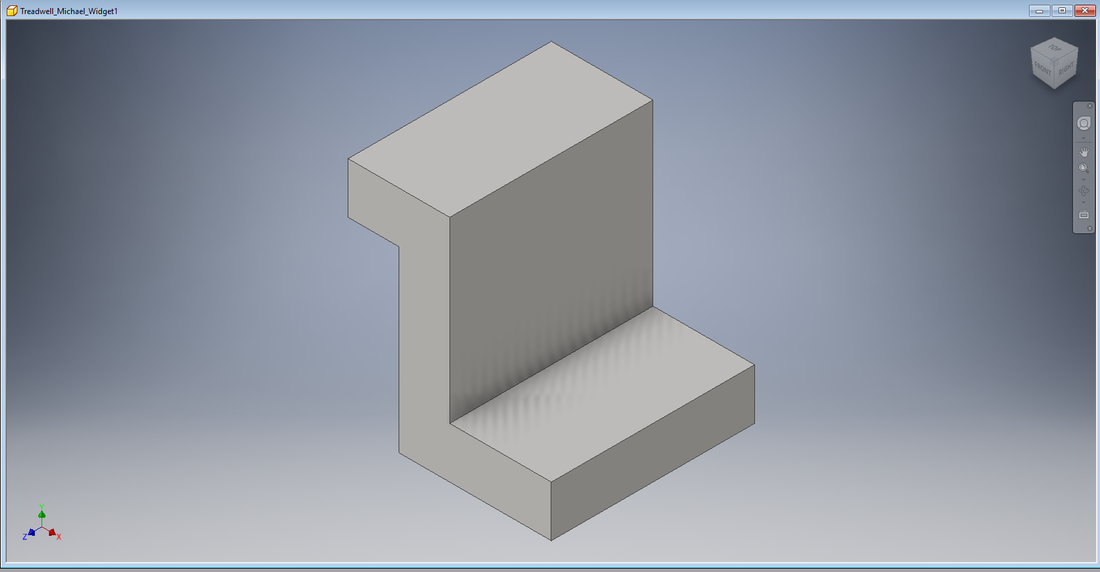
Shown above is the first widget that I created. To create this widget I followed the following steps:
- Open Autodesk Inventor
- Select the "New" option in the top left corner
- Select "Standard.ipt" then "create"
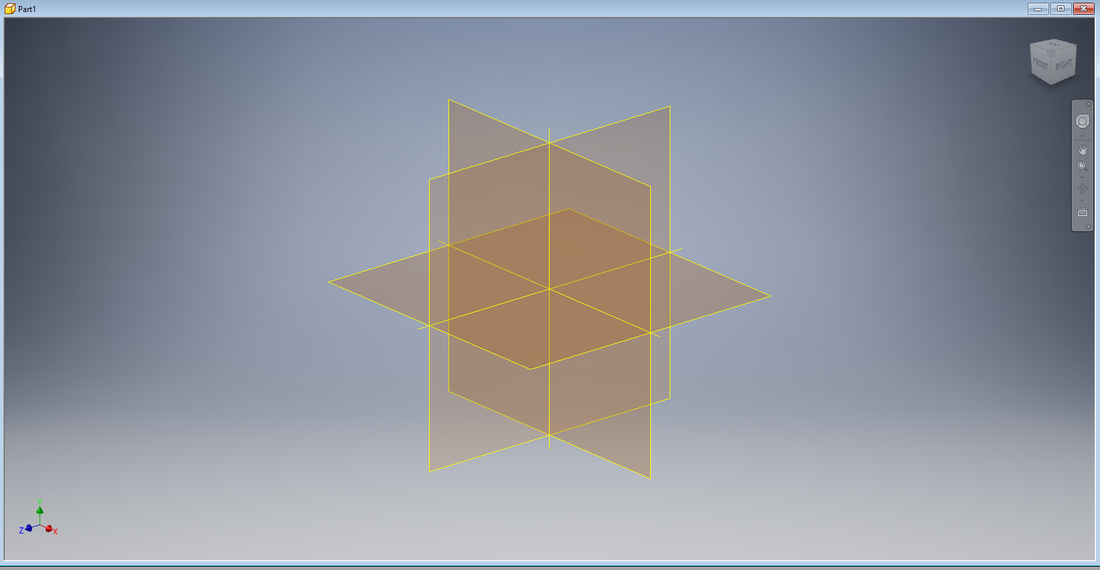
- In the top left corner of the screen select "Start New 2D Sketch"
- Choose the XY plane
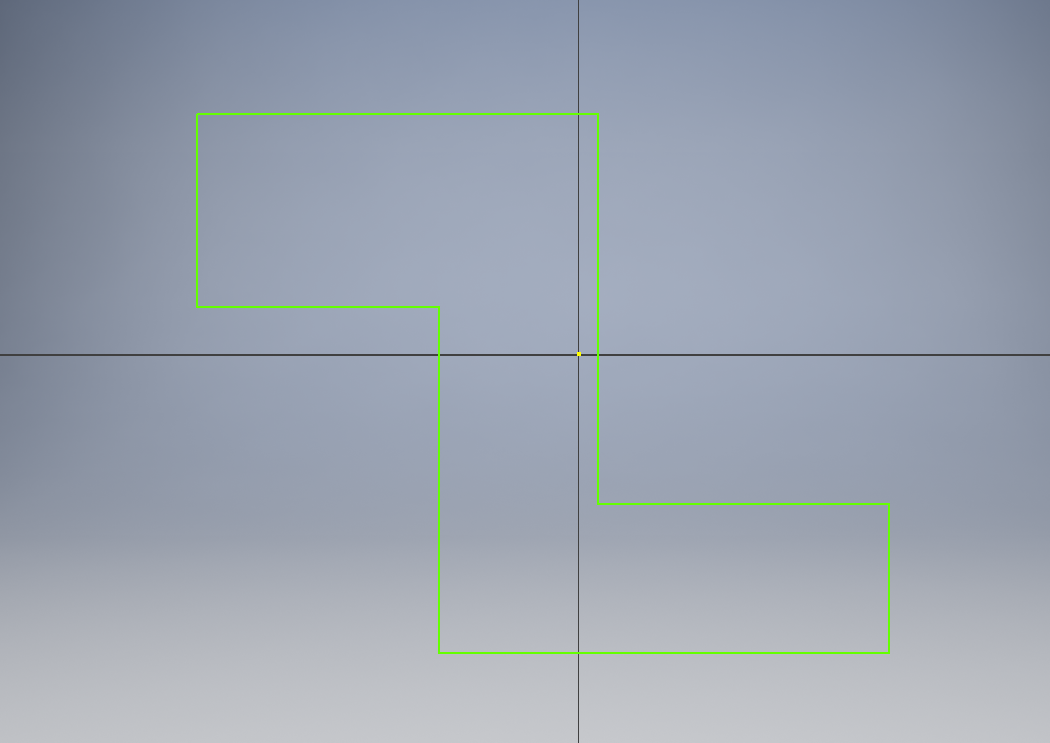
- Select the "Line" tool under the "create" section of the top of the screen
- Start sketching the primary side of the widget
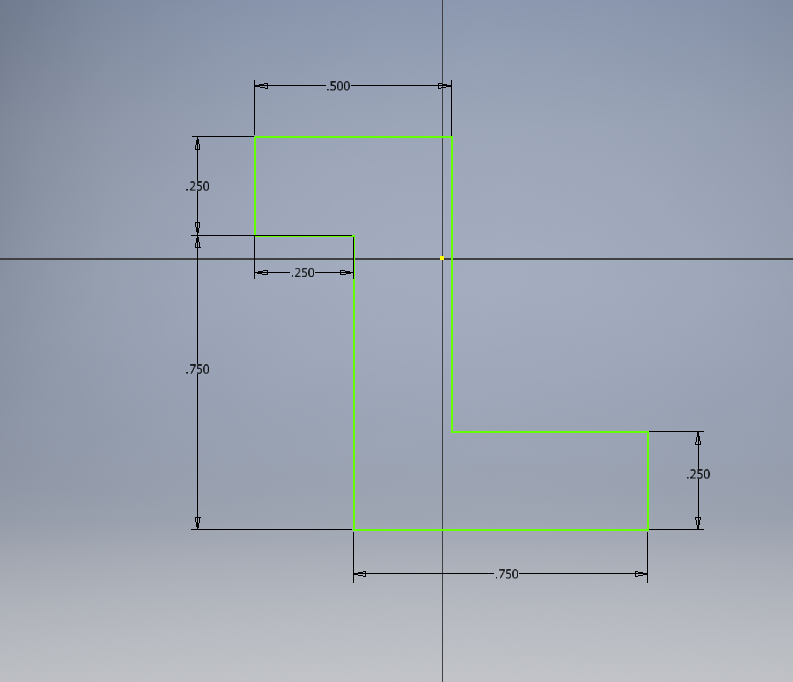
- After completion of the sketch, choose any side of the sketch and drag out to dimension
- Dimension each necessary side until there are no more necessary dimensions
- Select "Finish Sketch" under the green check mark on the top of the screen
- Select the "Extrude" option on the top of the screen and enter the distance that you want your extrusion and press enter
- Finally, save the widget
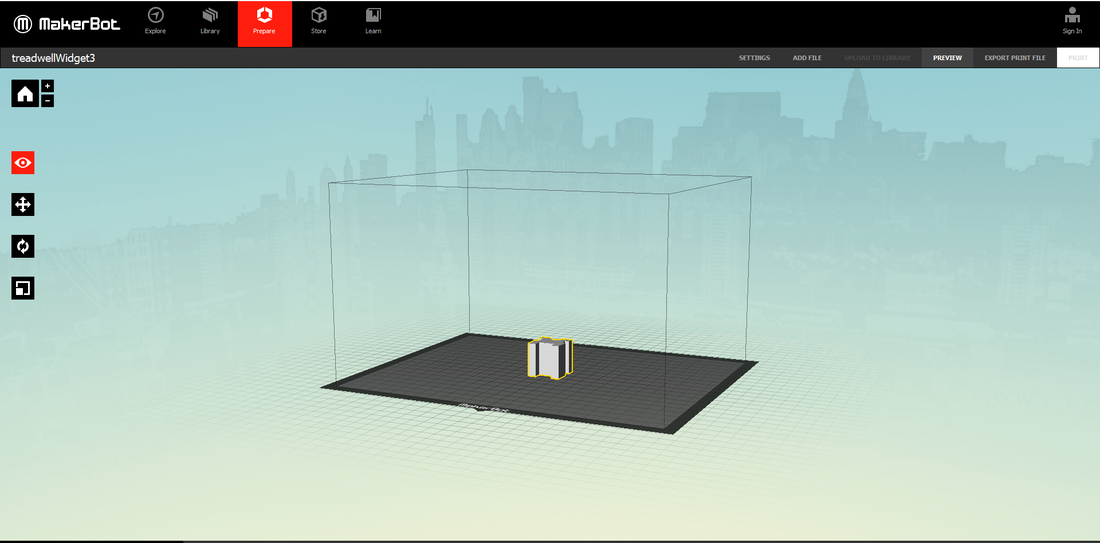
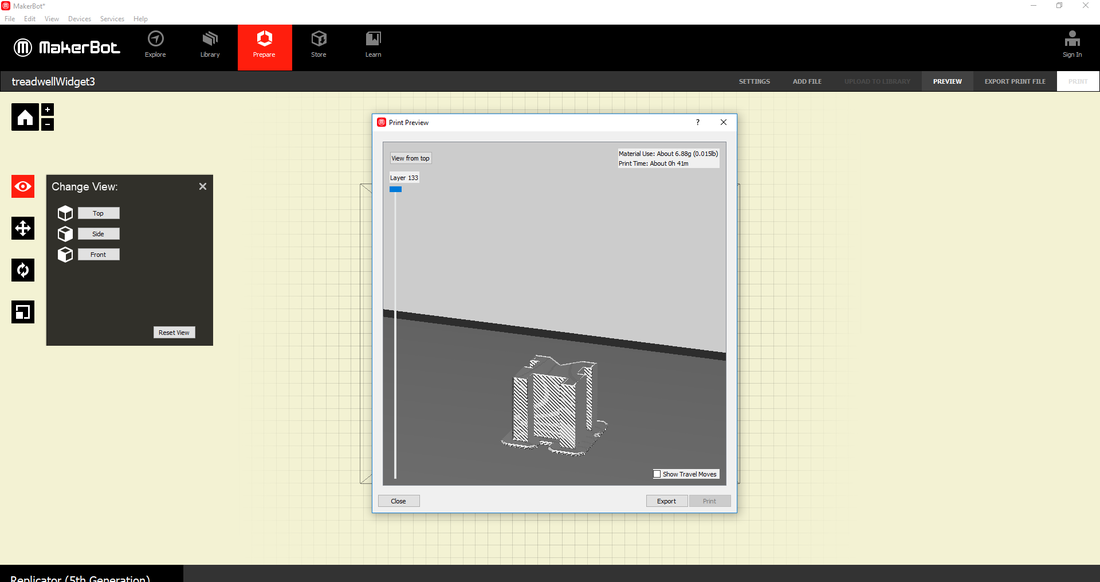
MAKERBOT DESKTOP
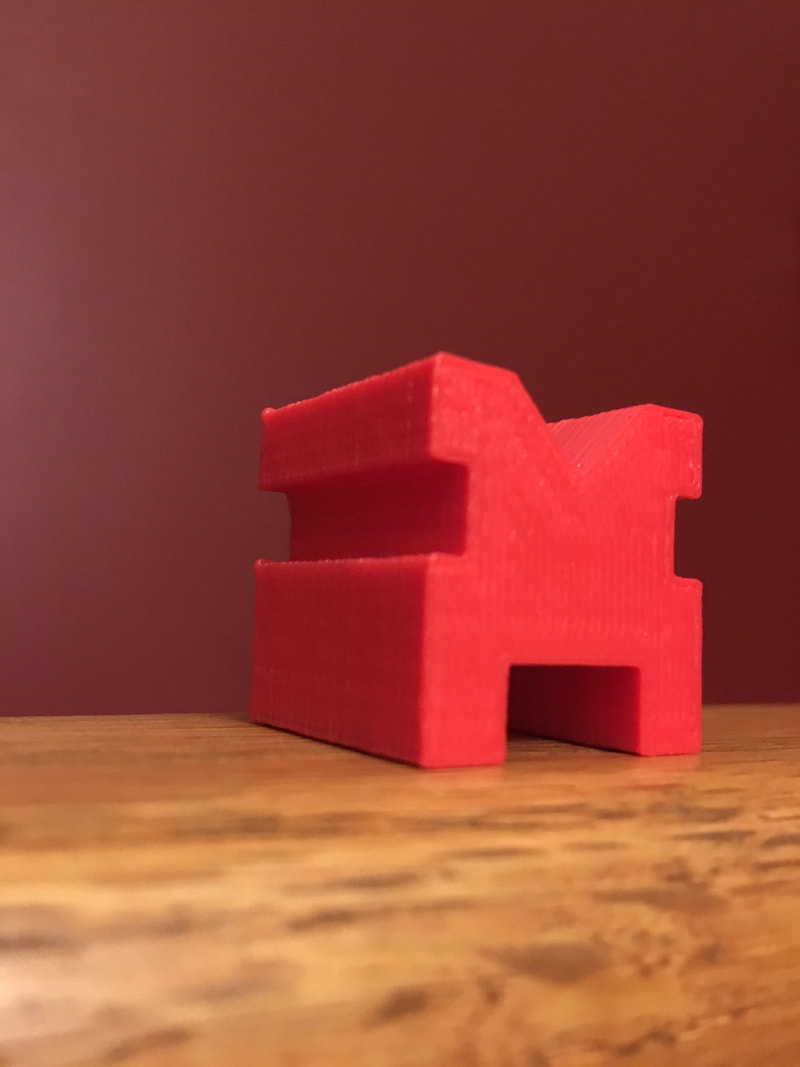
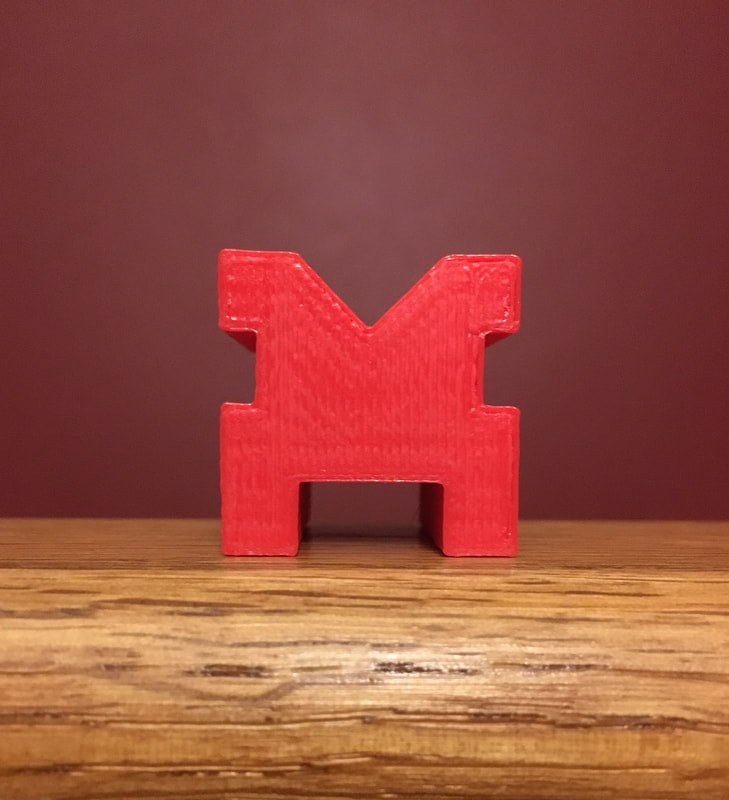
After completing all of my widgets using Inventor, I chose one to print on the 3D printer. I chose to print the "M" shaped widget. Before I could print I needed to convert my Inventor file into a MakerBot file, so it would be compatible with the MakerBot printer.
Using Inventor to design these six widgets was a very neat experience. When creating the widgets I learned the three steps of Inventor: Sketch, Dimension and Extrude. I also learned that there are different types of files that can be created in Inventor: .ipt .iam .idw .ipn. It was important for me to learn the basics of Inventor, because it has been a while since I used the software. The Inventor software will be very important for this IDEA class.
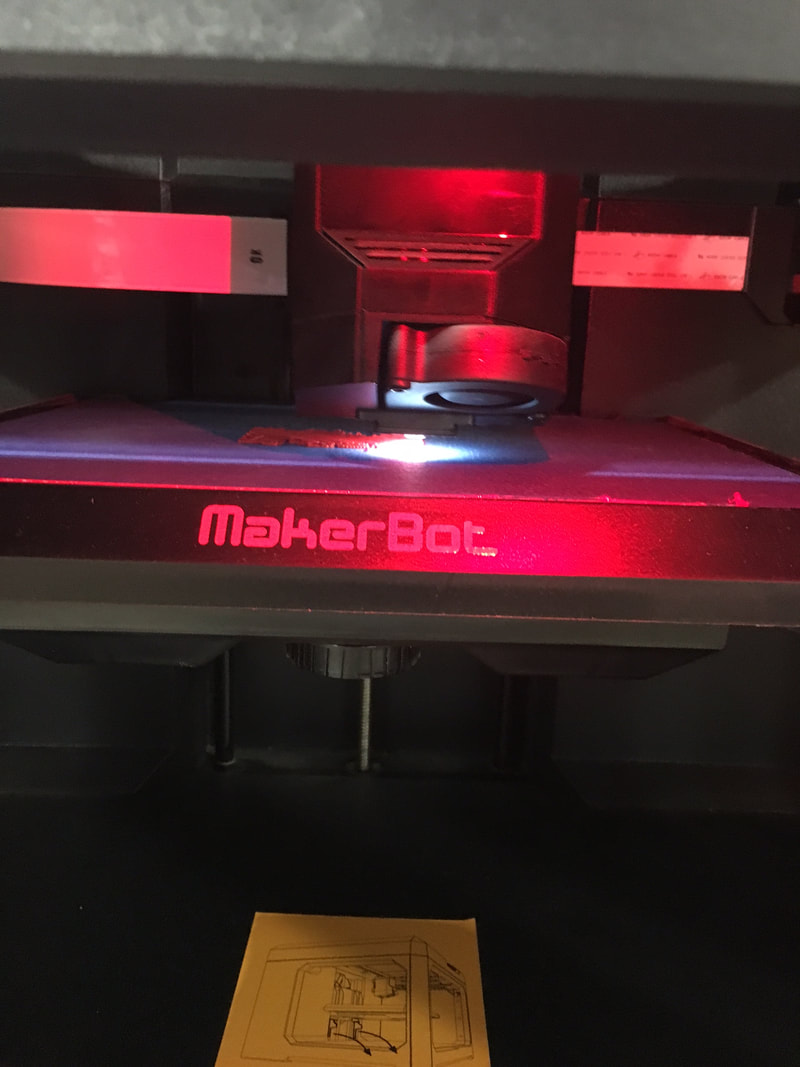
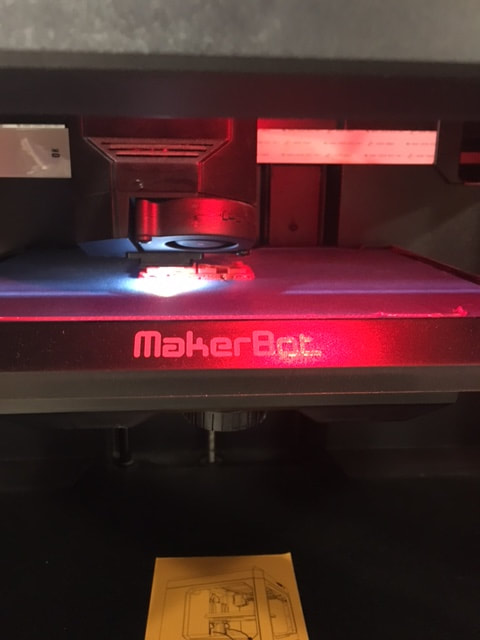
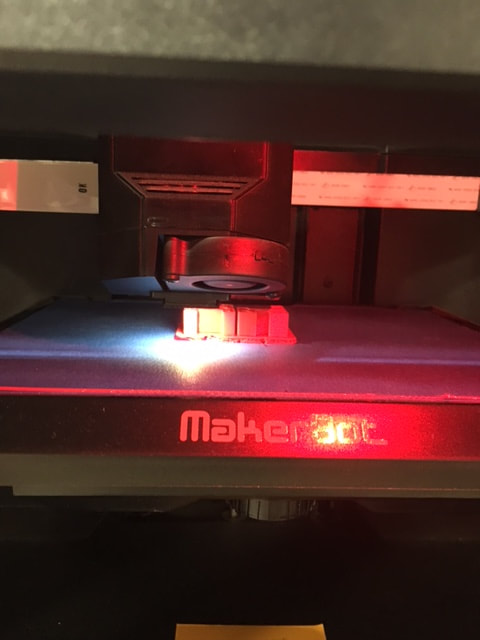
It was also very cool to learn how to use the 3D printer and it's corresponding software-MakerBot. I learned how to transfer Inventor files into MakerBot so that I could use the 3D printer to create what I designed on Inventor. I also learned how to set up the MakerBot 3D printer using a flashdrive and the controls on the printer. Being able to perform the basics of Inventor and MakerBot will be very important for the rest of IDEA.
It was also very cool to learn how to use the 3D printer and it's corresponding software-MakerBot. I learned how to transfer Inventor files into MakerBot so that I could use the 3D printer to create what I designed on Inventor. I also learned how to set up the MakerBot 3D printer using a flashdrive and the controls on the printer. Being able to perform the basics of Inventor and MakerBot will be very important for the rest of IDEA.
