Individual CNC Router Project
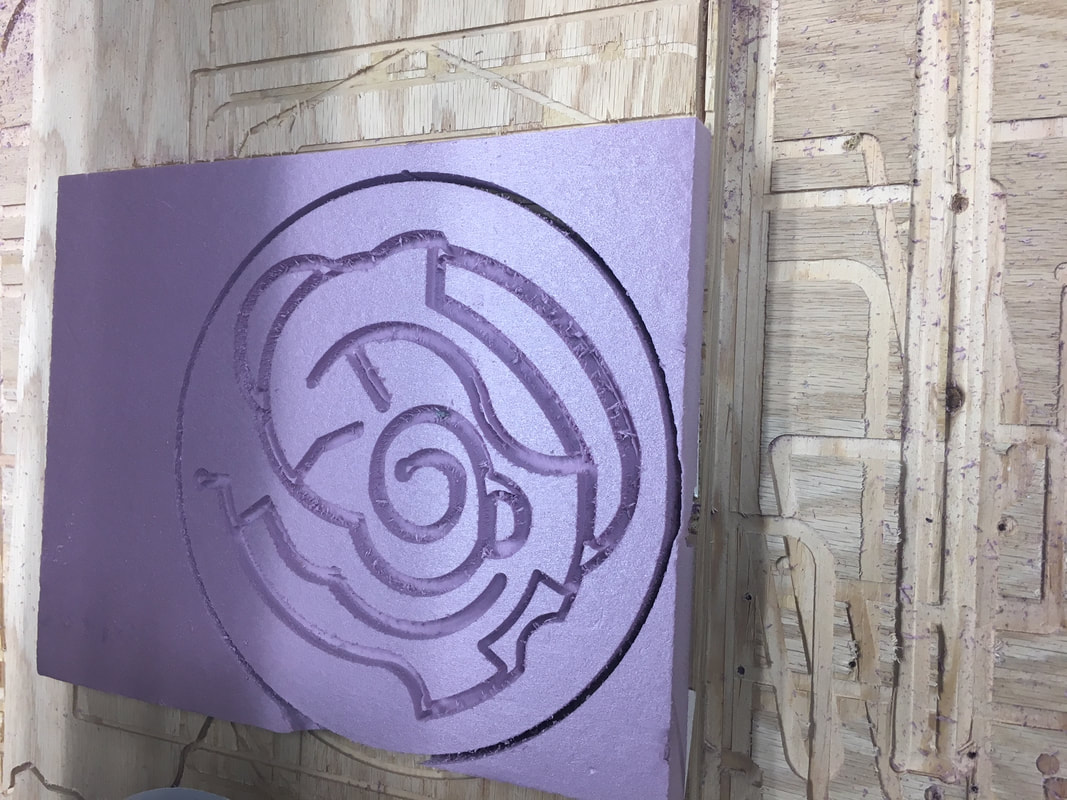
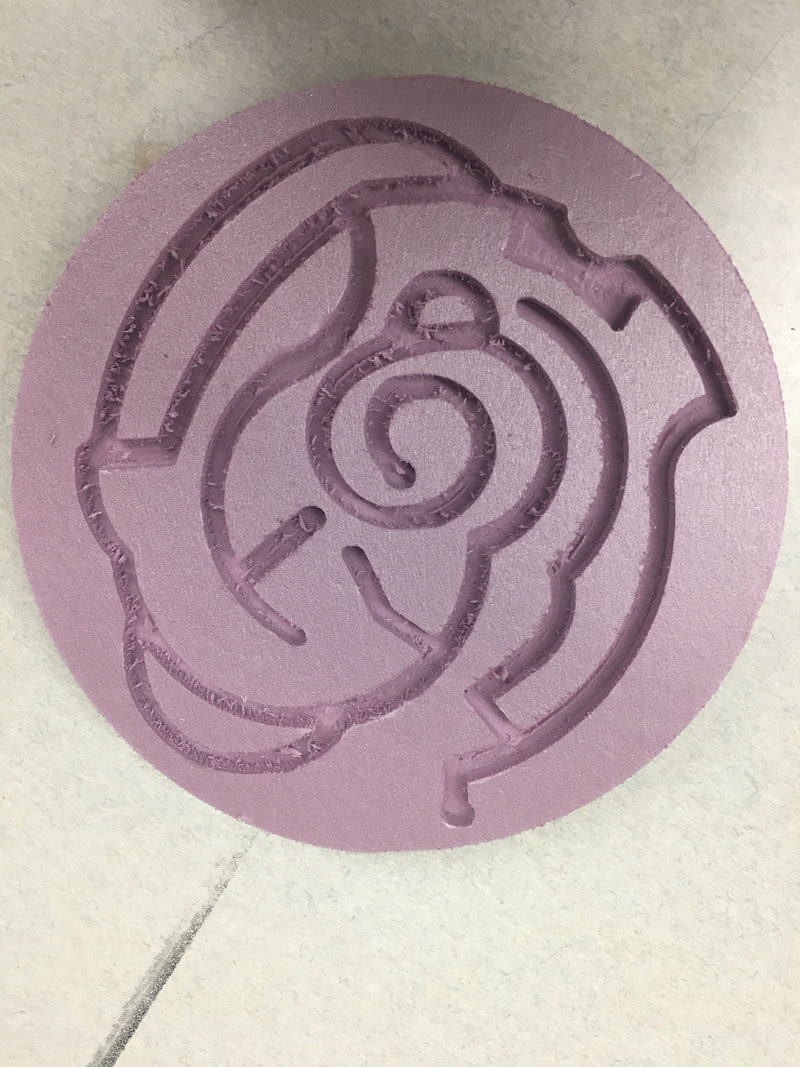
For this project, we were required to create a maze using the CNC Router. The requirements for the maze were: no bigger than 8.5 in x 10 in, 1/4 in border on the perimeter, 1/4 in channels, and definite start and end points.
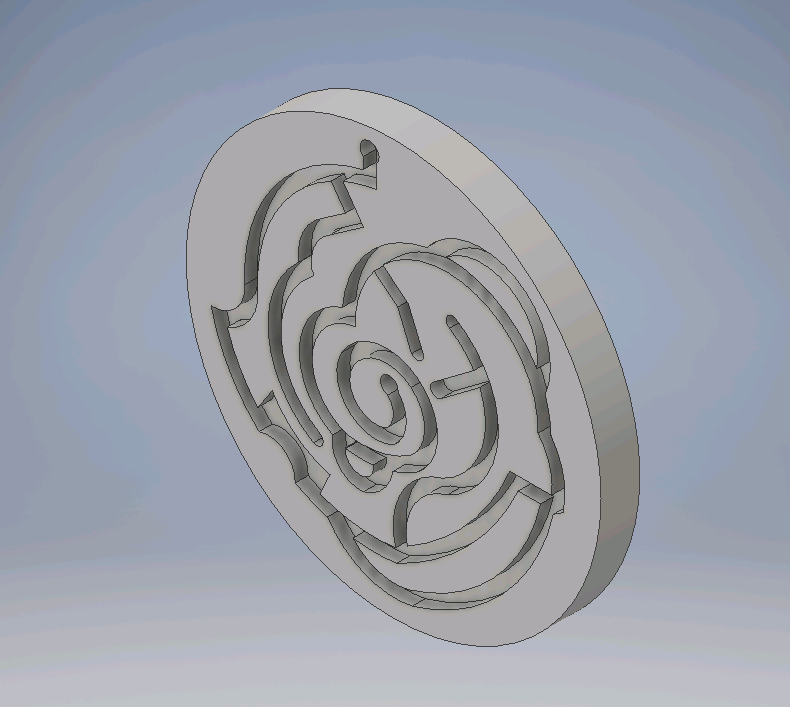
When coming up with the idea for my maze I looked at images of mazes that have been created using a router. I saw some really cool ideas and tried to incorporate some of them into my maze, for instance, the circular shape.
How Did I Create the Maze?
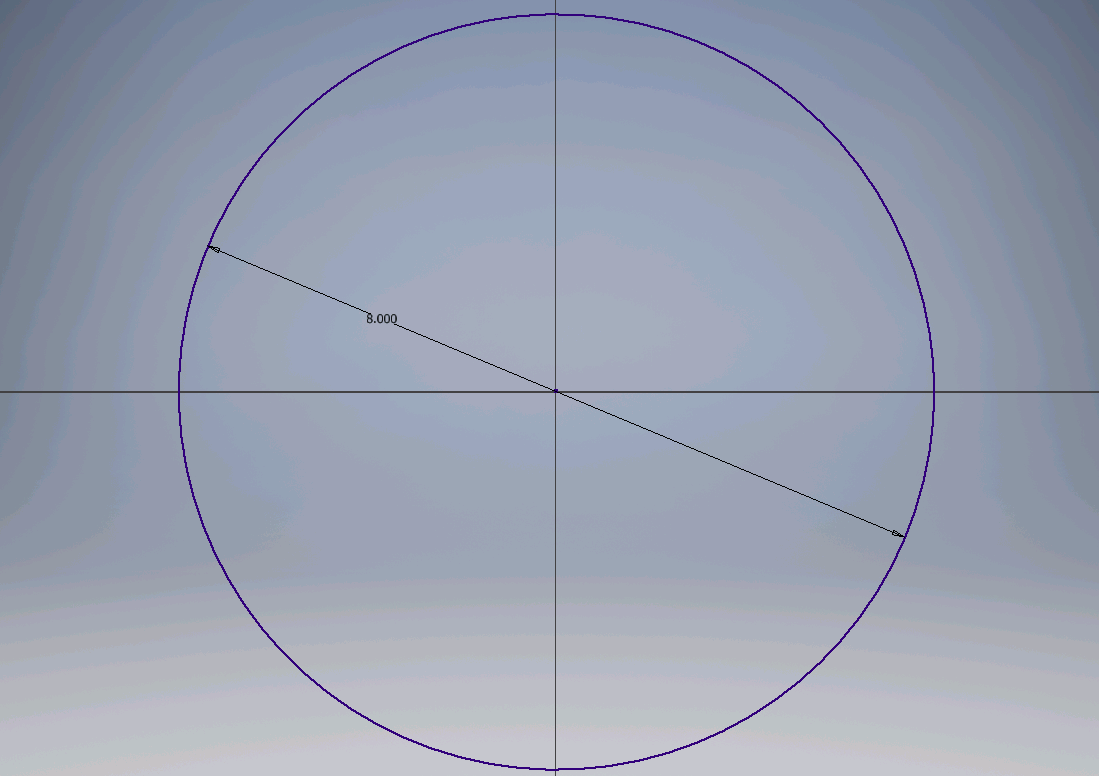
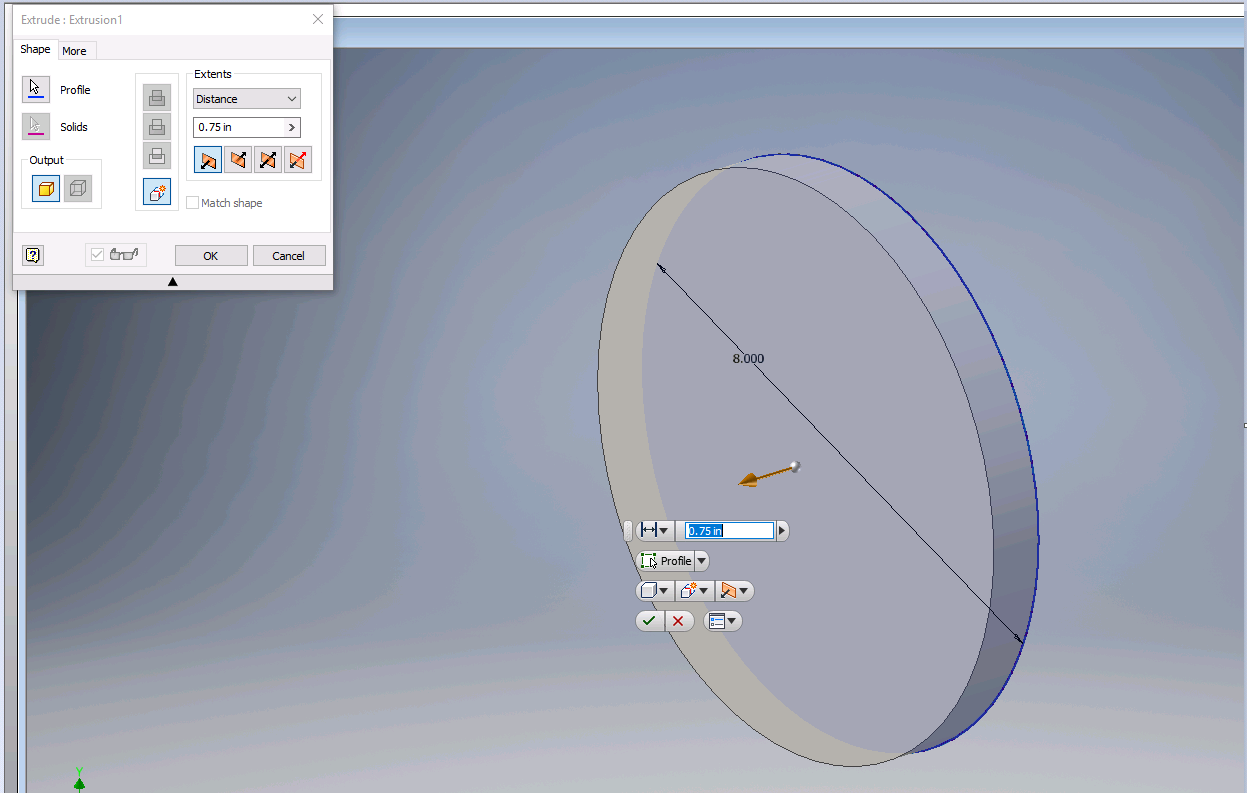
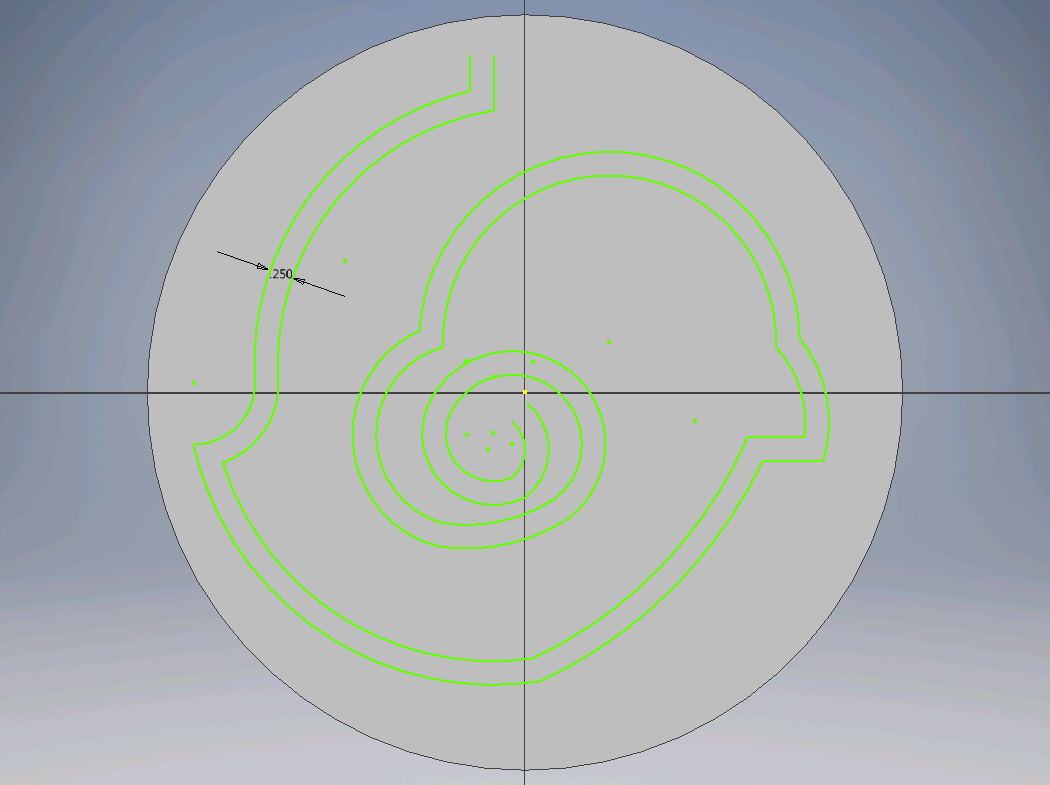
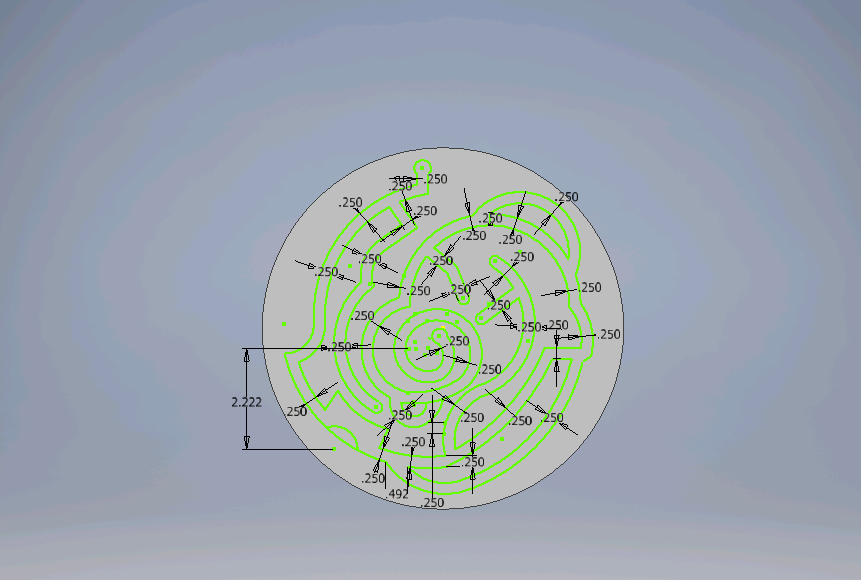
To begin creating the maze, I sketched a circle in Inventor. I then dimensioned the circle to an 8 inch diameter to fit the size requirement. I extruded the circle 0.75 inches to replicate the width of the foam material that I used to create the maze. Next, I created the main path of the maze--the one that goes directly from the start point to the end point. I offset the main line to a width of 0.25 inches, then proceeded to add lines off of the main line. Because I moved some of the main line and other lines around in my process of sketching the maze, I dimensioned the paths to ensure that each meet the 1/4 inch channel requirement. Finally, I extruded the path to a depth of 0.25 inches, completing the Inventor portion of my maze.
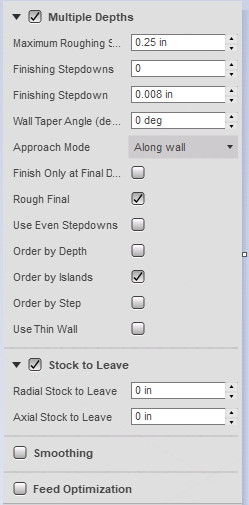
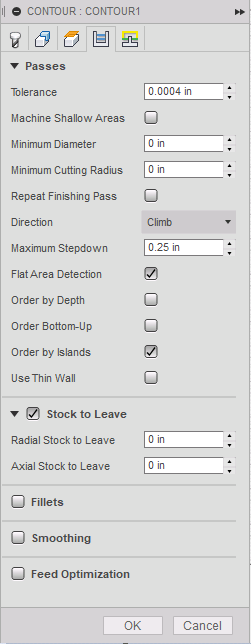
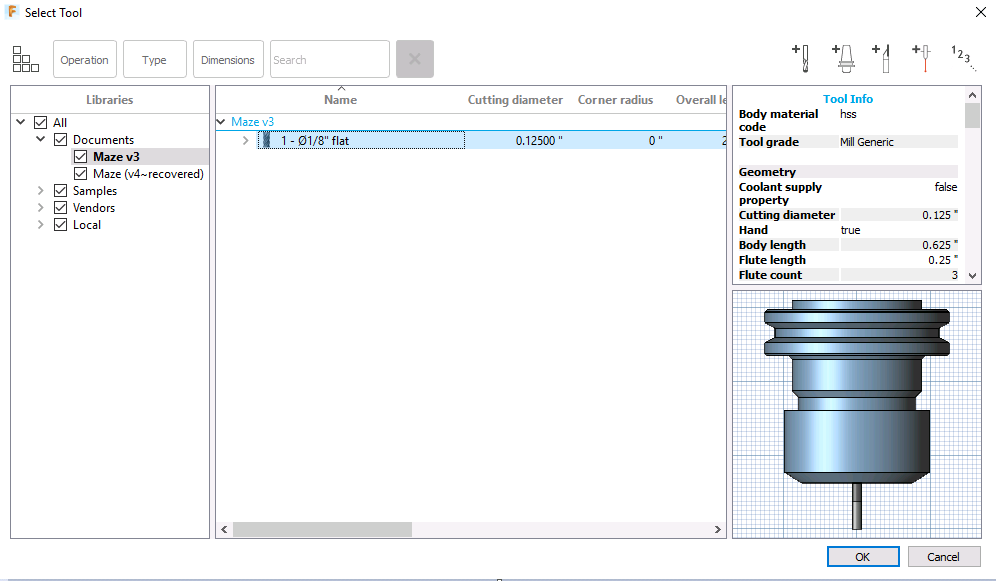
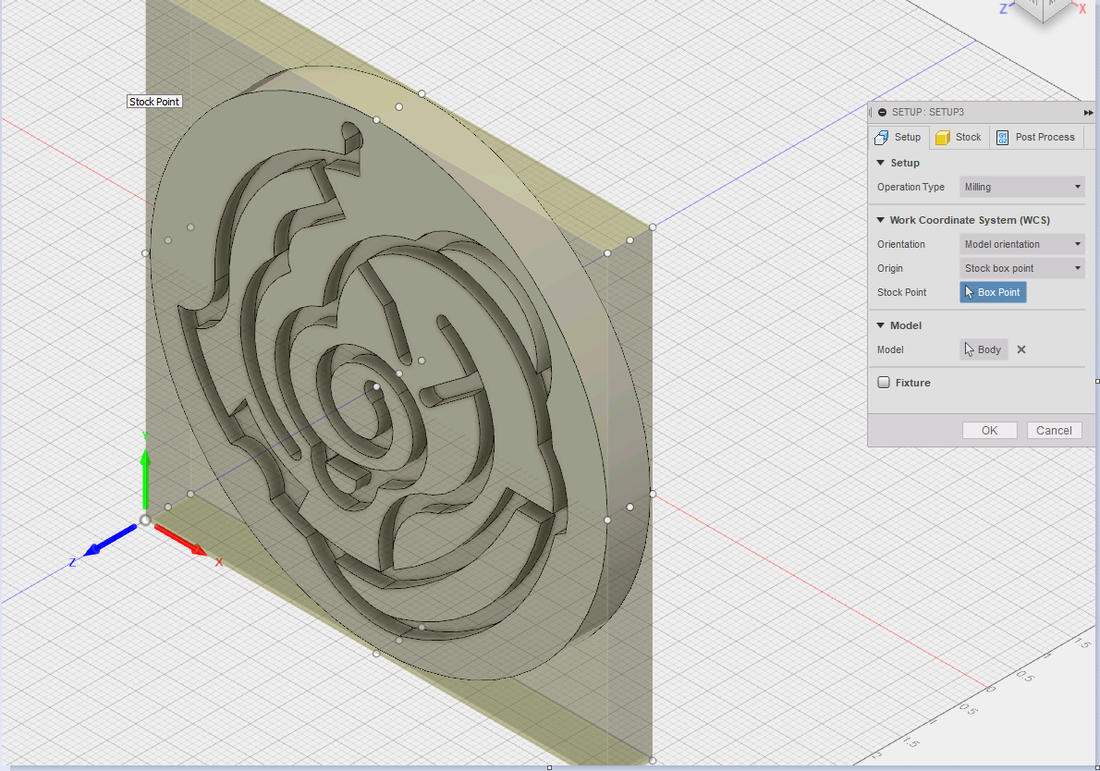
Next, I opened Fusion 360 and uploaded the Inventor file of my maze into the Fusion software. The first thing I did in Fusion was change the mode to CAM and the units to inches. I then had to set up the axes so that the x, y, and z were pointing in the correct direction--that is x and y on the object and z pointing up in the air. To do this I had to go into set up, then origin, then stock box point and select one of the corners on the top of the object. I then went into orientation and used the different commands in there until the axes were all pointing in the correct directions. Next, I selected the 2D drop down menu and chose "2D Adaptive Clearing." I then opened the tool option and created a new mill tool. The tool was a flat end mill tool with a diameter of 1/8 inch and an overall length of 2 inches. I then selected the "Geometry" option so that I could select the bottom of the channel of the maze so that the channel would be getting the adaptive clearing. Next, I selected the 2D Contour option under the 2D drop down menu. I then selected the bottom outline of the circle, so that the router would cut around the outside of the circle and all the way through the material. For both the 2D Adaptive Clearing and the 2D Contour I had to change some of the basic settings for the process so that the router would create the maze faster and more accurately. I also had to run a simulation to ensure that the router would complete the process fully and correctly. Finally, I selected "Post Process" and found and selected the "Forrest Scientific" option. I also made sure that the output file was my H-drive. I then selected "Post," which generated the g-code for my maze.


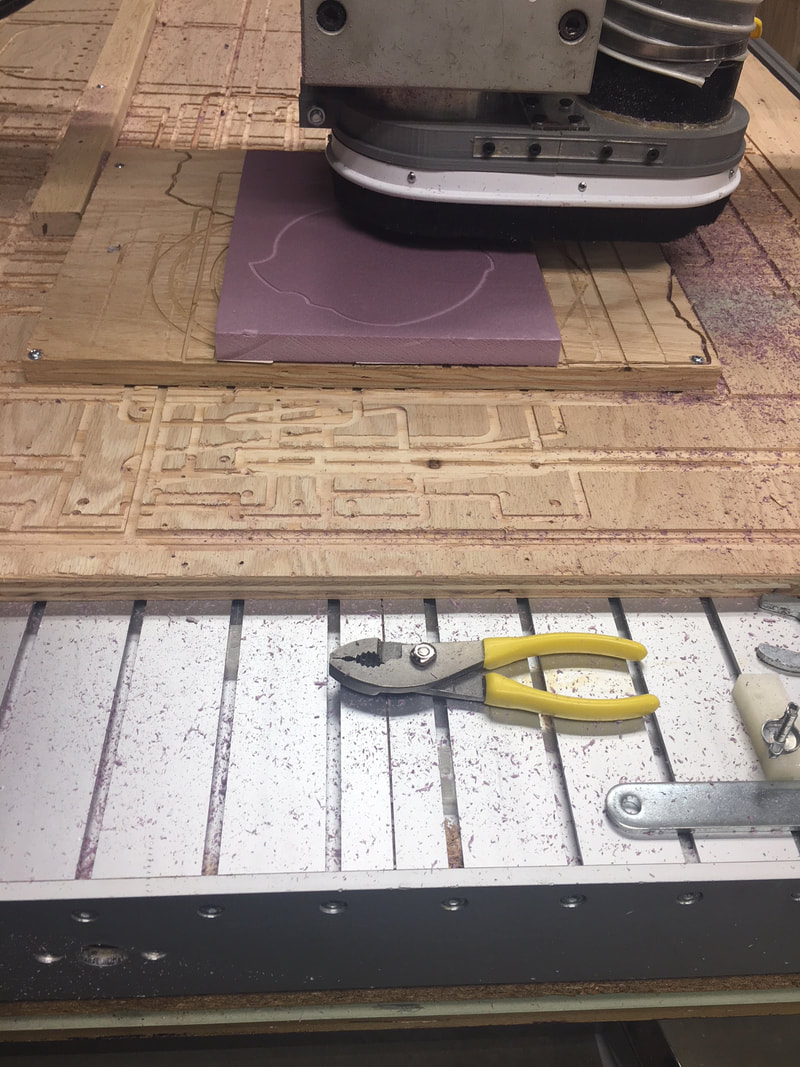
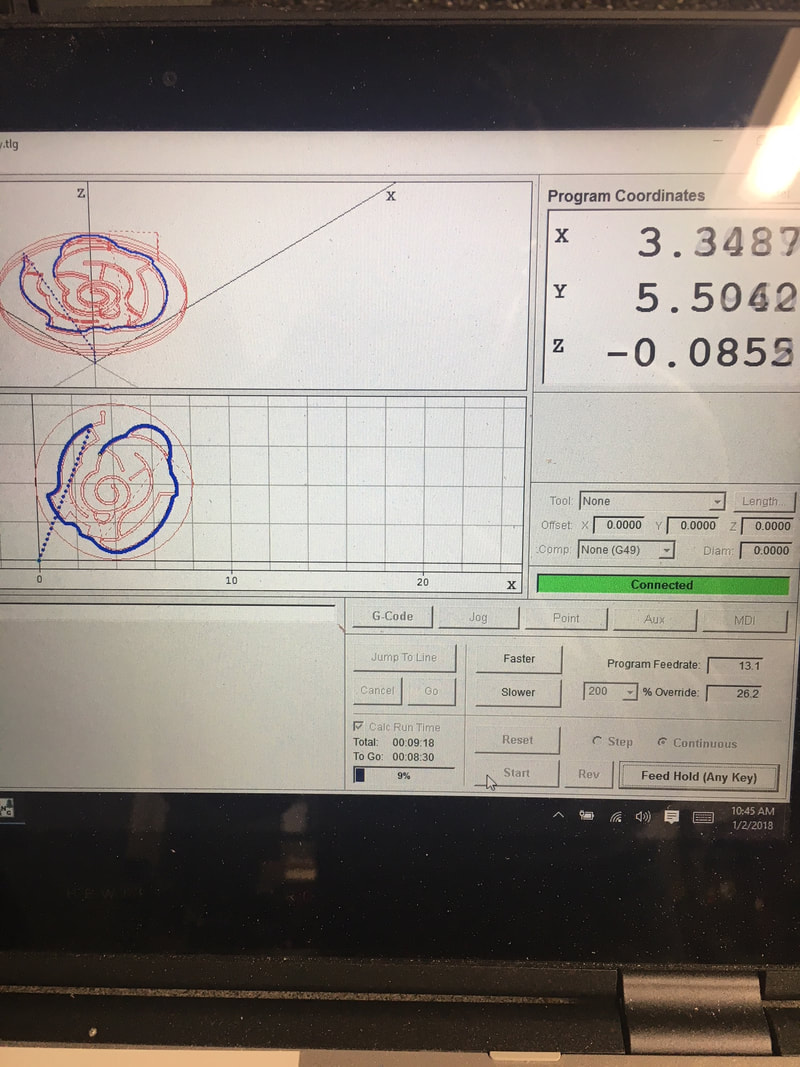
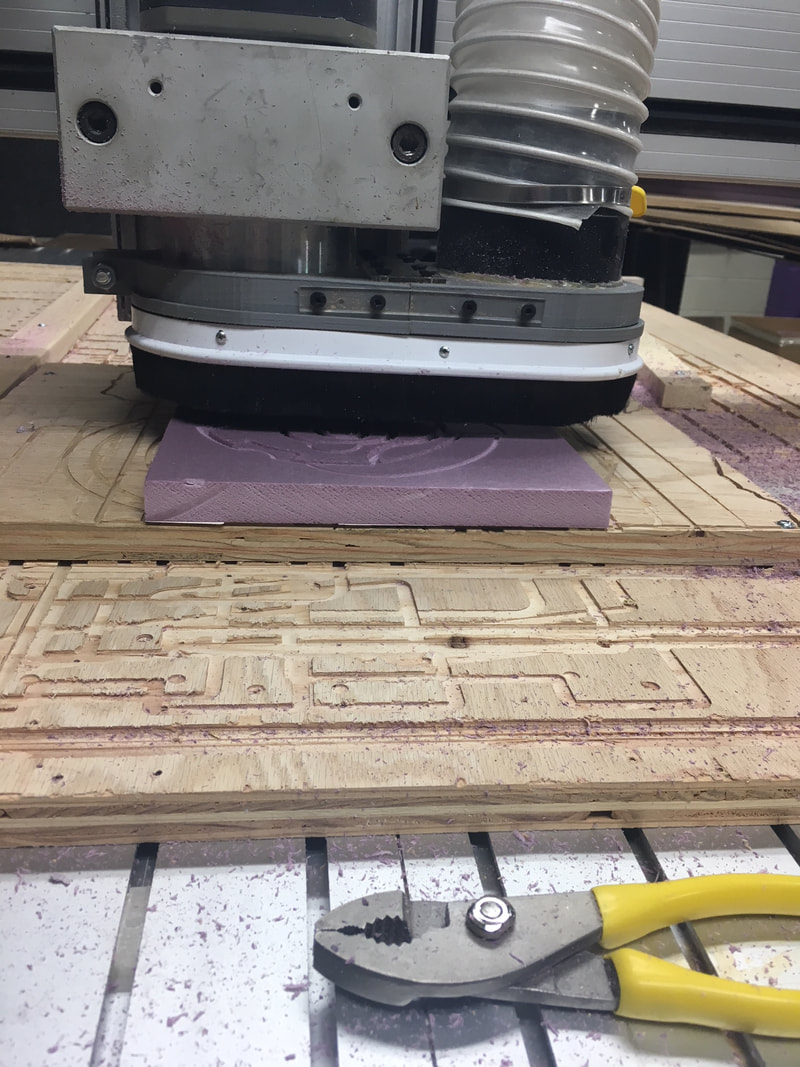
The final process I did was taking the g-code to the router and running the router. First, I used double sided tape and placed it on the block of foam with one long strip down the middle and one 1 inch by 1 inch piece in each corner. I then stuck the foam to the board on the router, making sure to press hard so that it would stay down while the router was running. Next, I uploaded the g-code onto the laptop and into the software that runs the router. I proceeded to move the router so that the bit was at the same corner as the axes were shown on the computer screen and in Fusion. I did this by using the "Jog" menu and the x, y, and z controls. I then zeroed out the axes and ran the router. After the router successfully created my maze I moved the bit out of the way and pulled the maze and excess foam off of the wood board on the router.
What Did I Learn?
Throughout the process of creating my maze I used a lot of new things. First, I learned how to use "offset" in Inventor. By using the offset command I was able to create the paths for my maze. Next, I learned how to use Fusion 360. I had never used this software before, so I started with the basics and learned how to use it as I set up the processes for creating the maze on the router. The final thing I learned was how to use the router. I learned how to set up the router using the computer, and learned that you must place the bit at the same point as the axes are shown on the computer. Overall, I learned how to do a lot of new things when creating the maze and was even able to enhance my Inventor skills as well.
