What is Adobe Illustrator?
Adobe Illustrator is a computer software that allows users to edit images using vectors instead of pixels. Illustrator can be used to design art that can be put into a laser or vinyl cutter. Illustrator allows users to re-scale images without losing quality resolution.
What have I done on Illustrator?
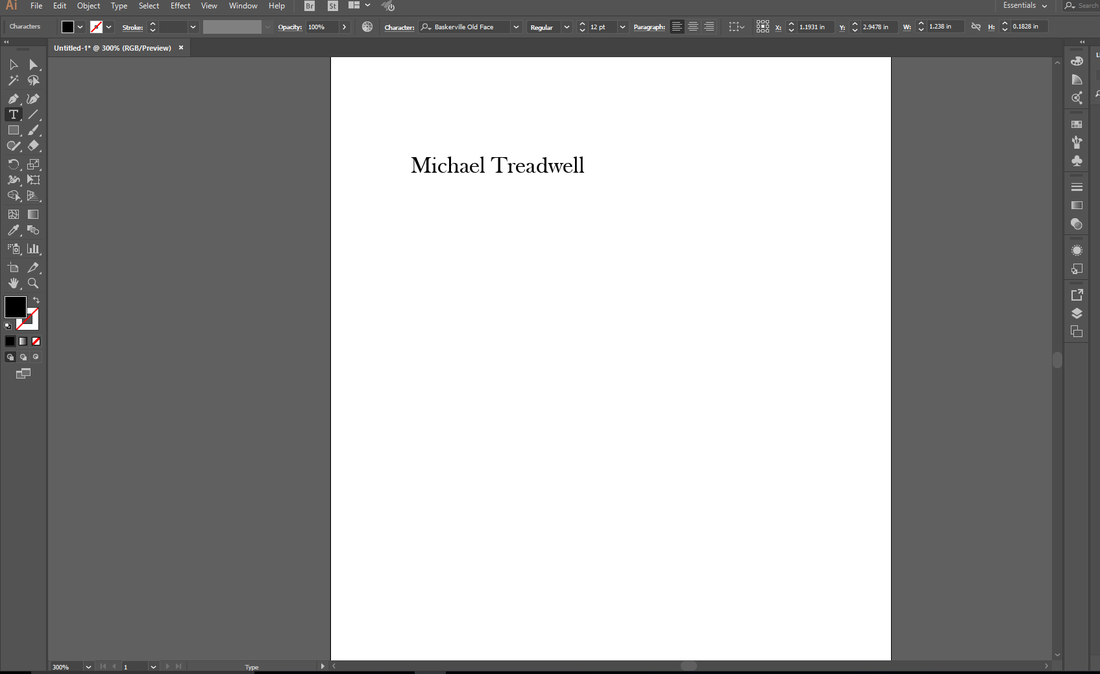
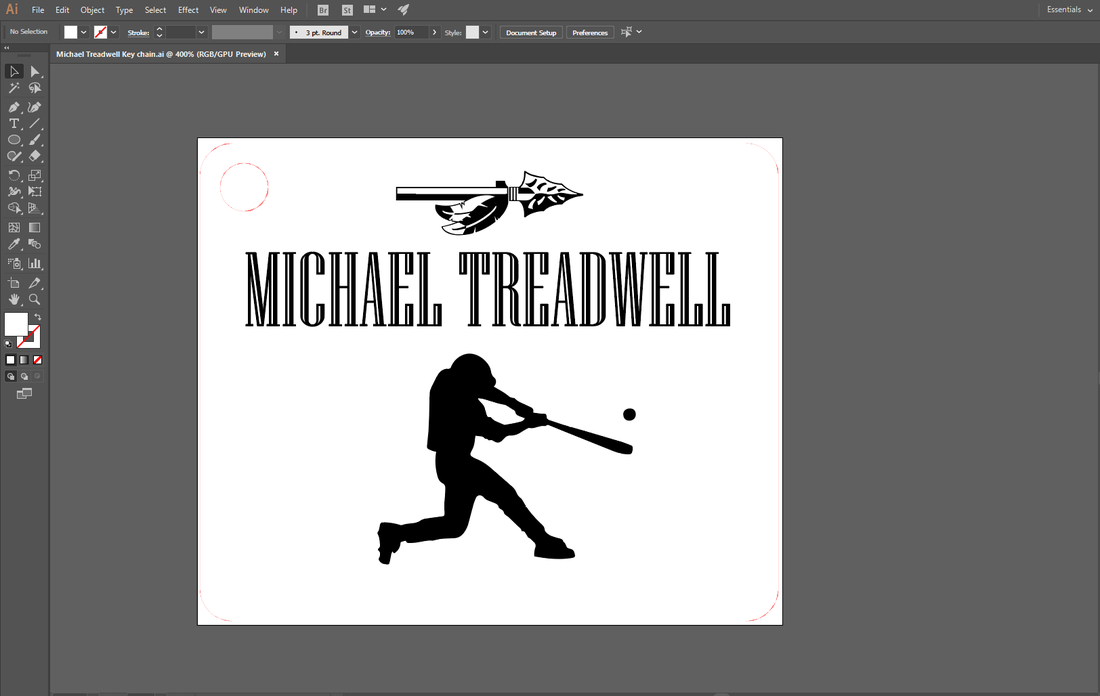
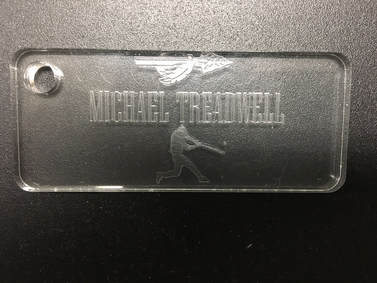
I have used Illustrator to create the two images above. The image on the left is simply my name, but I changed the font to "birch" and made the text a size of one inch. I then uses to vinyl cutter to cut out my name. The image on the right is a key chain that I designed to be engraved using the laser. The red lines indicate that the laser will cut through the material along those lines. The black lines are where the laser will engrave into the material.
How to use the laser
- Plug the flash drive in and open up the Illustrator file
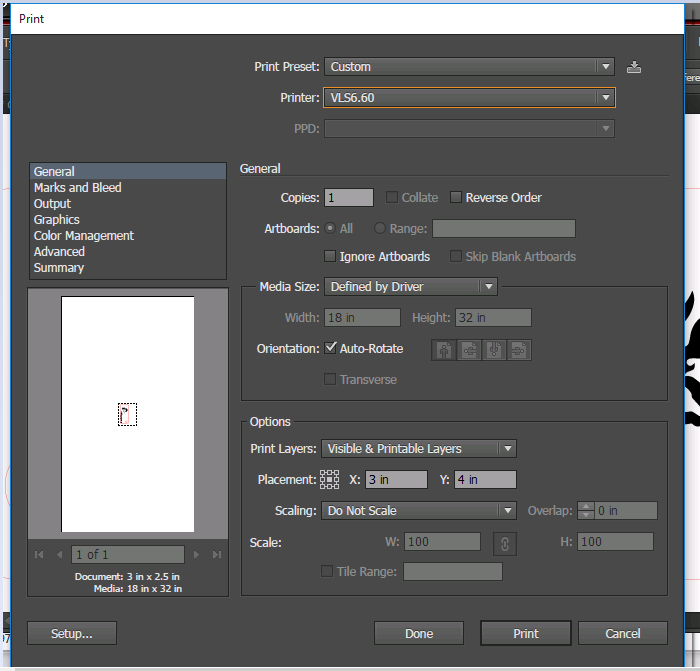
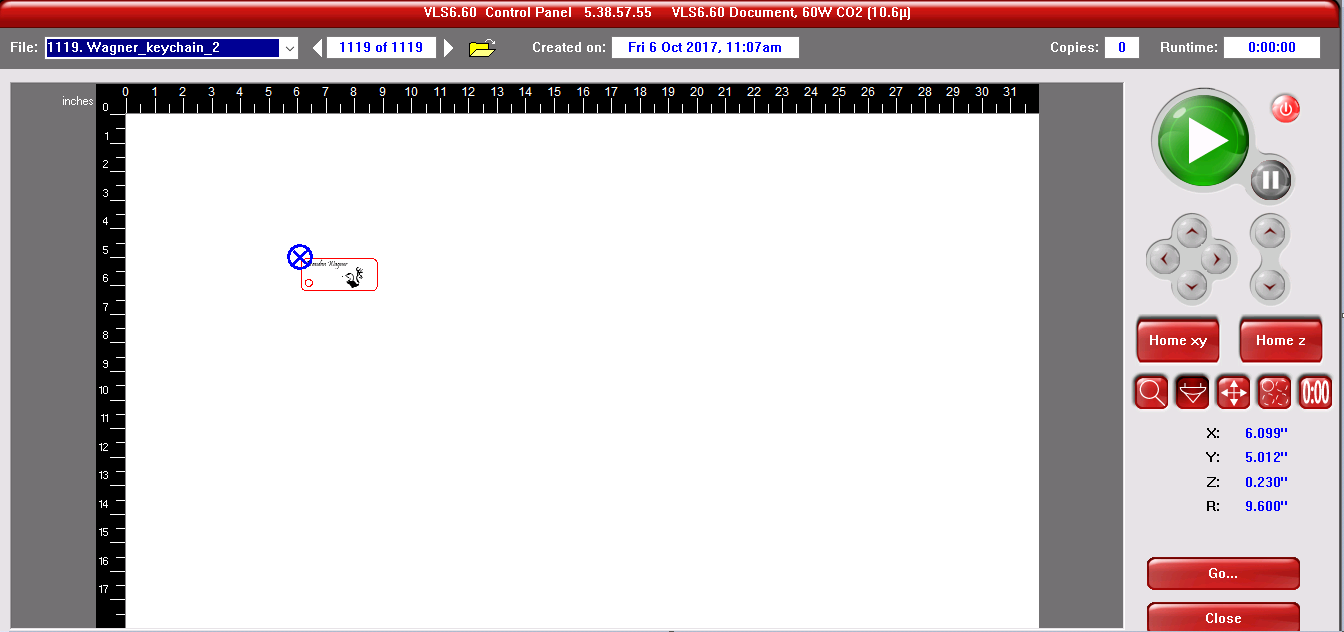
- Make sure the design is done correctly and open up "file" then select "print"
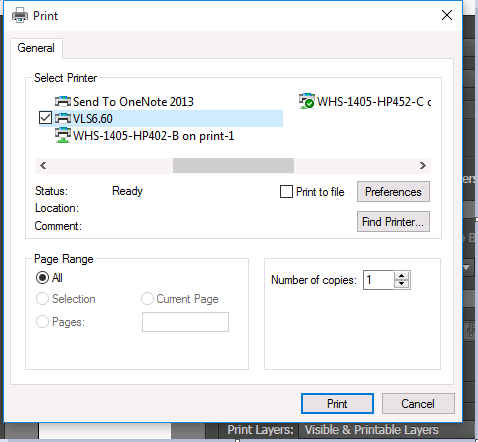
- Select printer option "VLS6.60"
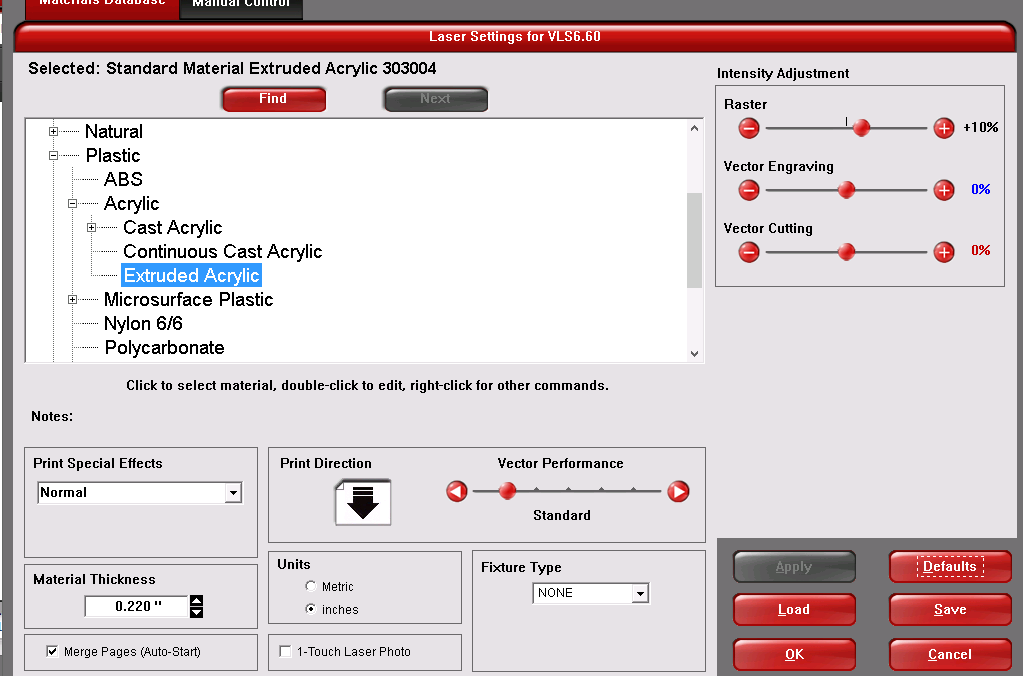
- Open the "setup" menu in the bottom left corner
- Select the "preferences" option
- Choose the type of material that will be used (ie Extruded Acrylic)
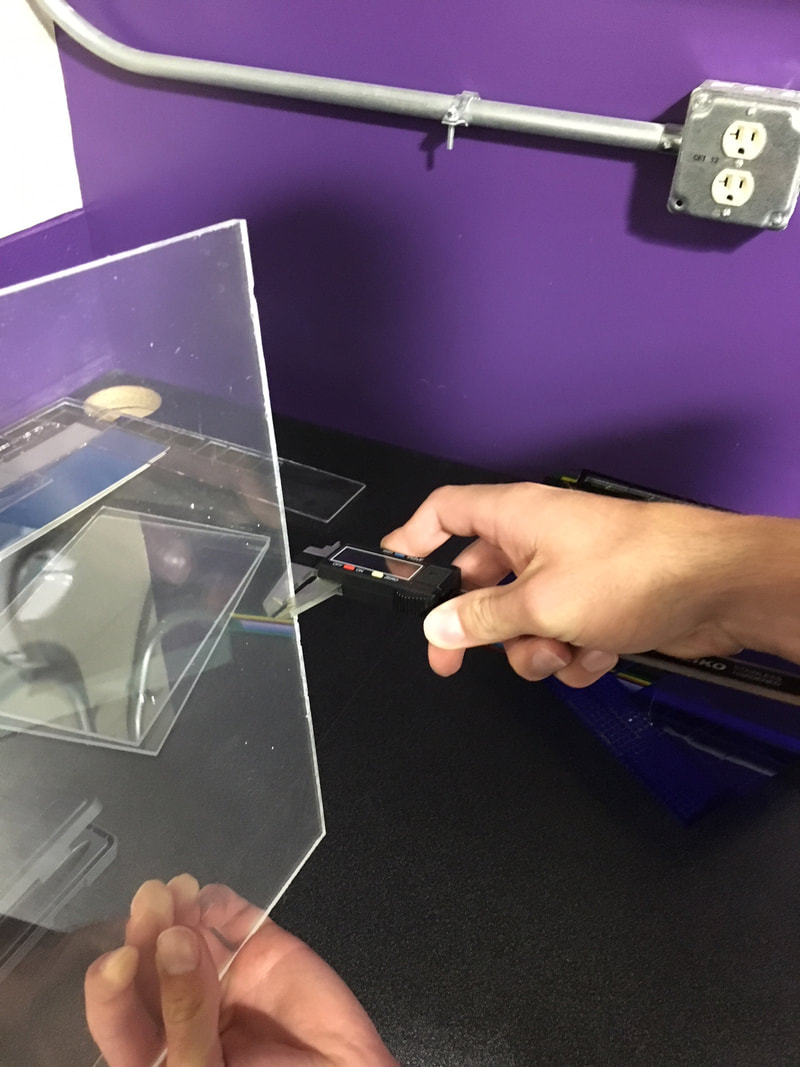
- Use the digital dial caliper to measure the thickness of the material and enter that into the "material thickness" menu
- Select "apply" then "ok" then "print"
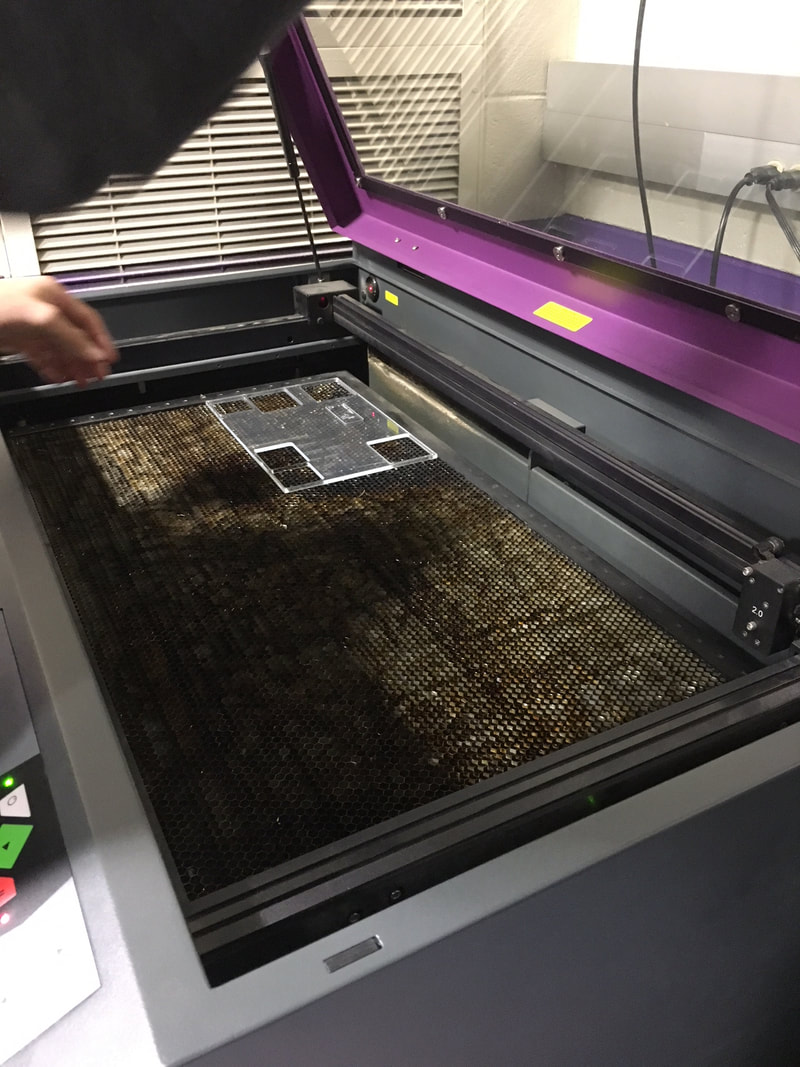
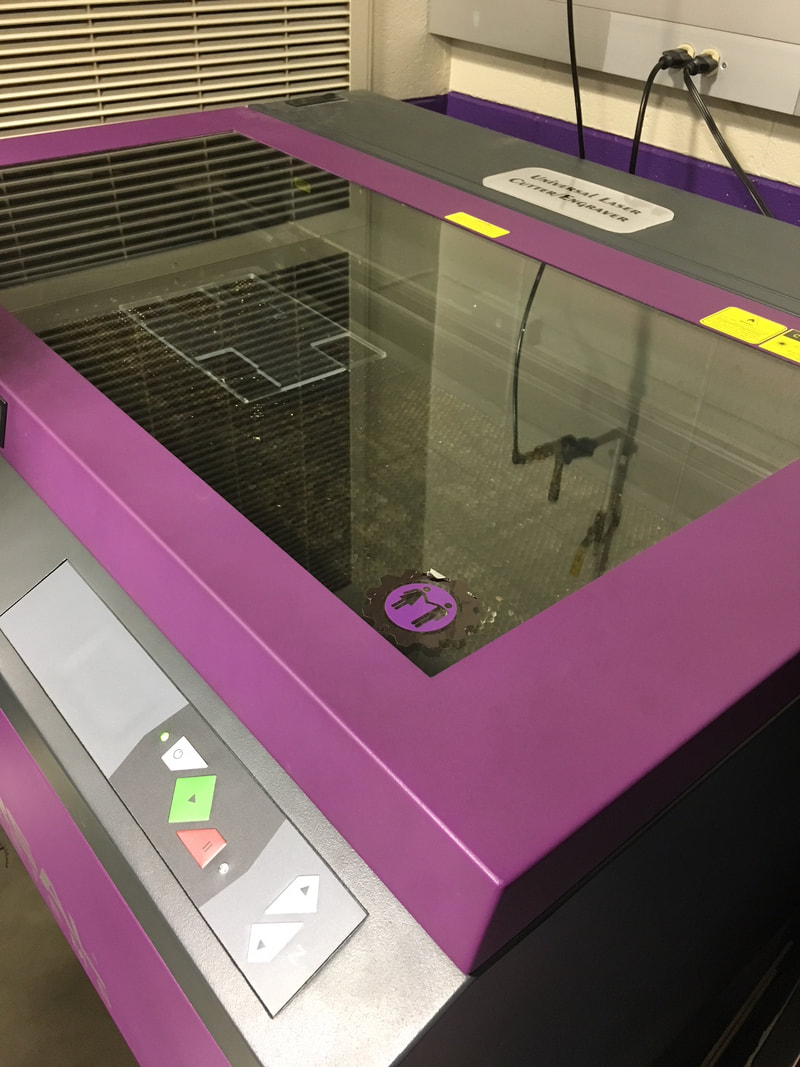
- Place the material in the laser and close the laser
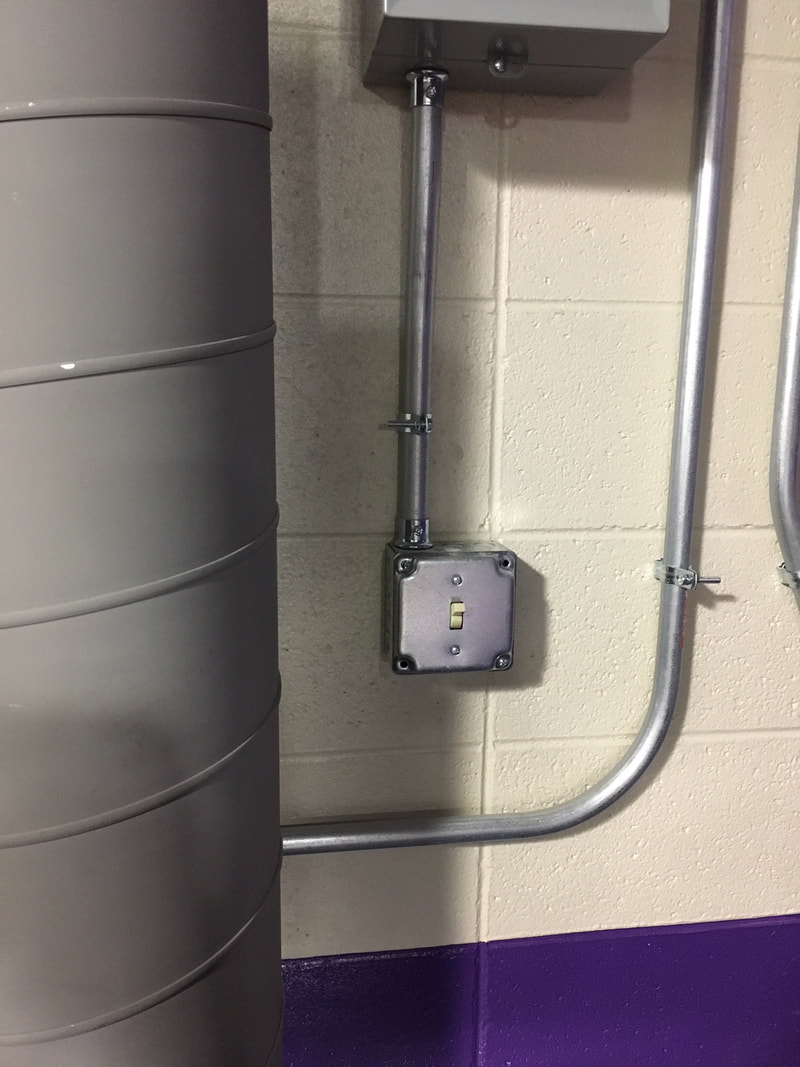
- Turn on the exhaust
- Move the design into an area in the laser where the material is by using the move tool
- Move the laser to a corner of the design by using the move laser tool
- Select the green start button and watch the laser through the entirety of the work

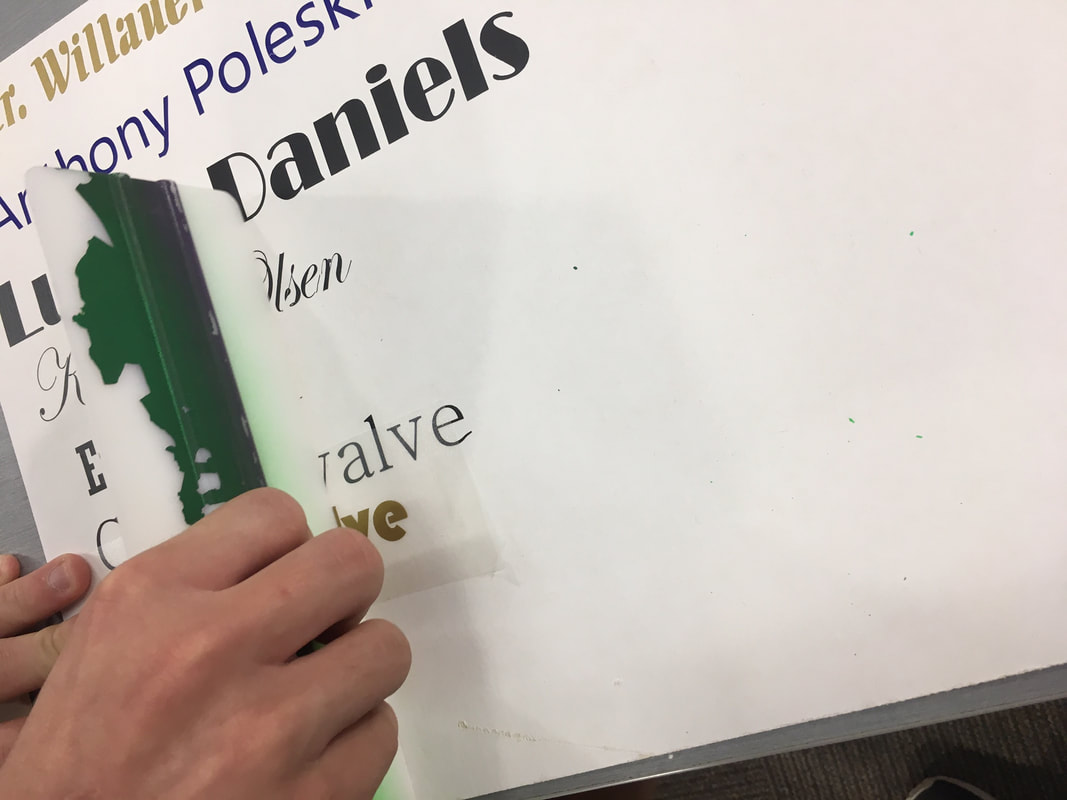
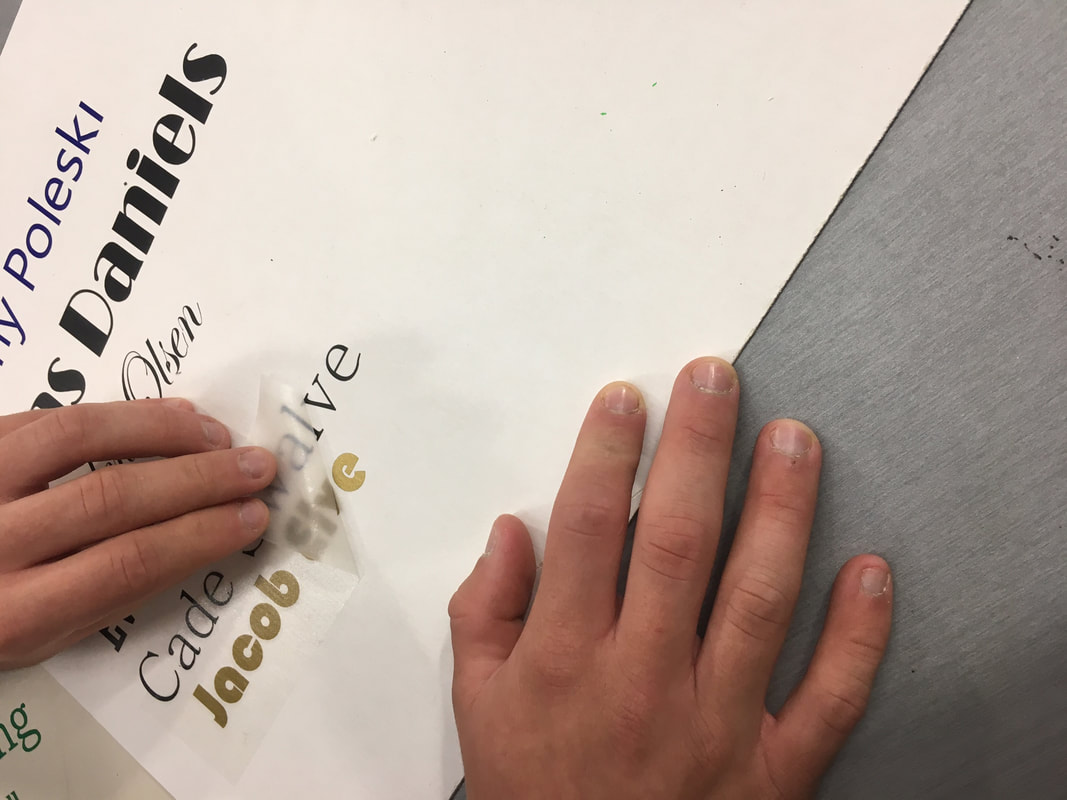
How to apply a vinyl decal
- Cut the area of vinyl that you used from the roll
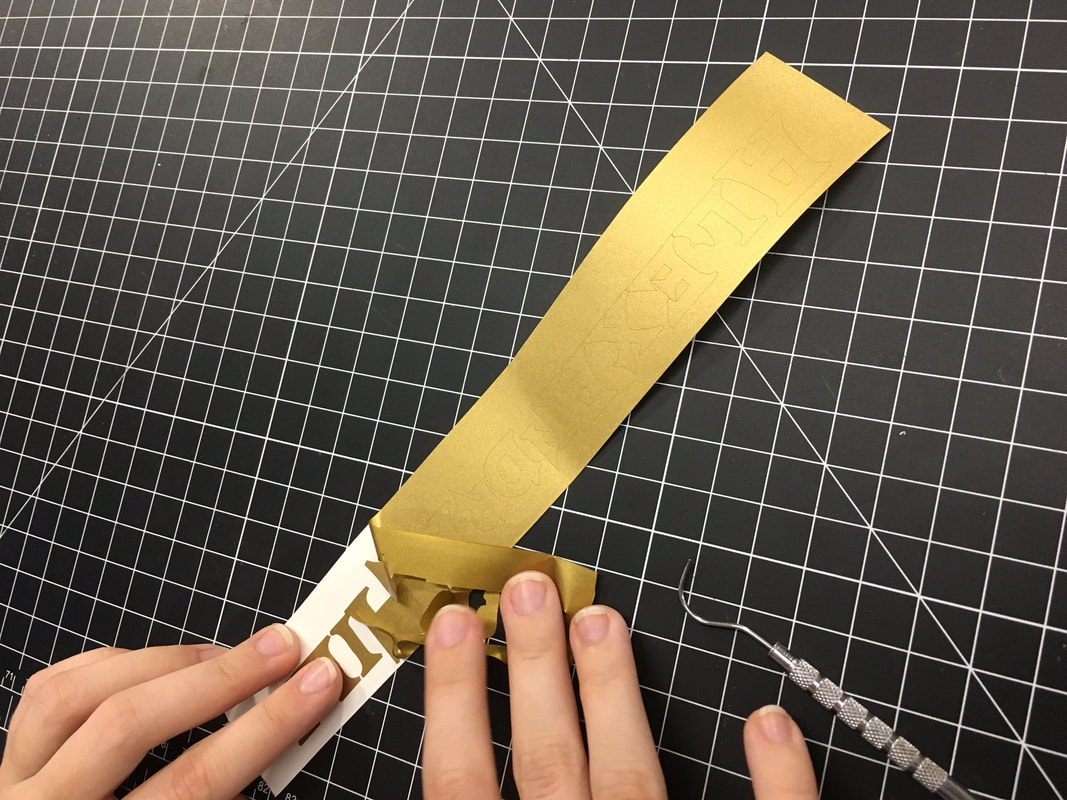
- Take your strip of vinyl with your image or words on it to the cutting pad and start to peel back from one corner at a 45 degree angle
- Use a dental pick if necessary to keep the image or letters from peeling off
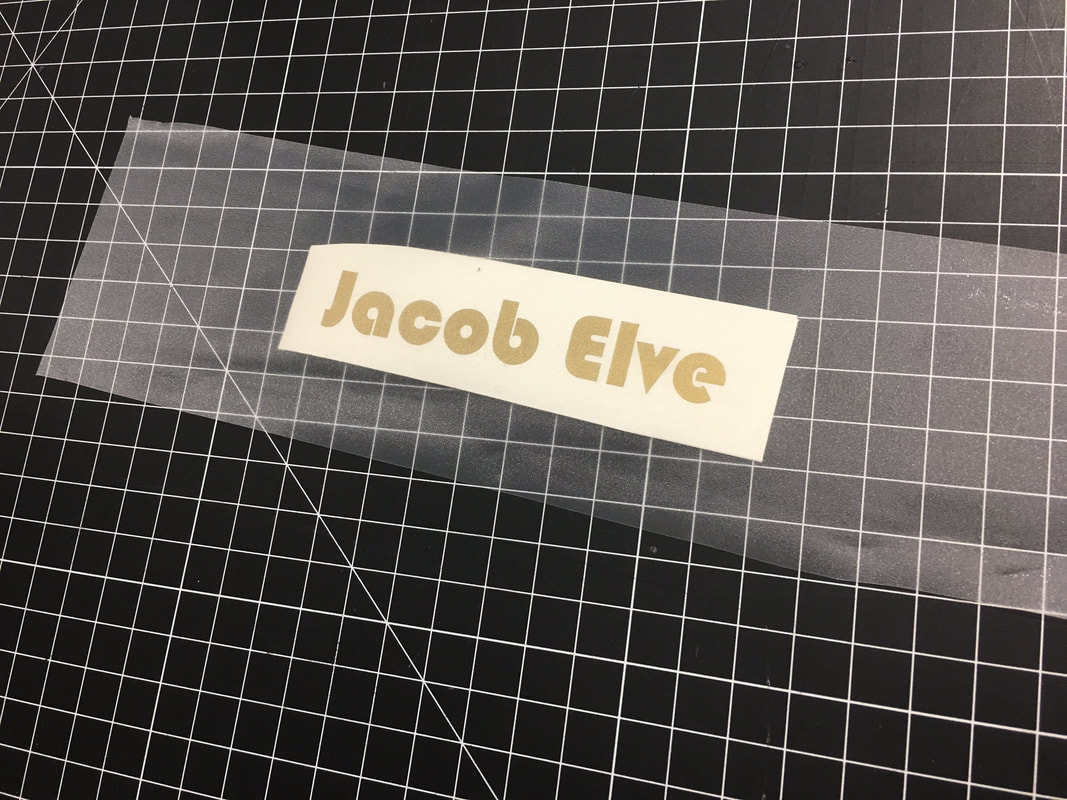
- Pull out the roll of application tape and lay the sticky side up
- Place the decal on the sticky side of the tape and cut the tape off of the roll close to the decal
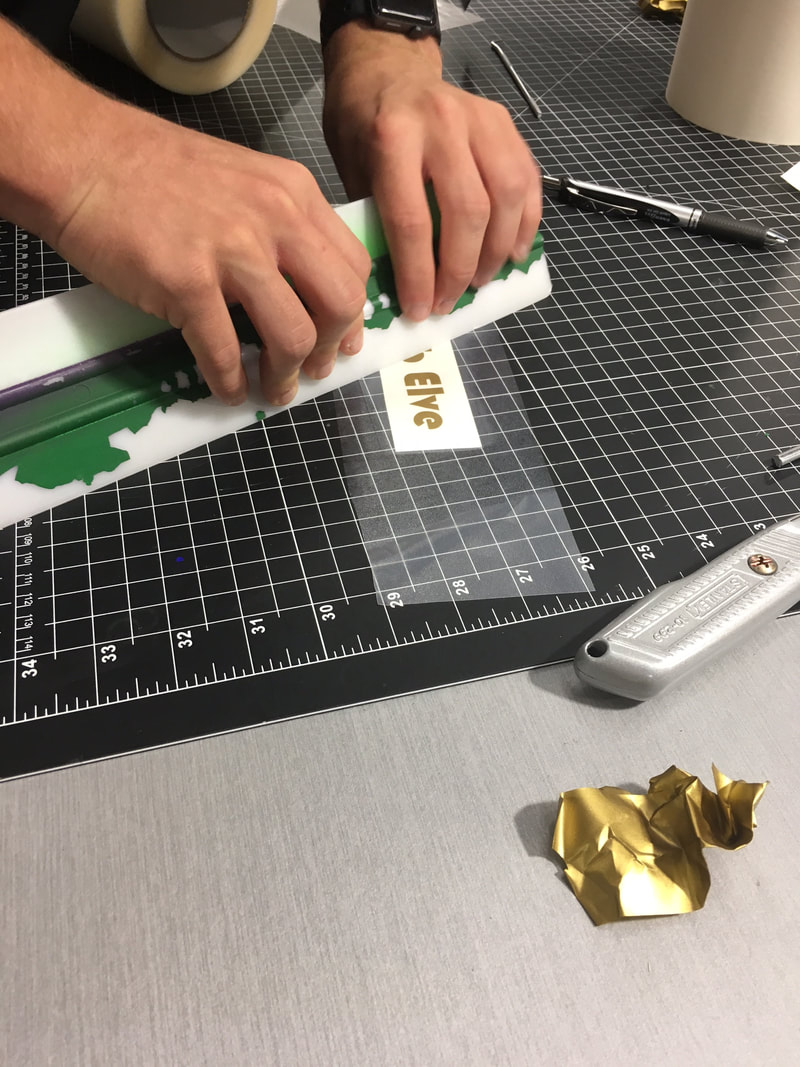
- Use a squidgy apply the tape firmly to the decal
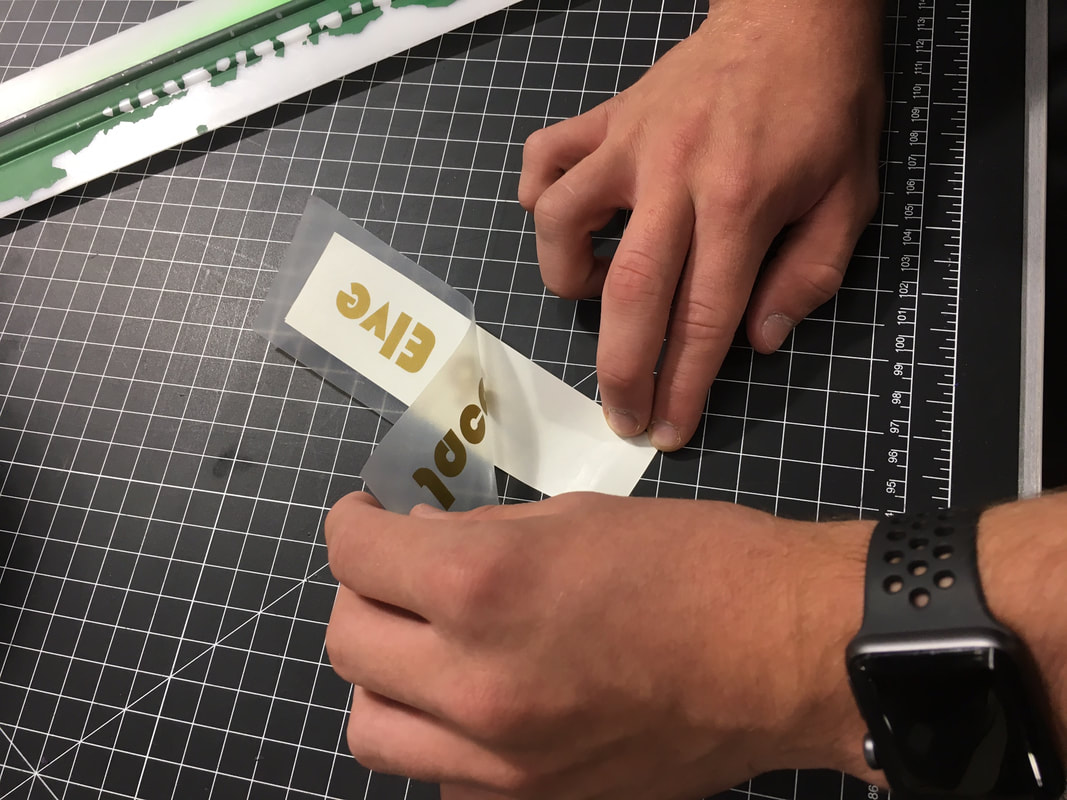
- Strip the decal off of the backing paper at a 45 degree angle, making sure that all parts of the decal are pulled up with the tape
- Select a non porous surface that you want the decal to be placed on
- Place the decal on the surface and squidgy the decal and tape down
- Peel the tape back at a 45 degree angle, making sure that all parts of the decal remain on the non porous surface
What I Learned
Through this introduction to Illustrator I learned how to turn images into vectors from pixels, and how to resize images while keeping the image quality. I also learned how to use different colored lines to create different types of cuts on the laser. I also learned that a number of machines can be paired with Illustrator, such as the laser and the vinyl cutter.
With the laser I learned that it is very important to turn on the exhaust, so the laser does not break. I also learned that it's important to follow ALL of the steps listed above in order to ensure that the laser prints correctly.
When using the vinyl cutter I learned that it is very important to cut on the cutting mats, so the table top does not get cut into. I also learned that it is very important to press hard when using the squeegee, so that all of the vinyl that was cut is brought up by the application tape and then sticks to the surface.
