Individual Laser Assignments
For this project I created three items using the laser: a notebook, a water bottle, and a 3D item.
Notebook
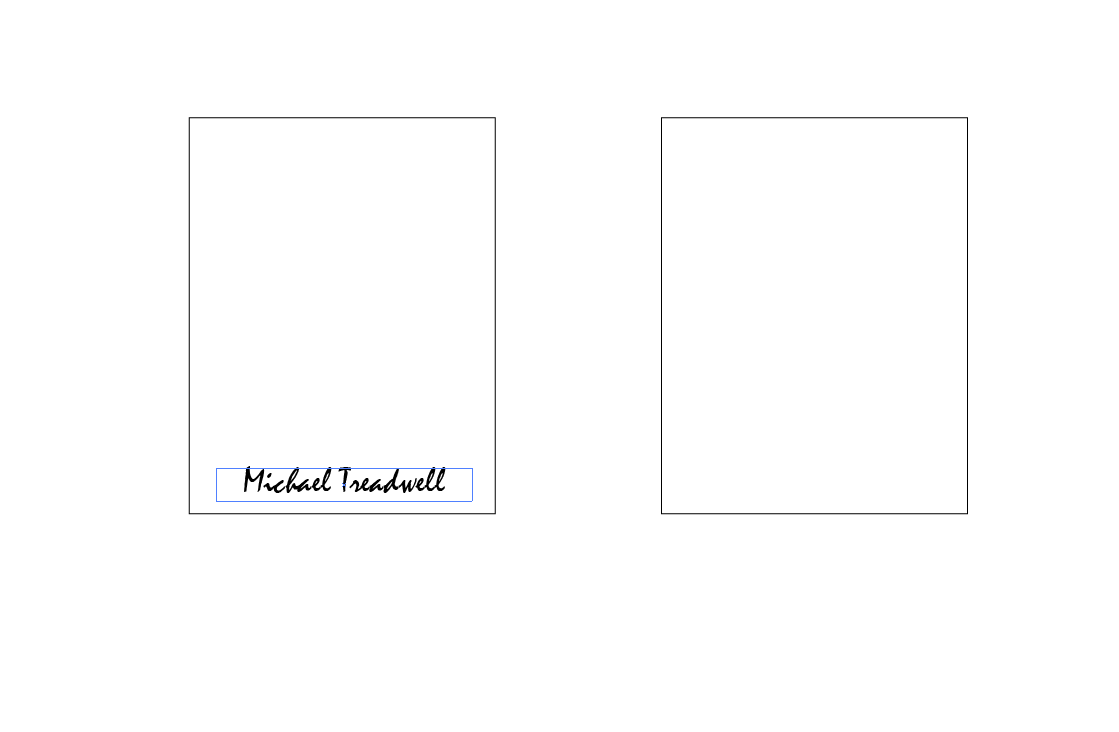
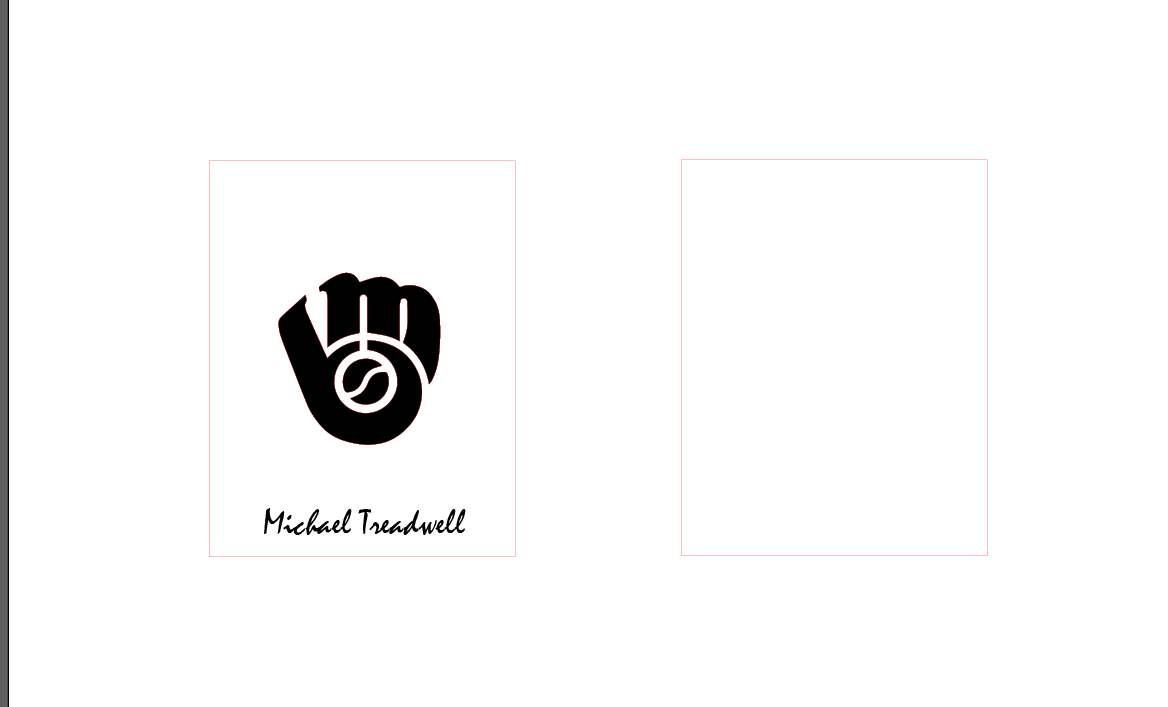
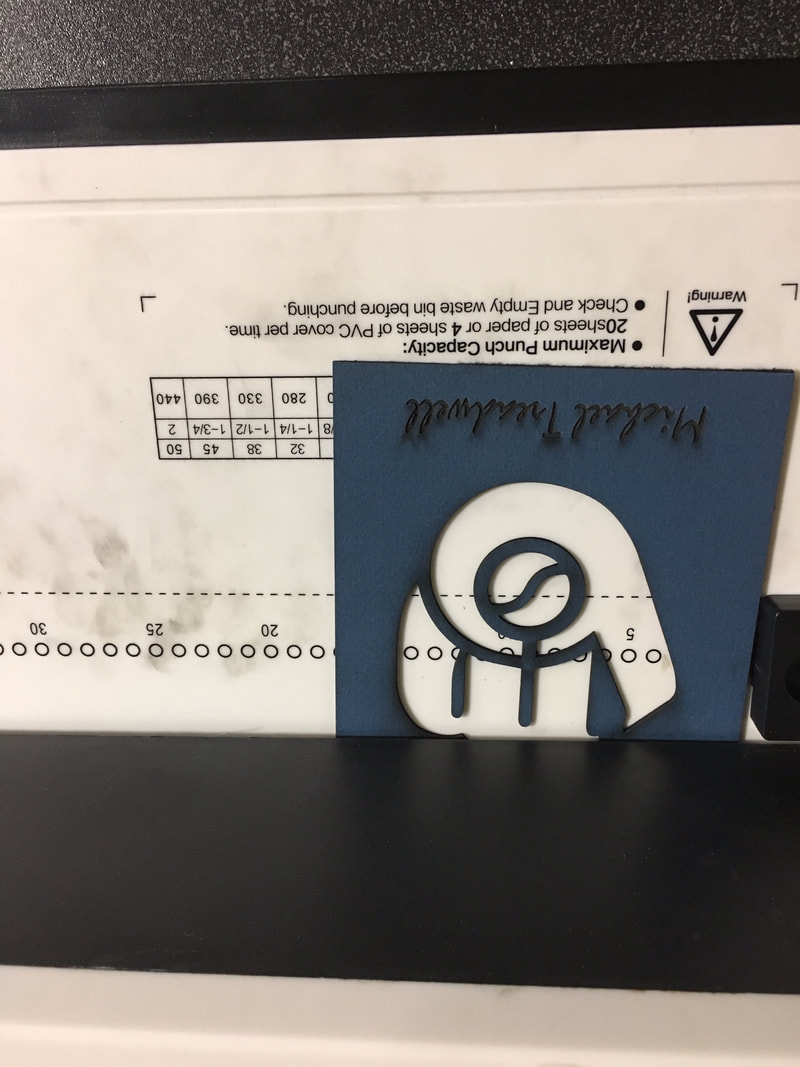
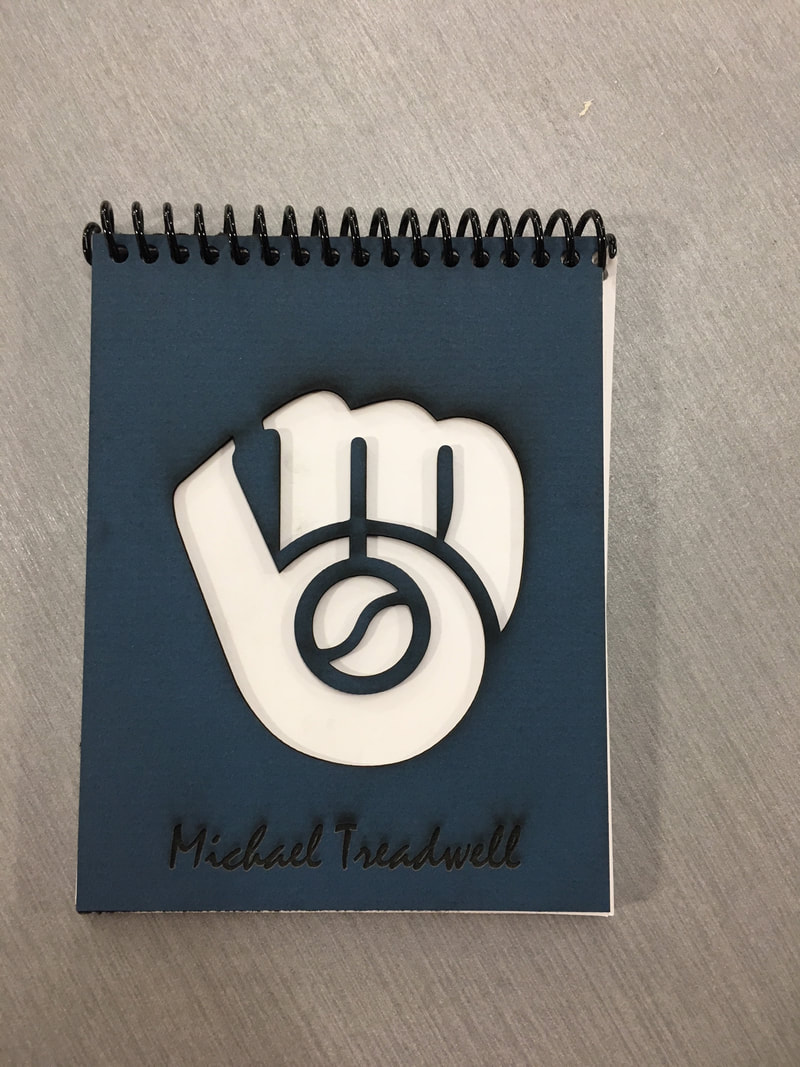
The first project that I created was the notebook. I started by using Illustrator to set up the front and back covers, both of which had dimensions of 4.25x5.5. I then had to create a design on the covers, with the front cover having both engraving and cutting processes. I decided to create a Milwaukee Brewers themed notebook. I placed a stencil of the retro logo on the front cover and created red lines around it so that it would be cut out. I then placed the newer logo on the back cover and left that in black to be engraved. I also added my name to the front cover for the engraving process requirement of the front cover.

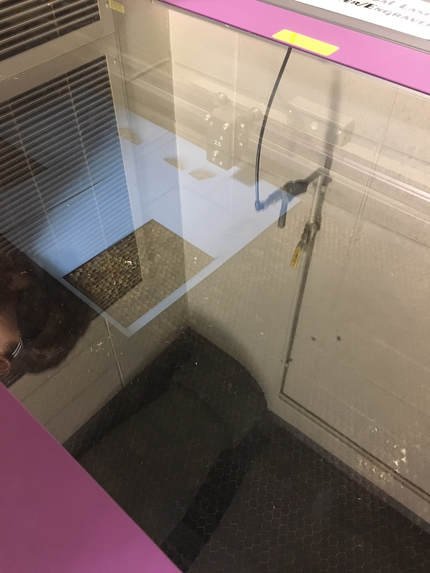
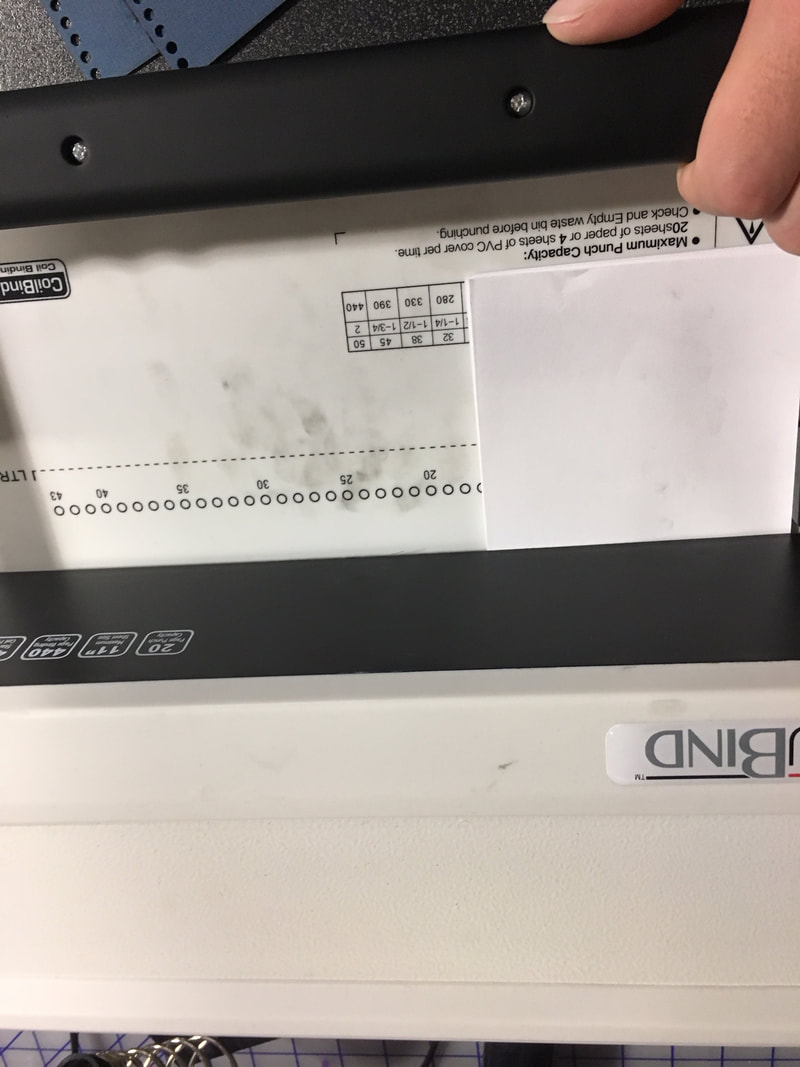
Next, I took the Illustrator file to the laser. I chose to use blue matboard because that is the Brewer's primary color. I used the digital dial caliper to measure the thickness of the matboard and entered that into the material thickness section on the preferences screen. On the same screen I also chose the material as matboard. I then printed the file, which sent it to the UCP. I placed the matboard in the upper left corner of the laser and used the pointer tool on the UCP to ensure that my entire design would be engraved/cut on the matboard. I then started the laser and the covers were cut.
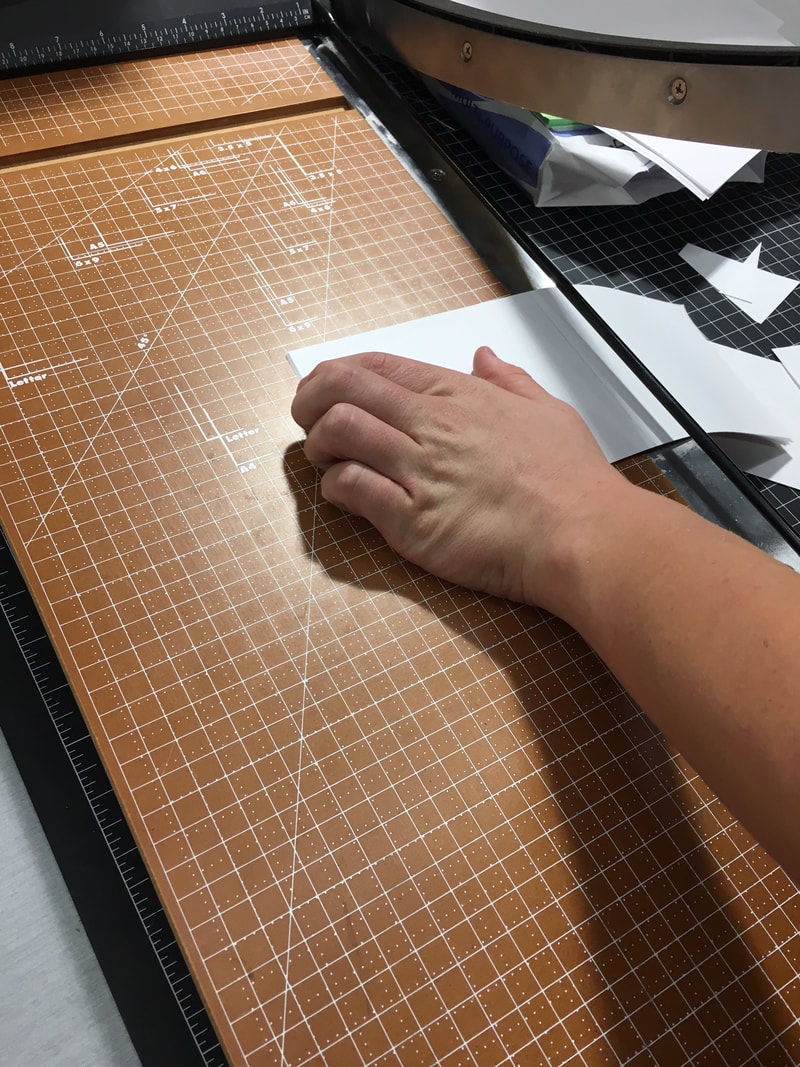
I then proceeded to cut sheets of paper for my notebook. I cut ten sheets of printer paper into fourths using the paper cutter in the lab. I punch holes in the 40 sheets of paper using the hole punch. I also used the hole punch to punch the same holes into the covers of the notebook. I then twisted on the spiral paper holder into the holes and cut off the excess with a wire cutter. My notebook was then complete.

Water Bottle
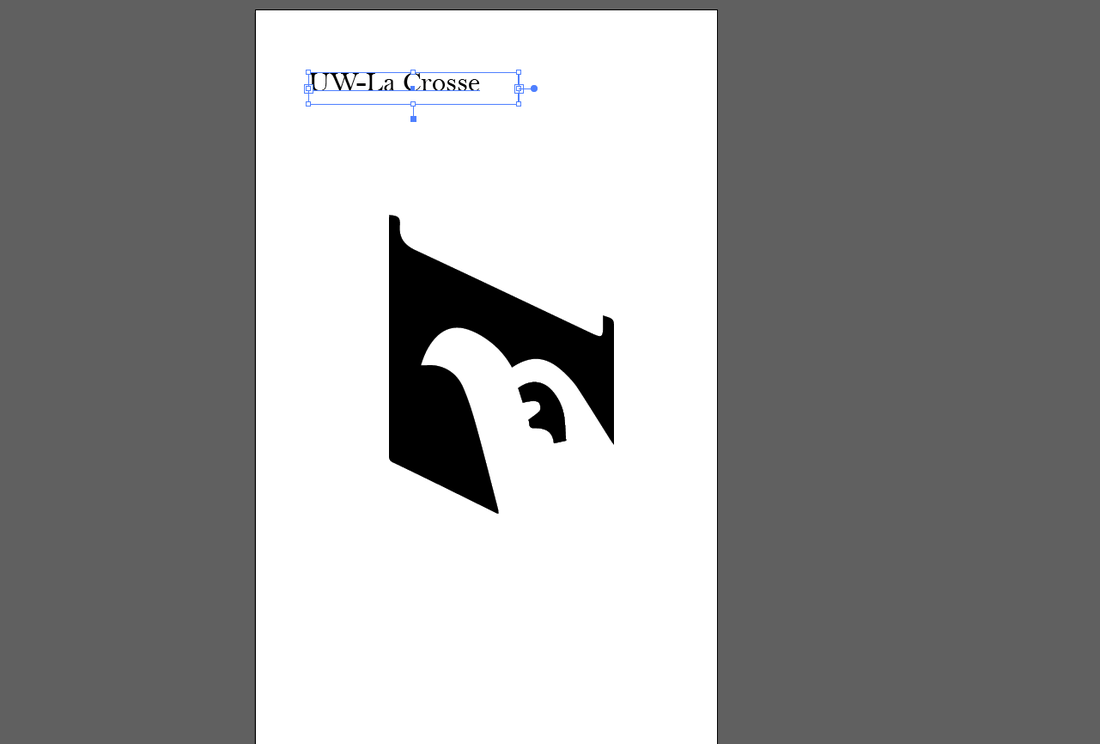
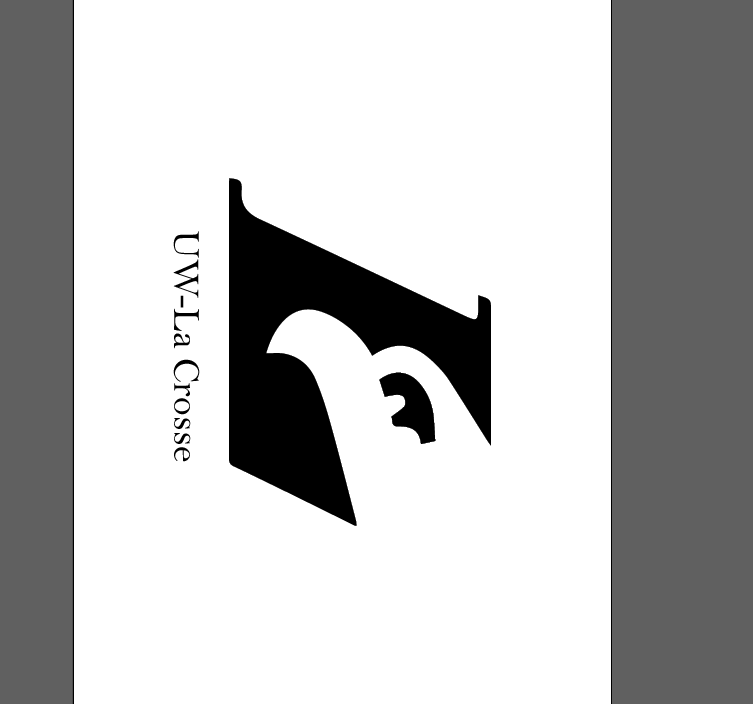
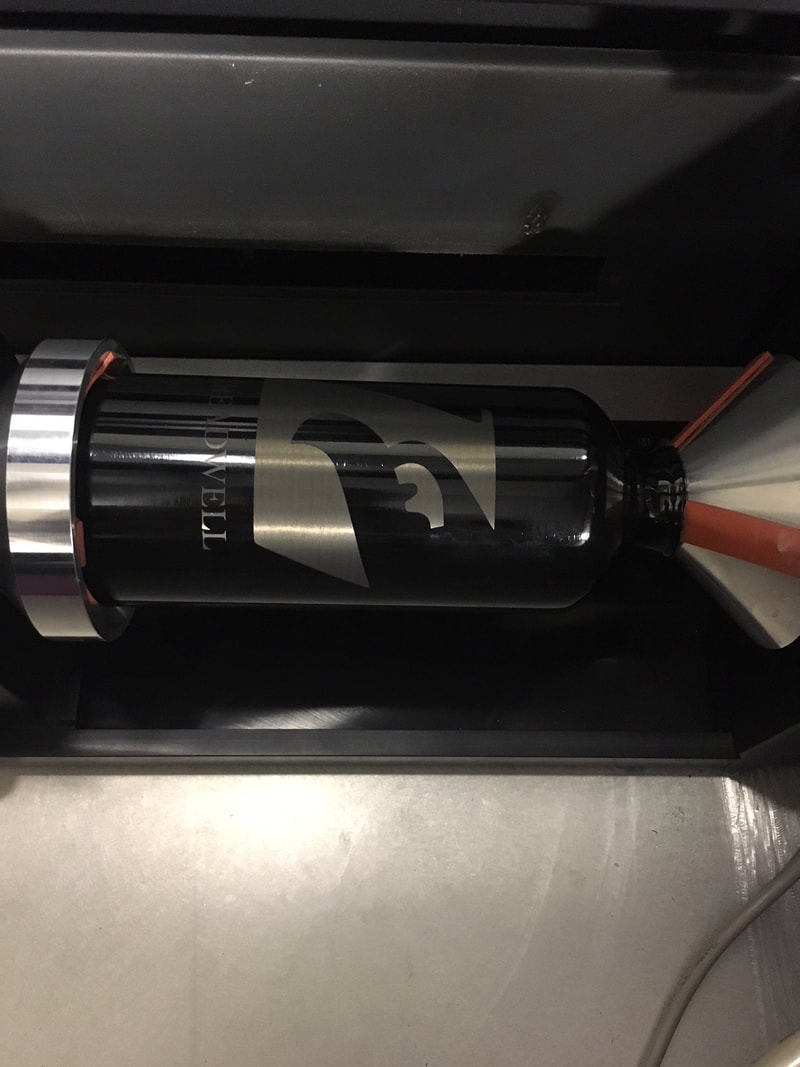
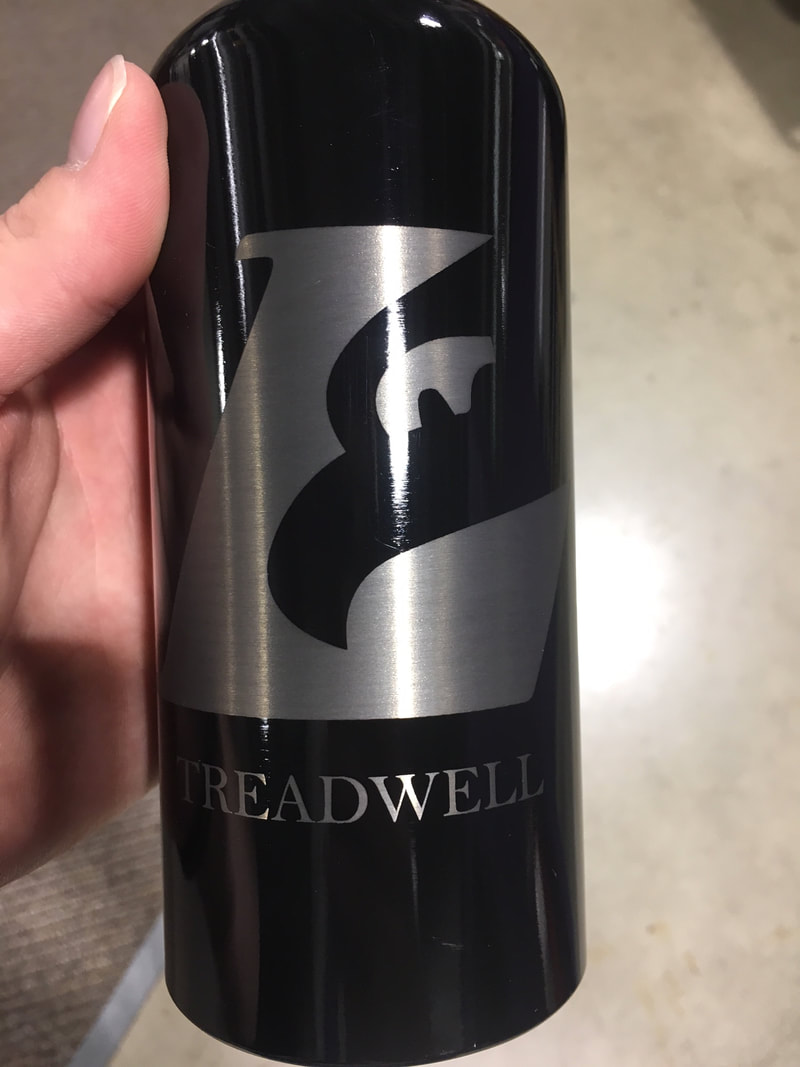
My idea for my water bottle design was initially for me, but then I realized Christmas is coming up, so I decided to make my brother a present. I first set up my Illustrator art board. I chose the UW-La Crosse logo for my design, because that is where my brother goes to school. I also added our last name onto the design. I then rotated the design 270 degrees because that it how the bottle is engraved using rotational jig of the laser.
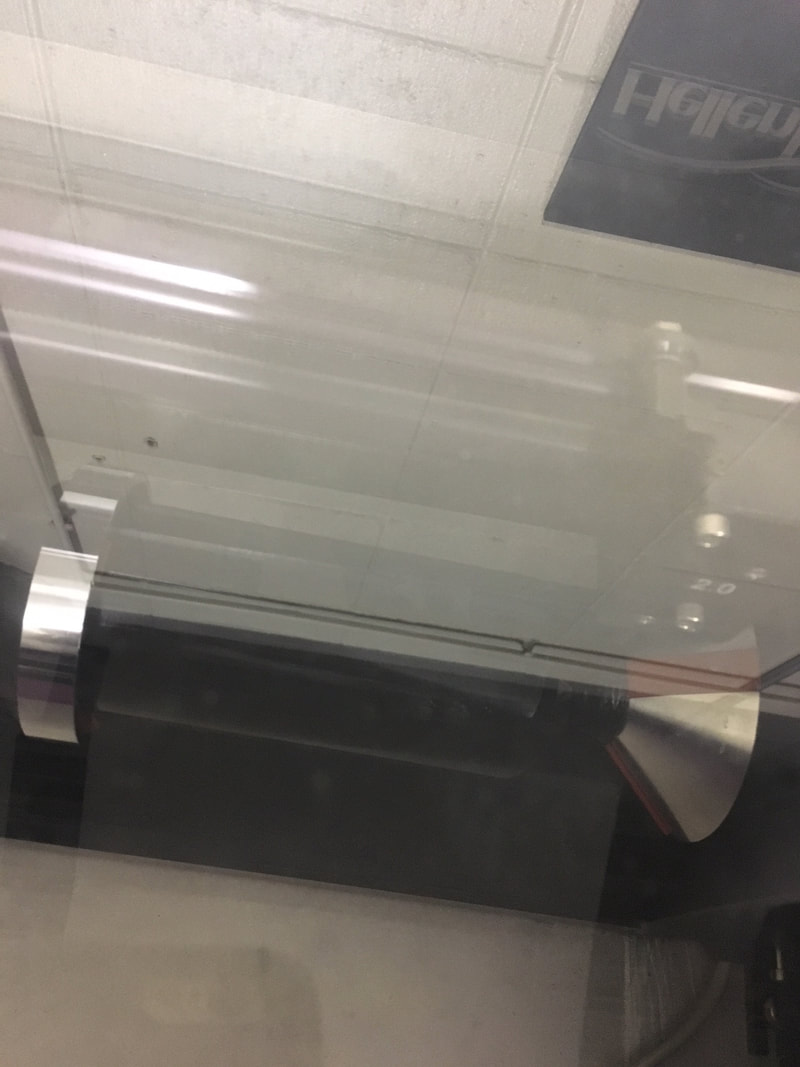
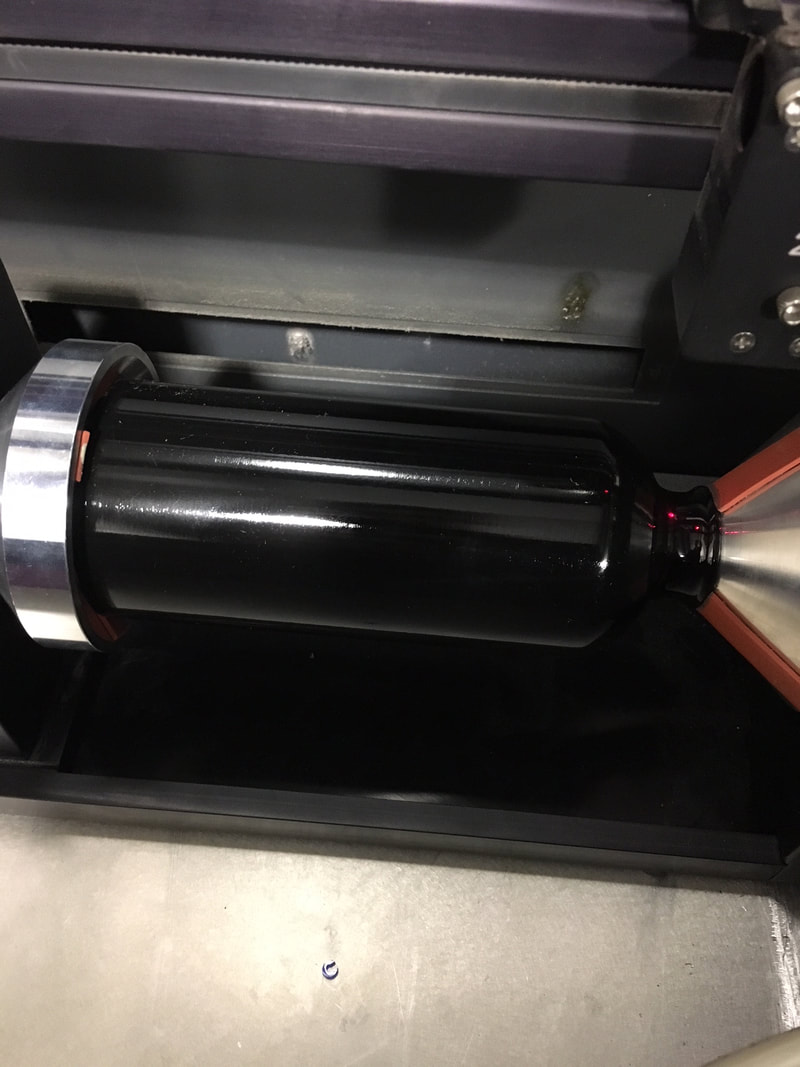
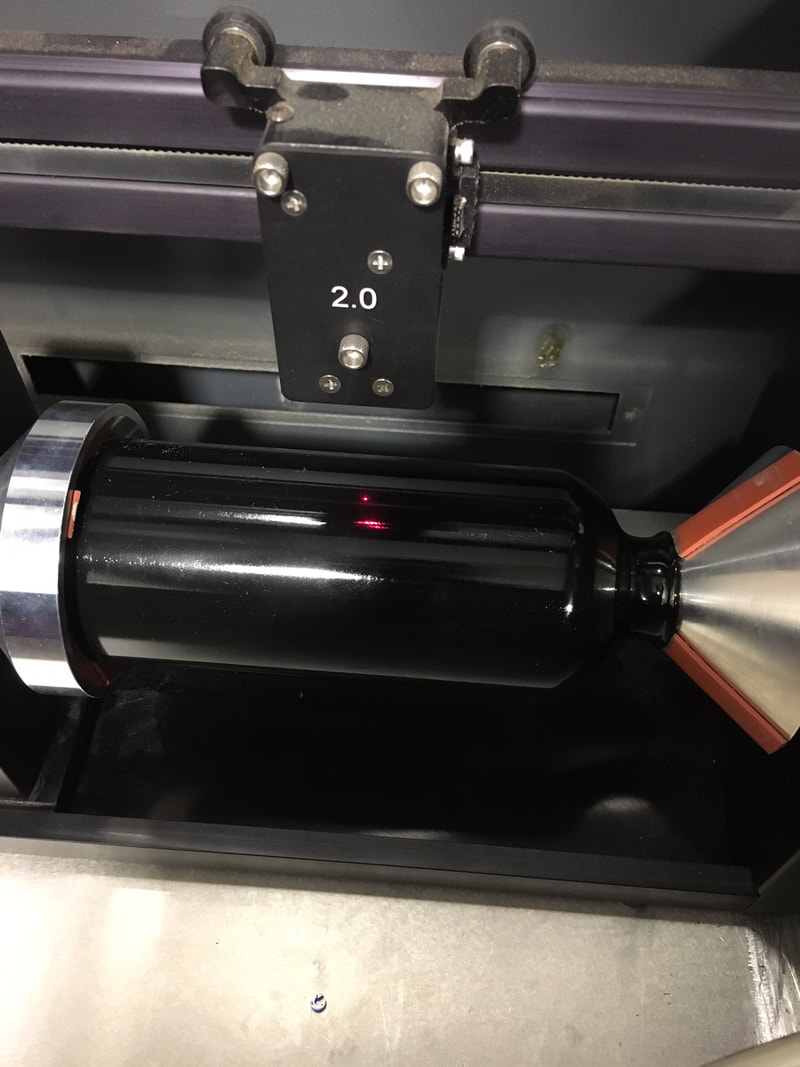
I then took my file to the laser. I first had to take out the cutting bed and place the rotational jig in the laser. I then uploaded my file onto the laptop and opened the preferences menu. I changed the material to anodized aluminum. I also changed the fixture type to rotary. I then used the dial caliper to measure the diameter of the bottle and entered that into the diameter menu. I proceeded to print the item which opened the UCP. I turned on the exhaust and secured the bottle in the jig, then used the pointer to find the center of the bottle. I used the "to pointer tool" and placed the center of the design to the center of the water bottle. Next I started the laser and waited for the design to be complete. I then took the finished water bottle out of the laser.
3D Object
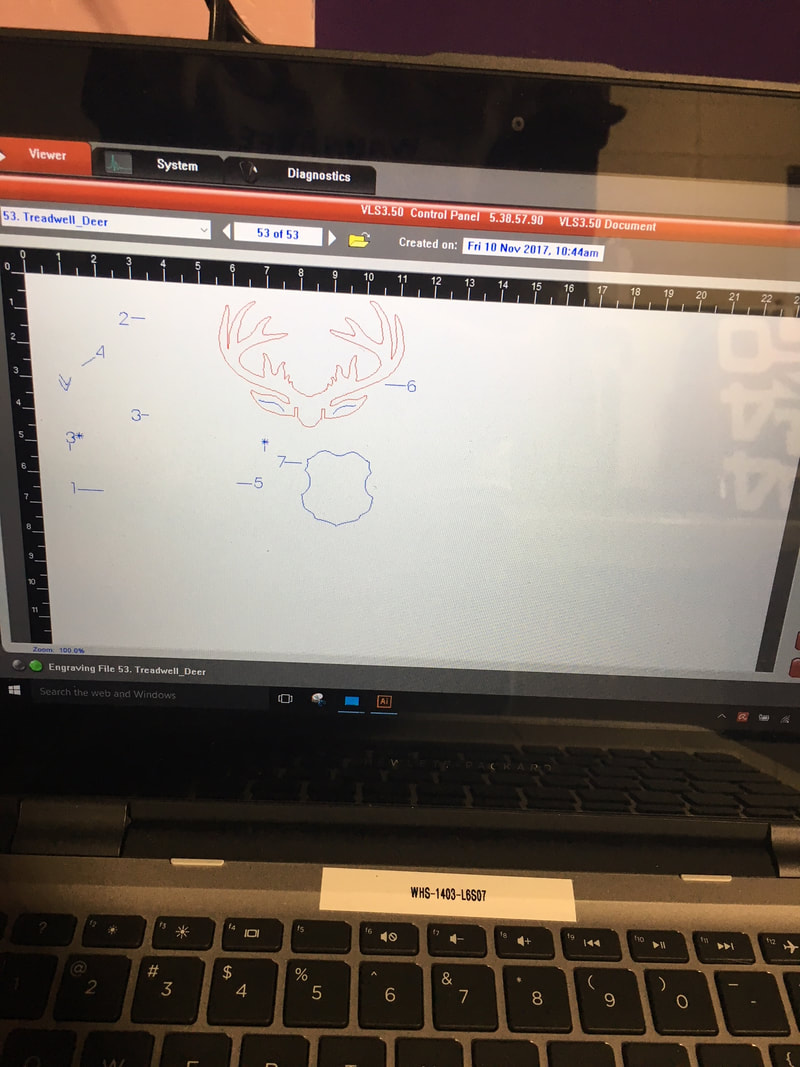
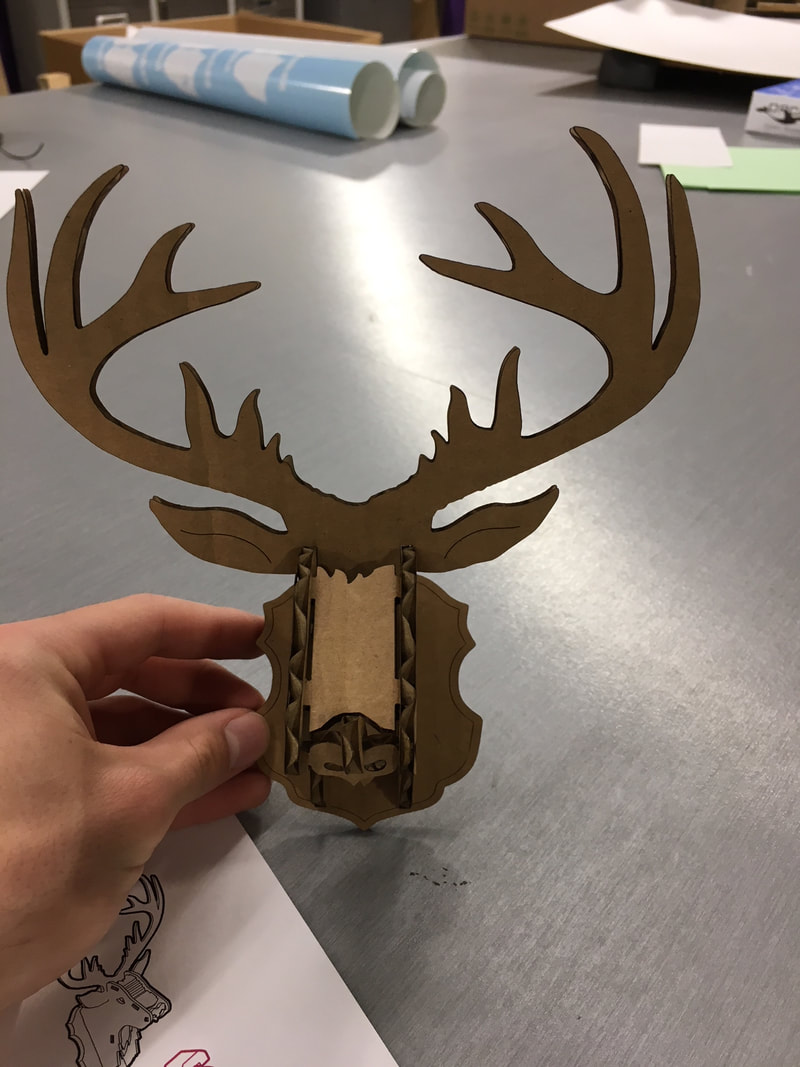
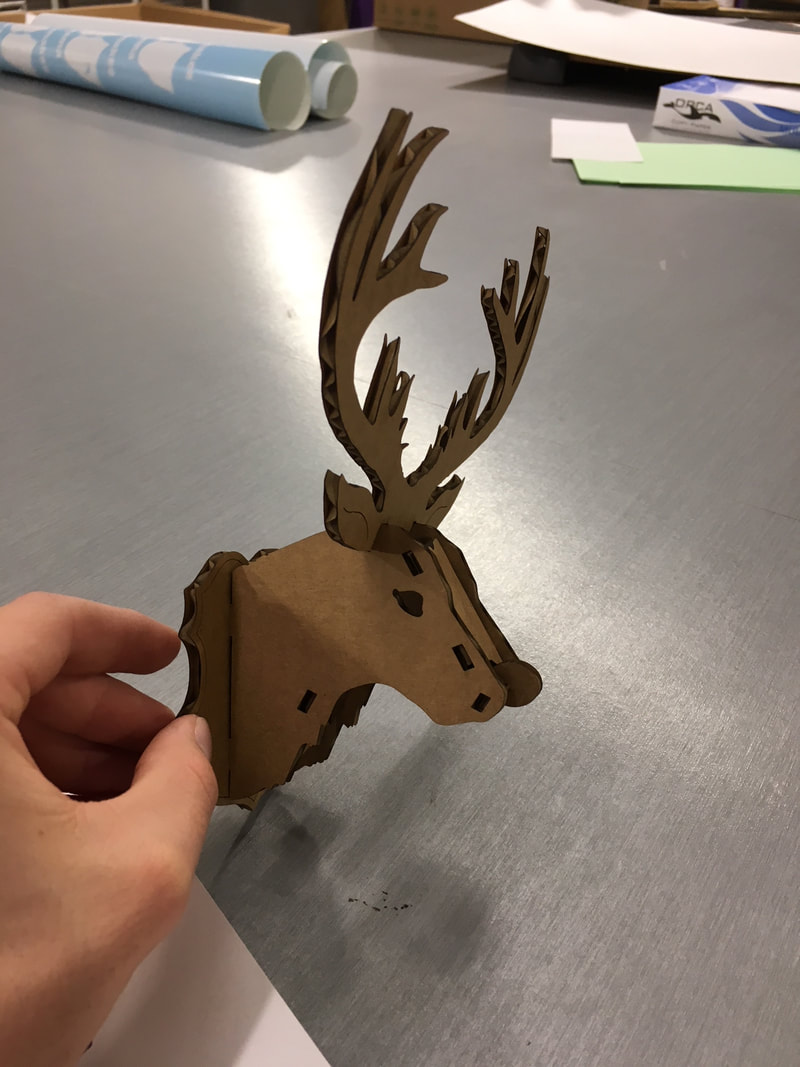
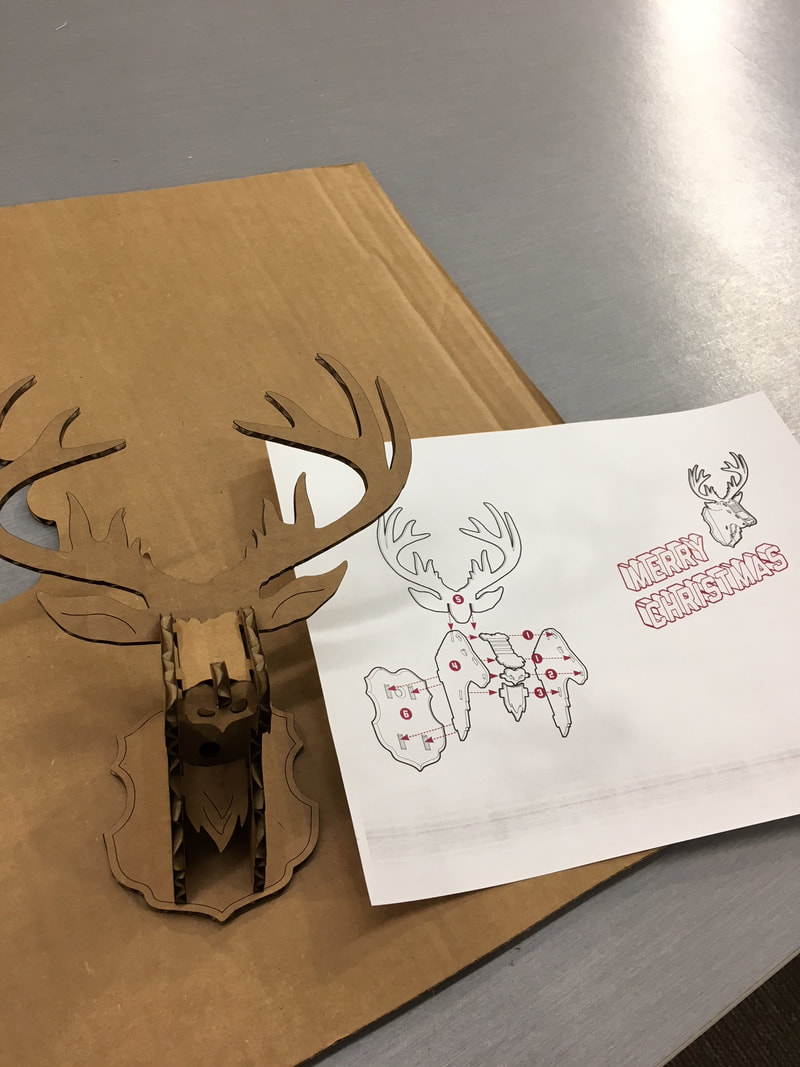
For this part of the laser rotation I used the website https://www.thingiverse.com/ to find a 3D item to create using the laser. I looked through many ideas and decided to use the files for a deer head. I chose this because I enjoy deer hunting and it is a cool Christmas decoration. The thingiverse file gave me a layout of the pieces used to create the 3D deer. By using the thingiverse files all I had to do was open it in Illustrator and scale it to the size that I wanted, which was about twice the size of the original file.
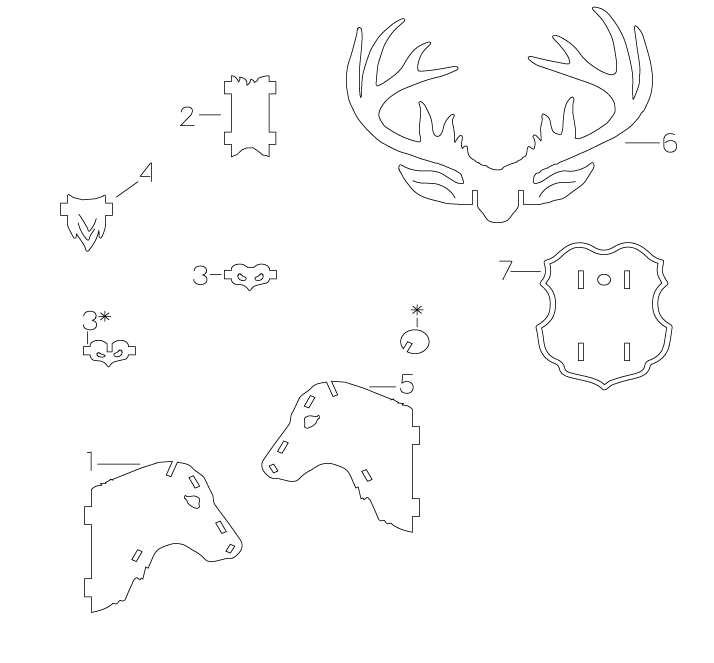
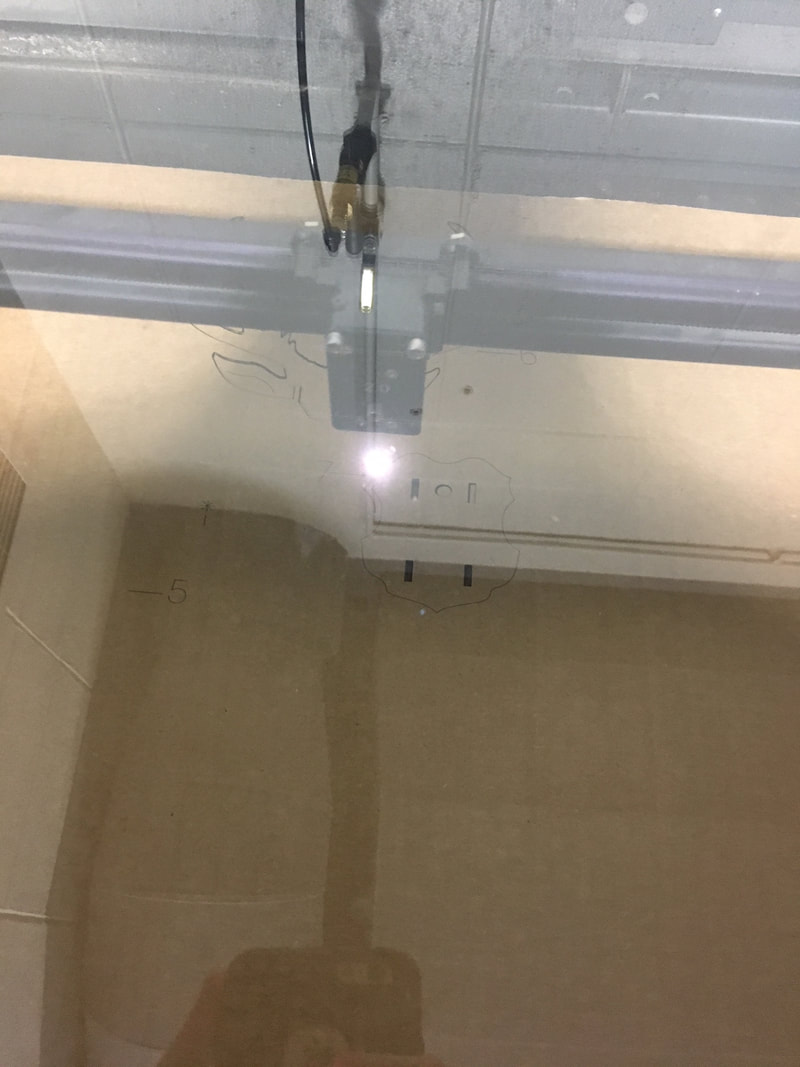
I saved the file to my flash drive and took it to the lab. I cut cardboard to a size that would fit in the laser, measured the thickness of the material with the dial caliper, then placed it in the laser. I then uploaded my file onto the computer and opened Illustrator. I pressed print and opened the preferences menu. I changed the material to mat board, because it is the closest material to cardboard on the UCP. I then changed the thickness to the number that I got when I used the dial caliper on the cardboard. I applied the changes and pressed print, sending the file to the UCP. I moved the design to the top left corner of the laser bed because that was where the cardboard was located. I used the pointer tool to test all four corners of the design to ensure that the entire design would be on the cardboard. I proceeded to start the laser and watch carefully as the laser cut, making sure no fire was started. When the pieces were finished I took them out of the laser and over to the work table to assemble the deer. I followed the steps on the blueprint sheet that came with the files and completed the deer.
What Did I Learn in this Rotation?
This rotation was a lot different than the other two because I was able to use completely new things on the laser. First, I learned how to take out the cutting bed. I learned that it just lifts right out and is surprisingly light. I also learned how to put in the rotational jig, and that you must place the two pegs in their holders and plug the jig in for it to work with the laser. The final thing that I learned in this rotation was that the laser can be used to create three dimensional items. I had not thought of creating a 3D item in the laser until this rotation. Overall it was a neat rotation, especially when we were able to use the new laser.
