Our Idea
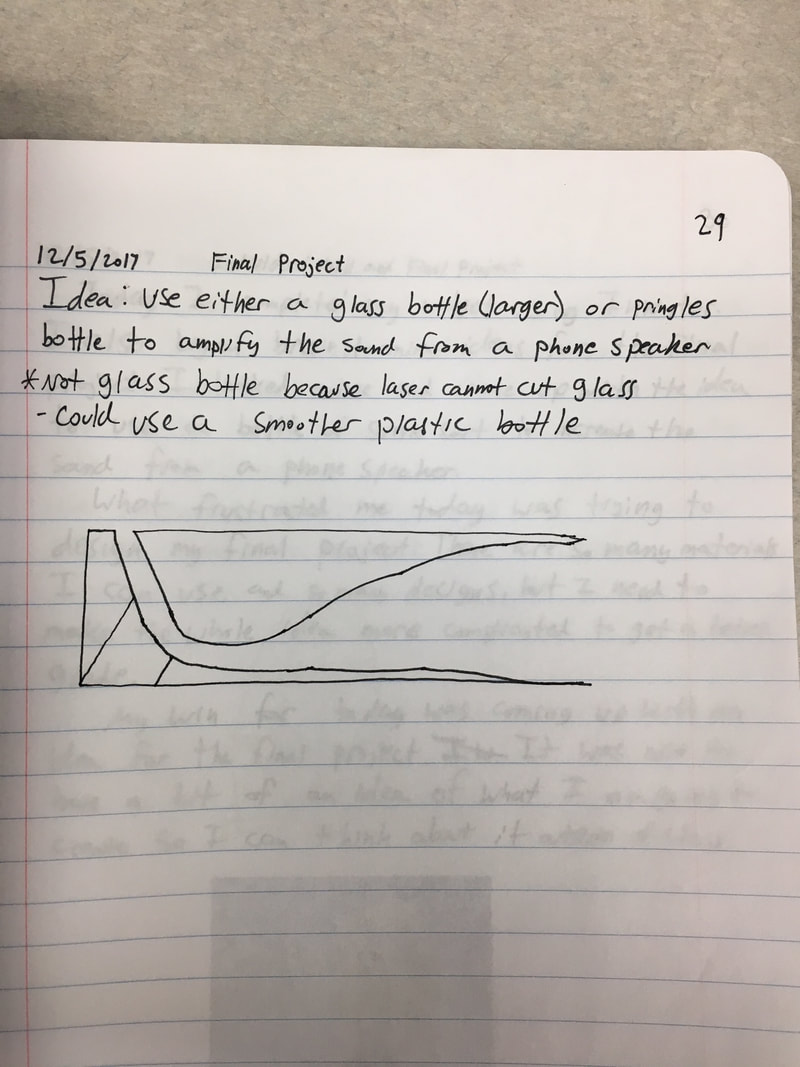
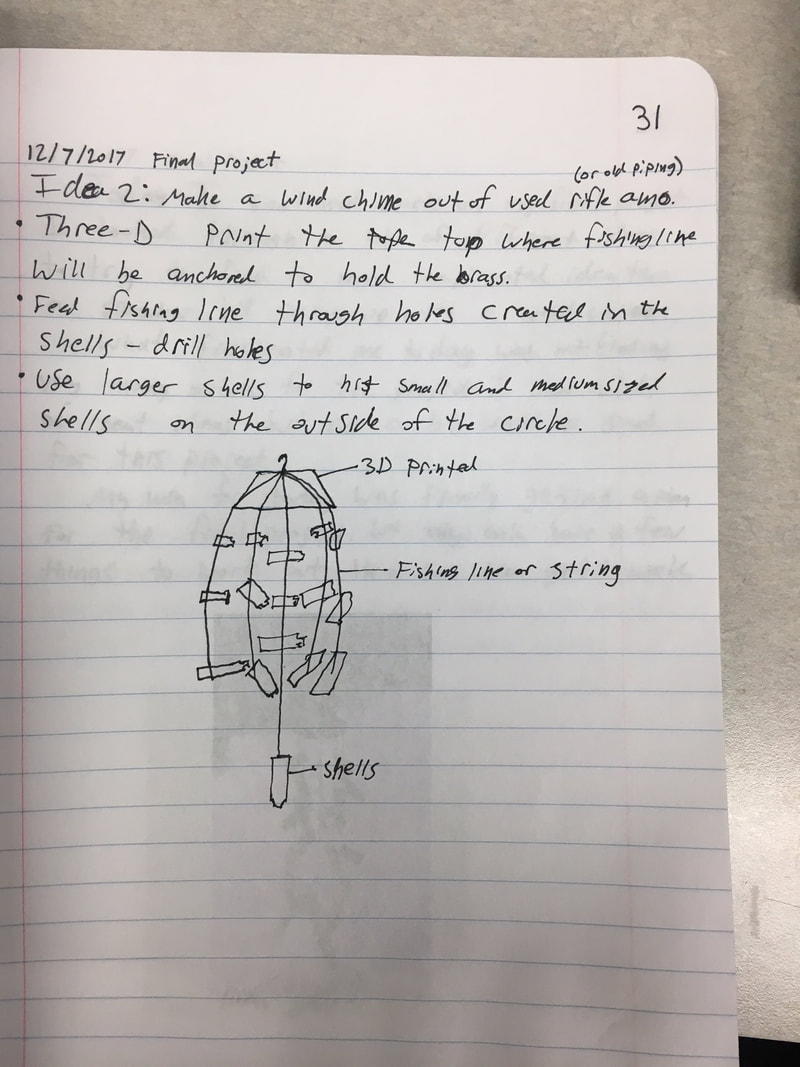
The task given to us for this project was to use every day items and the machines in the lab to create a project that reused items that would normally end up in landfills. Our original idea was to create a speaker system, but after concluding that we needed to create a more sophisticated project we settled on a wind chime. The materials that we planned on using were rifle shells and fishing line. However, we were unable to use the rifle shells because of school policy. To compromise, we decided to use copper piping that Brandon had sitting around his house. We also decided to use string instead of fishing line to create a more stable structure for the chime. These two items often end up in landfills after a one or two time use, so they were perfect to use for this project.
The machines that we needed to use were the 3D printer, vinyl cutter, and the metal drill press. The 3D printer would be used to create the top of the chime, wind catcher, and clapper (hits the pipes). The vinyl cutter would be used to customize each pipe. The metal drill press would be used to drill holes into the pipes for the string to be fed through.
Because our project one of a smaller scale, we were required to make two prototypes of the chime.

3D Printing
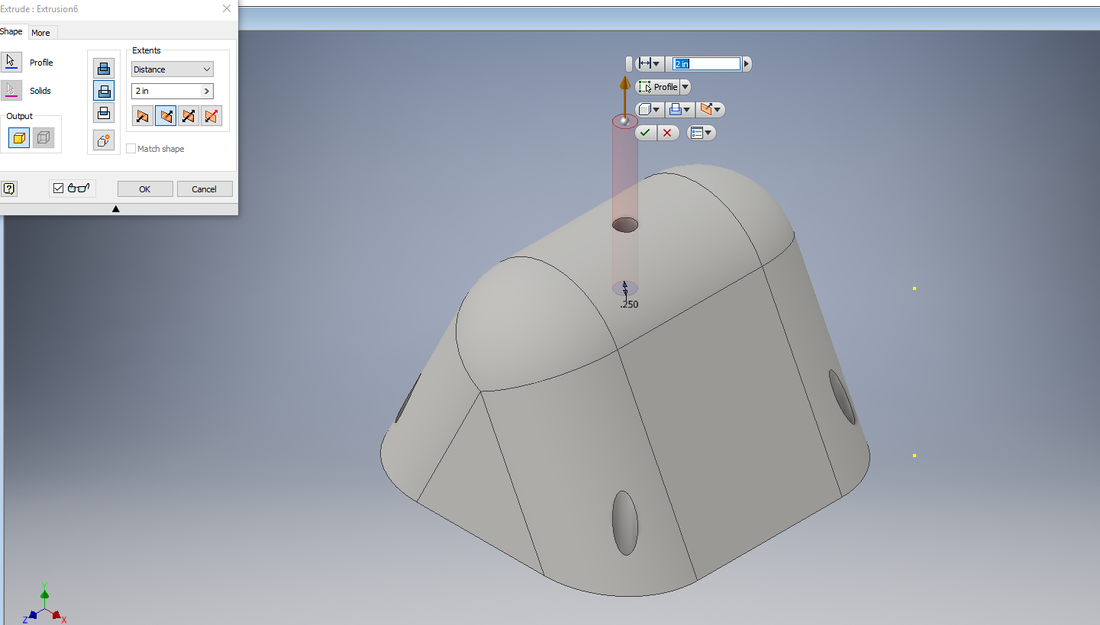
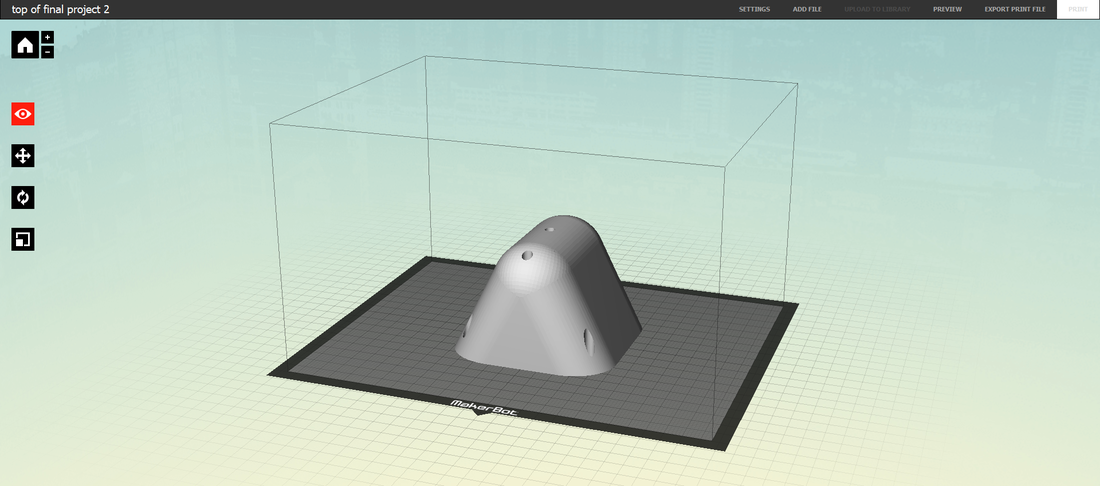
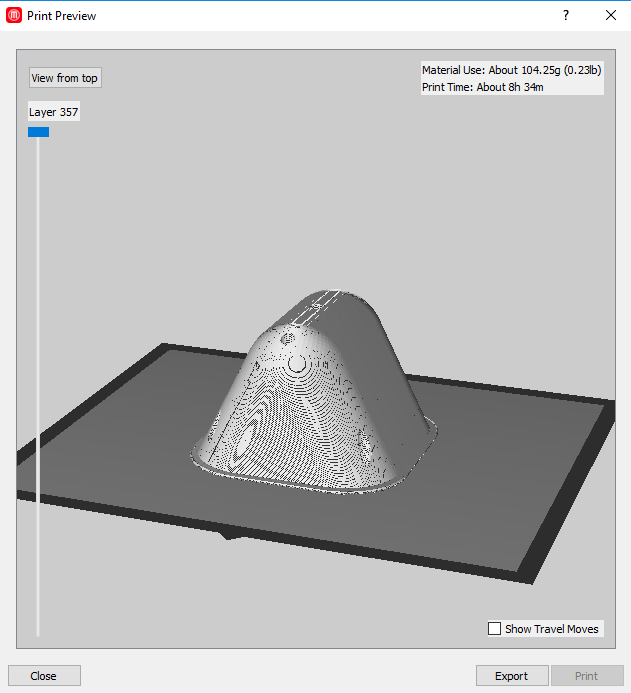
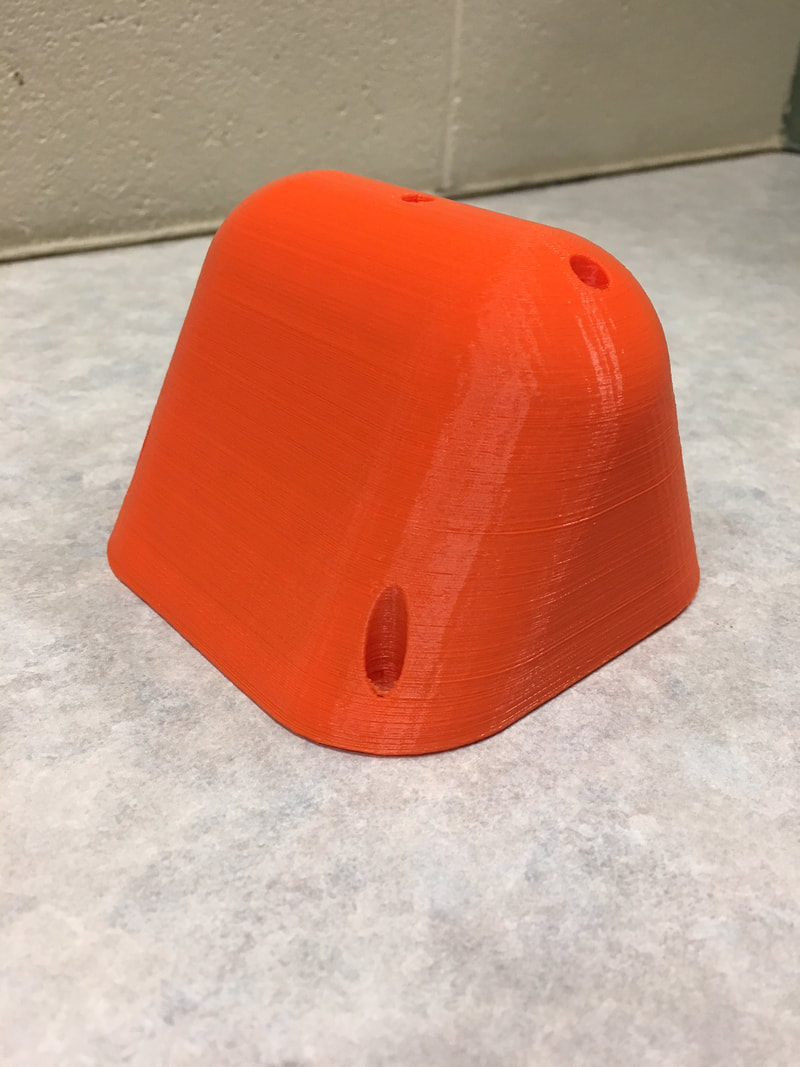
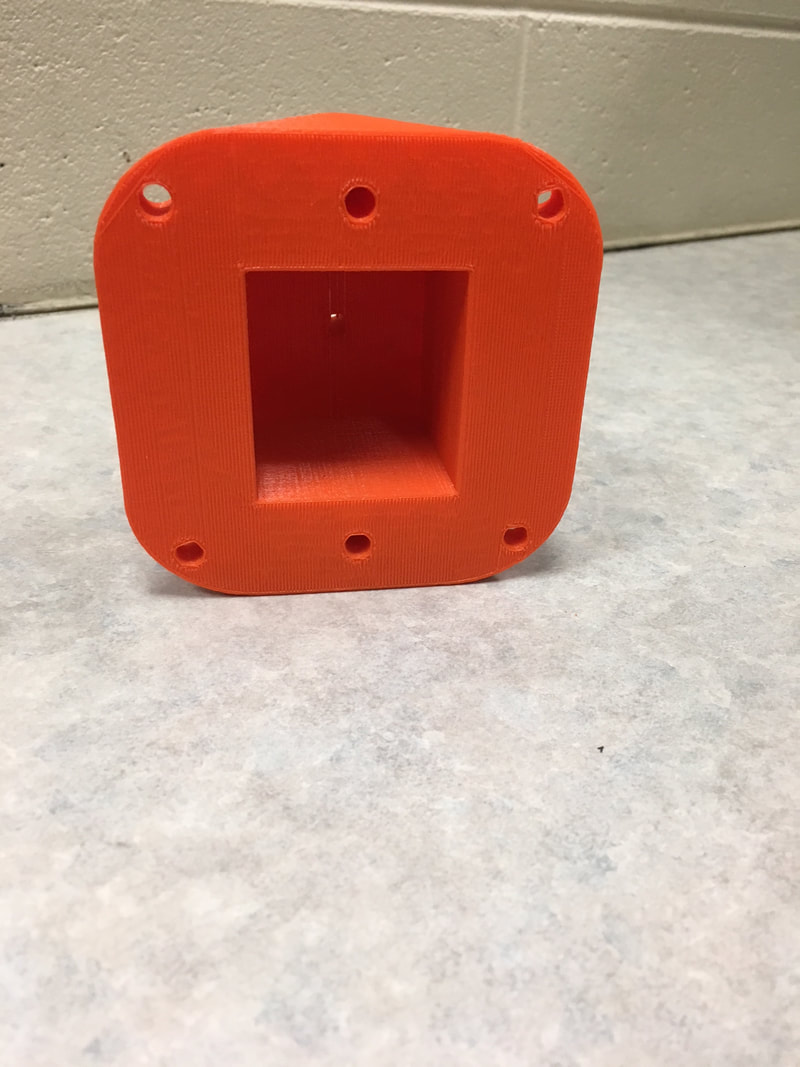
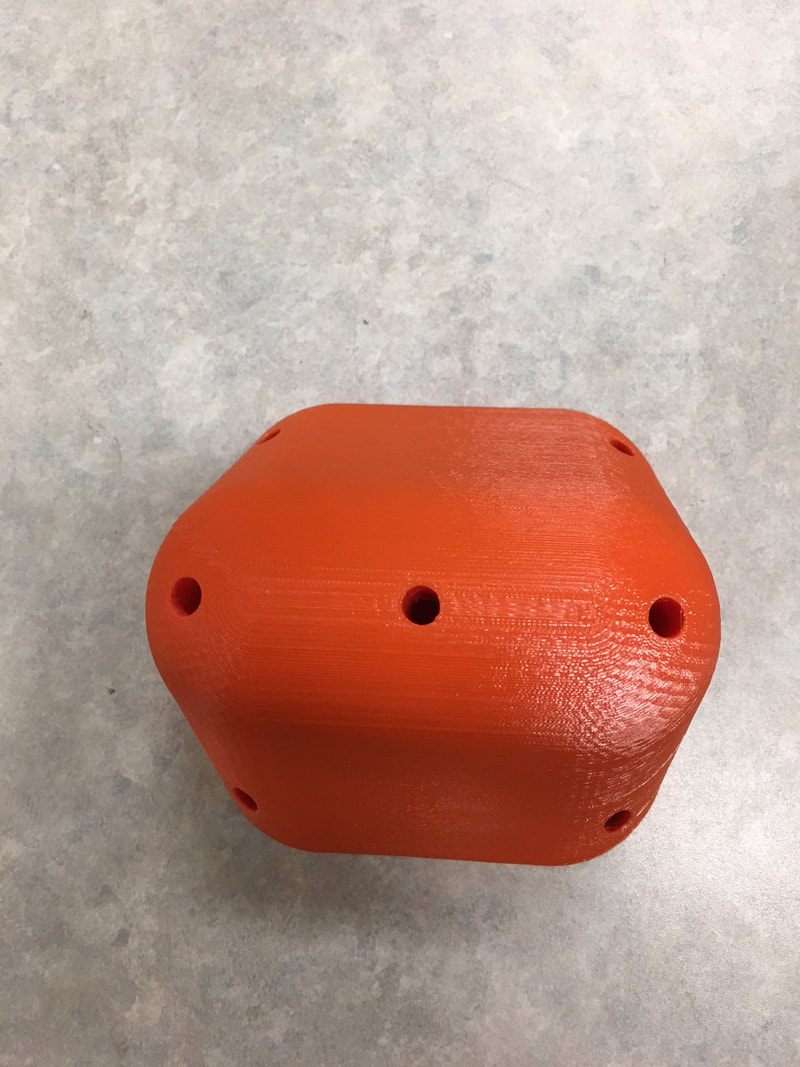
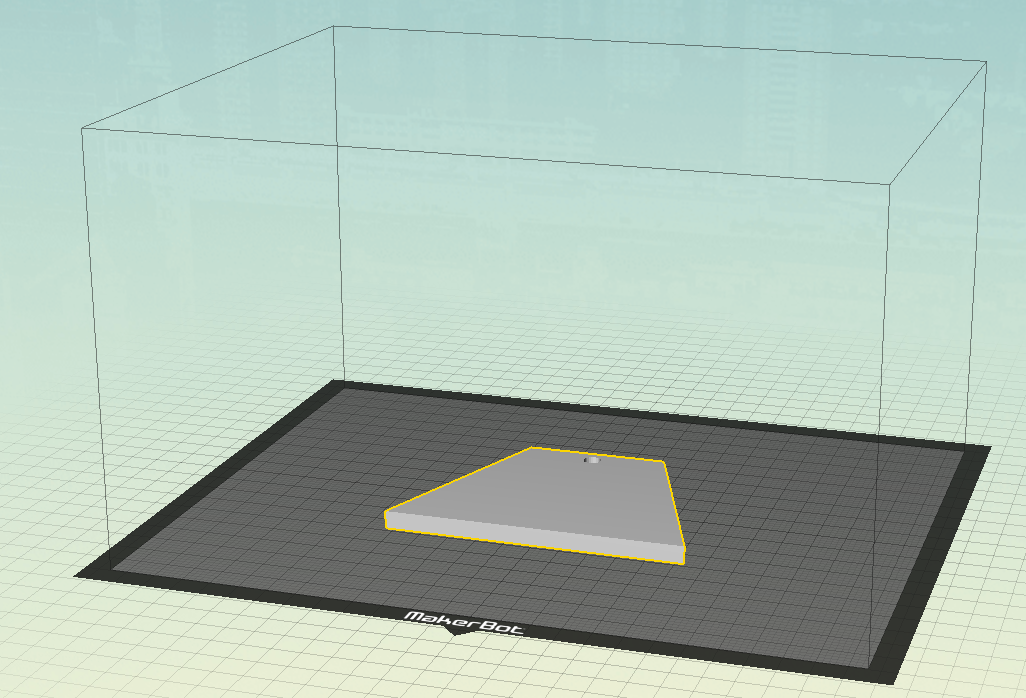
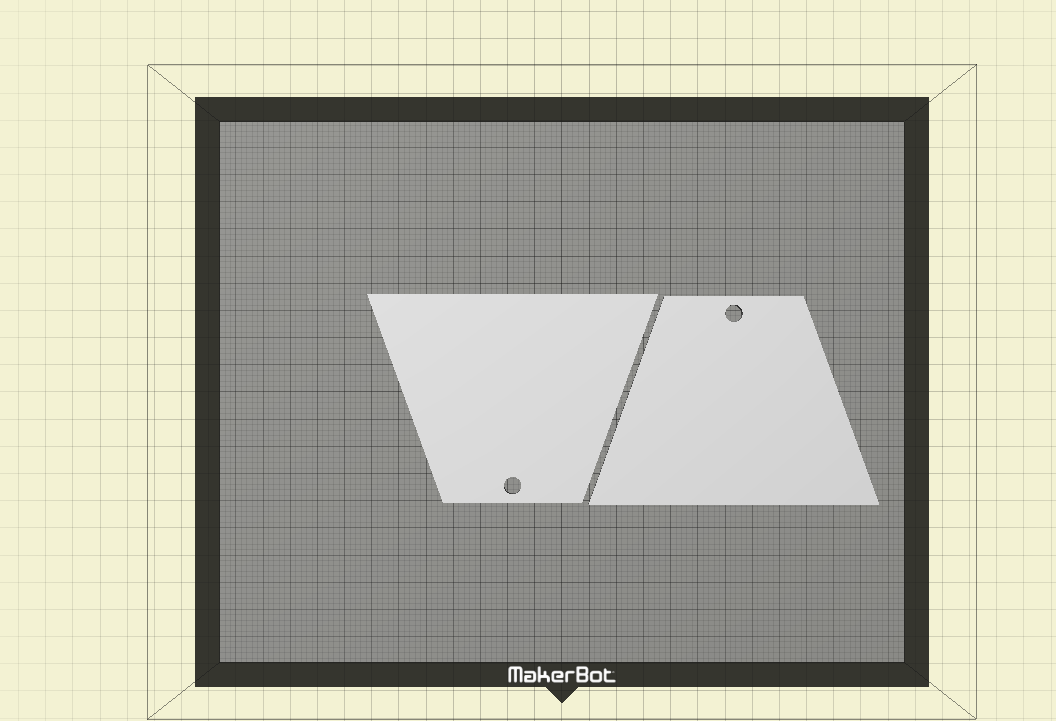
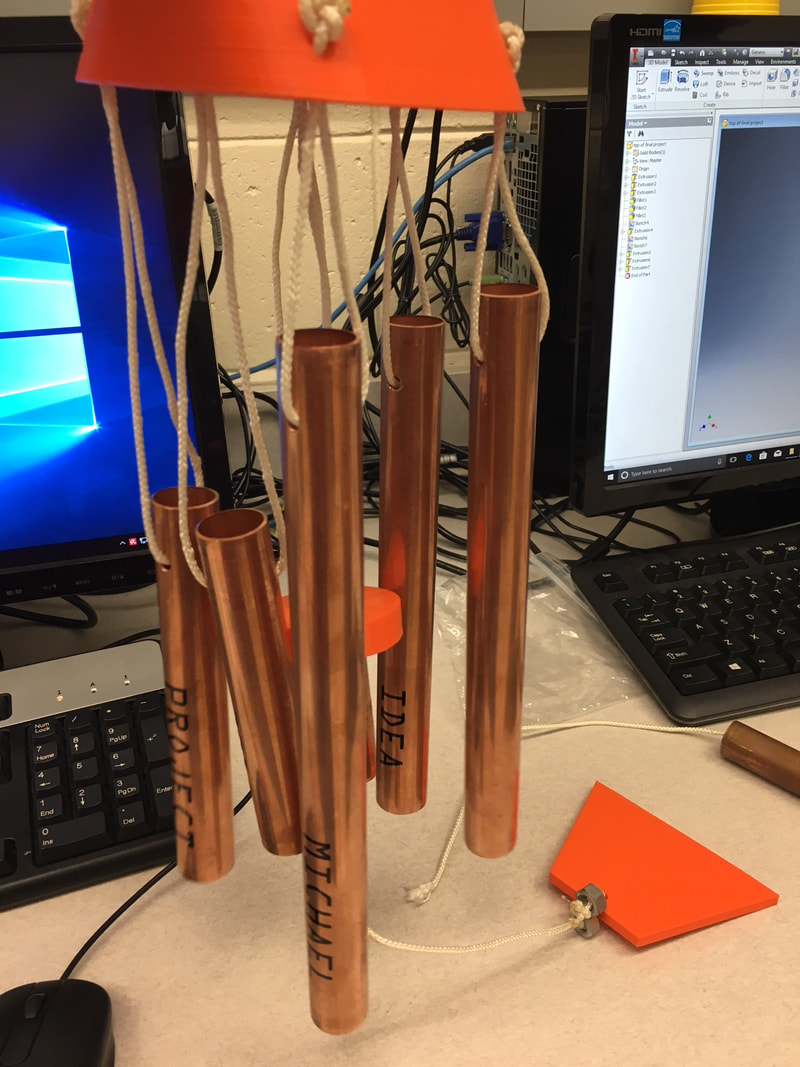
As stated before, the pieces of the chime that required 3D printing were the top, the wind catcher, and the clapper. The first piece that we created was the top of the chime. Brandon created a very unique top using Inventor and MaketBot. We decided on a trapezoid-shaped top, as it would give us plenty of space between the pipes and the clapper. The unique shaped top would also be sturdy enough to hold all six pipes, yet light enough to be help up by the string.
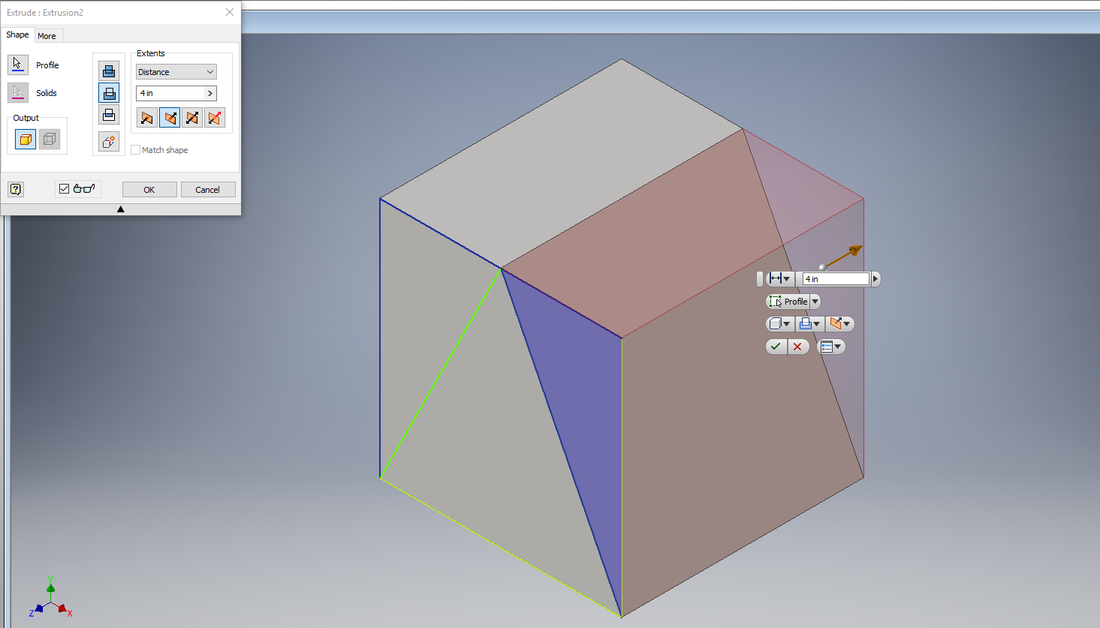
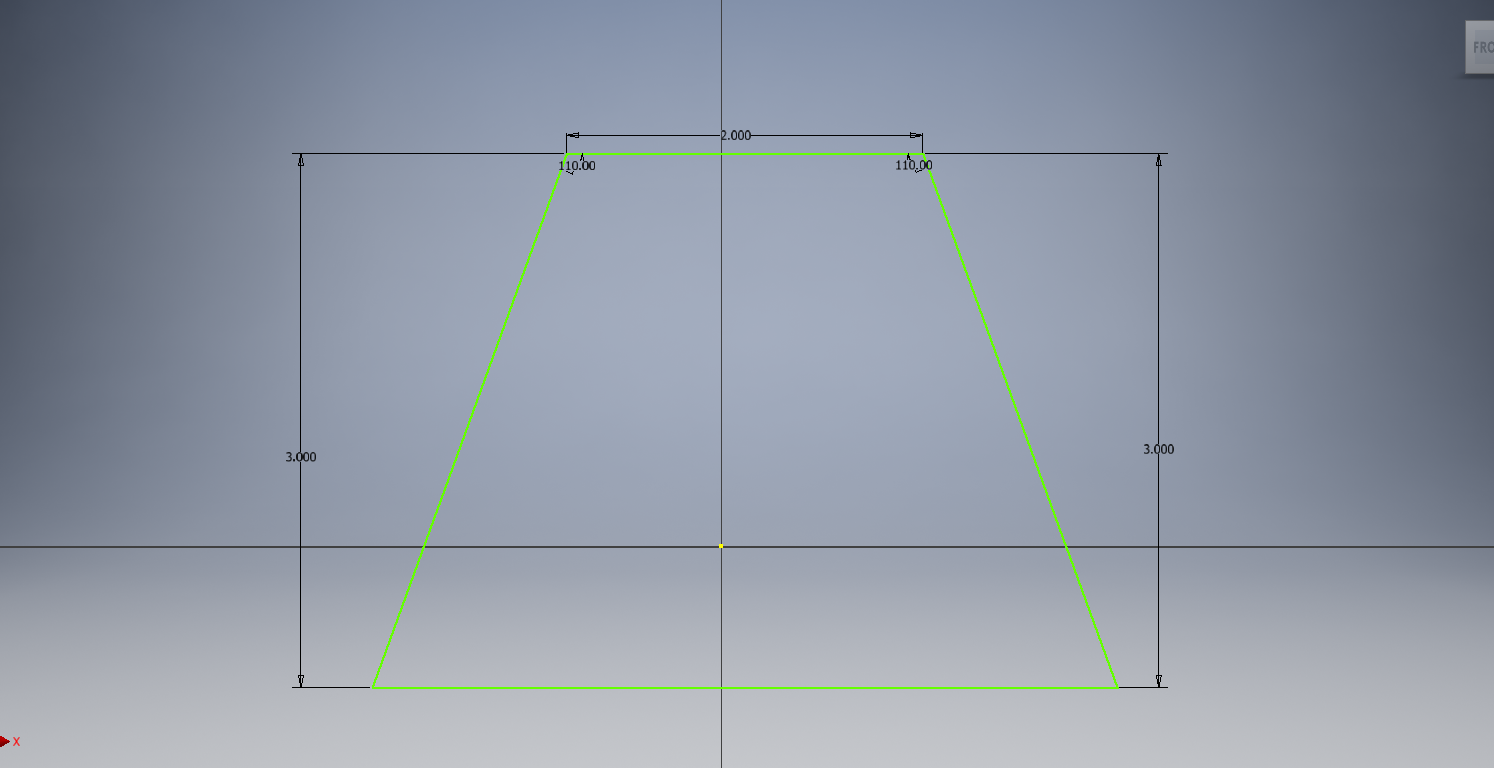
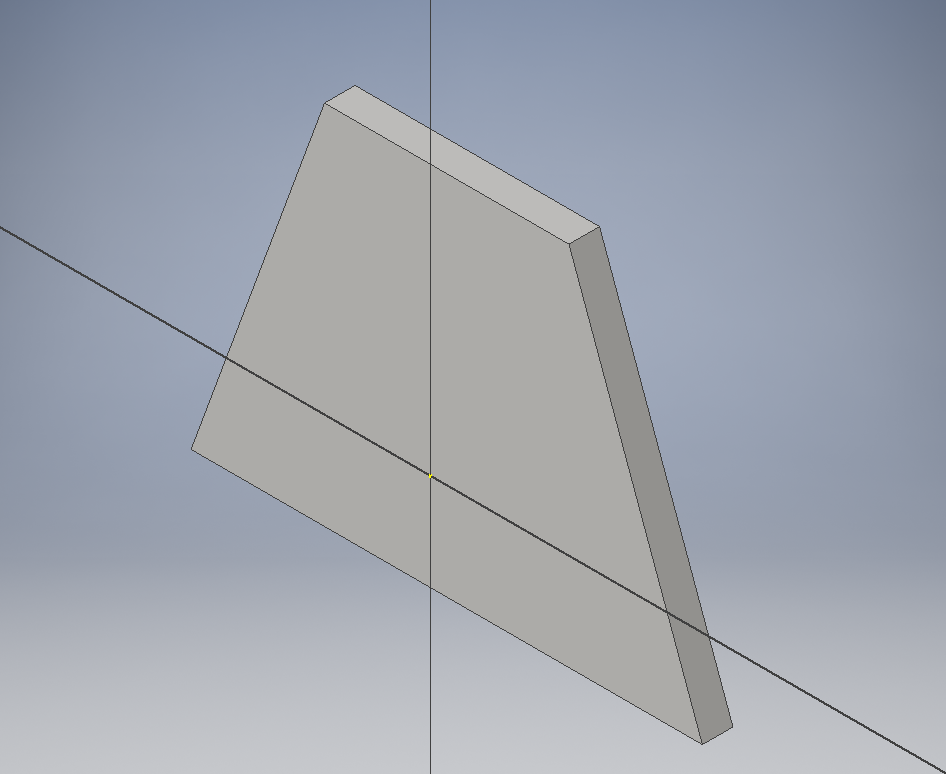
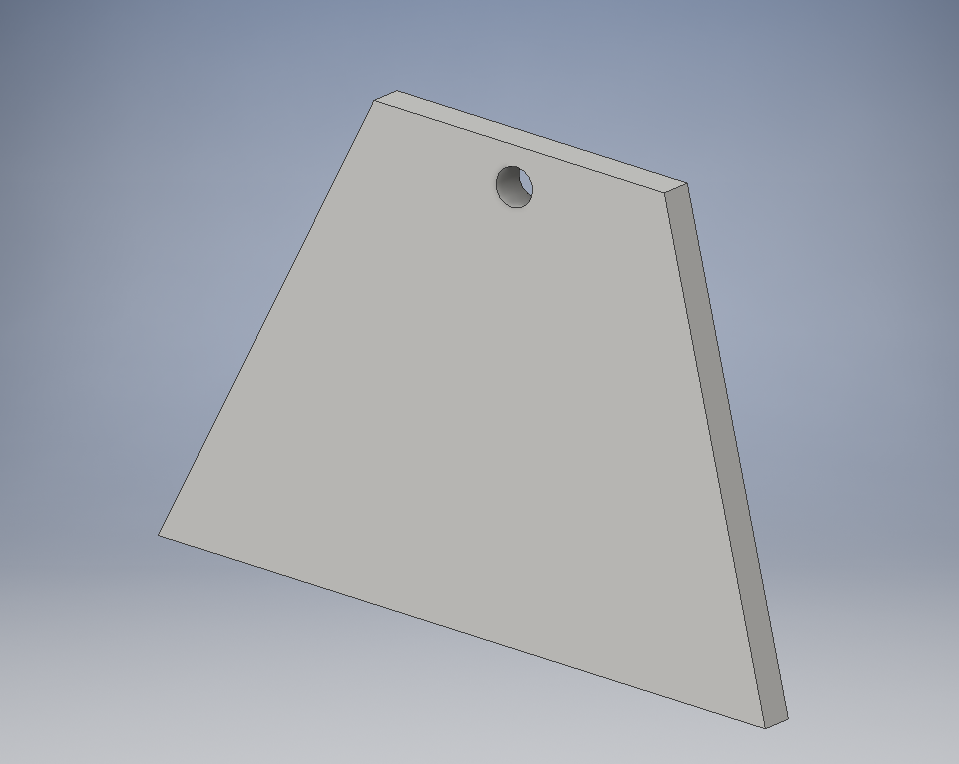
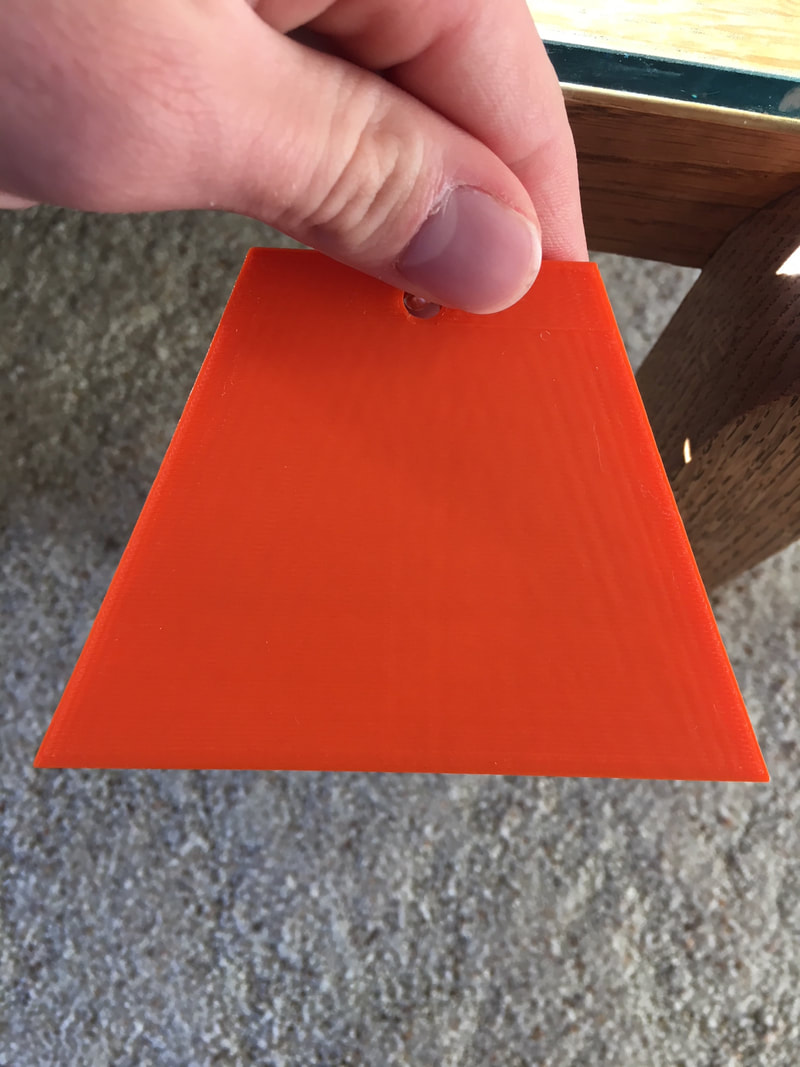
The next 3D print was the wind catcher--the trapezoid that hangs at the bottom of the main string. I created the wind catcher using Inventor. I simply created a trapezoid shape and dimensioned it to be four inches long on the bottom so it matched the length of the top of the catcher, and two inches on top to give it a trapezoidal shape. I extruded it 1/4 inch. Next, I put a 1/4 inch diameter hole, 1/4 inch down from the top of the catcher, so that the string would have plenty of space to fit into the catcher. I dimensioned the hole so that it was centered left and right (1 inch for the top and 2 inches for the bottom). I then took the file into MakerBot. I placed two of the same file in MakerBot--one for each chime. I had to scale the catchers x1000 to get it to the size that it was in Inventor. Finally, I printed the catcher.
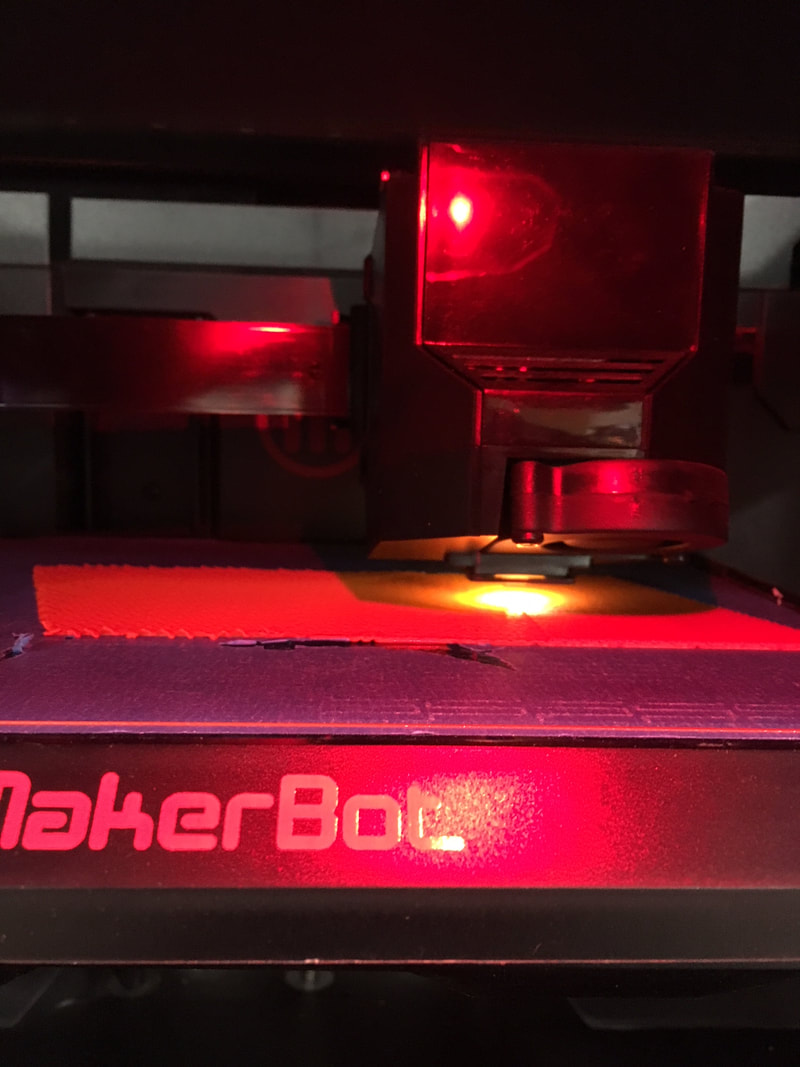
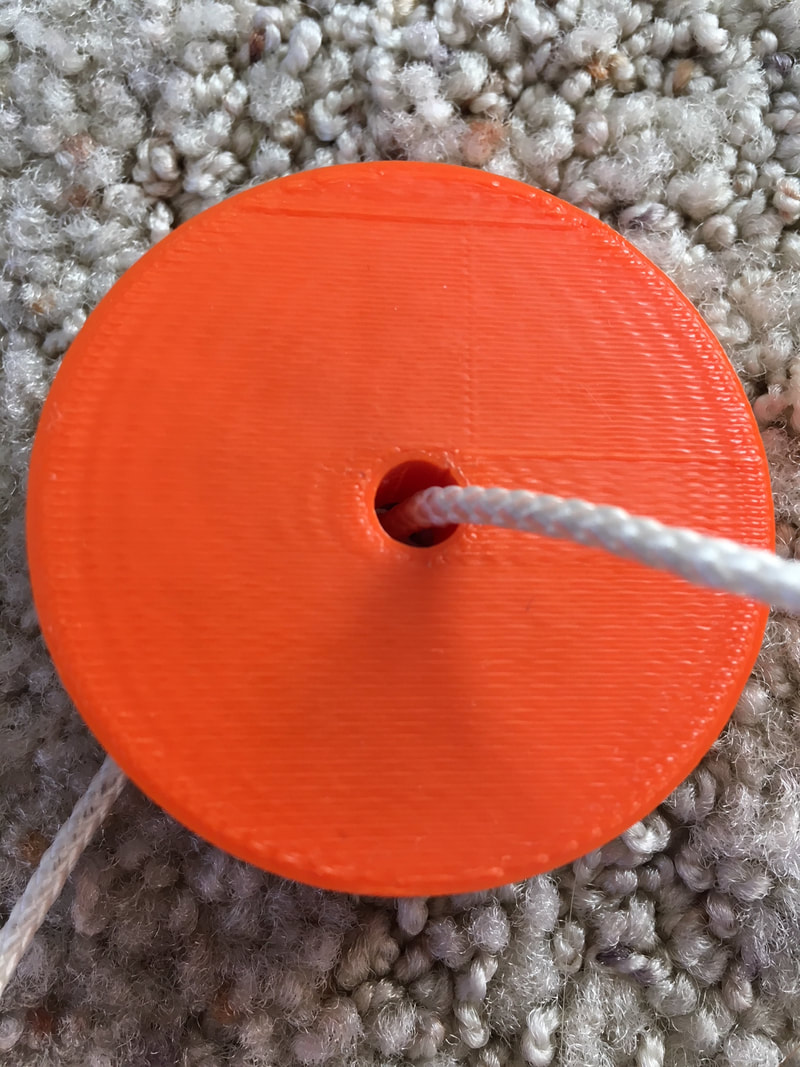
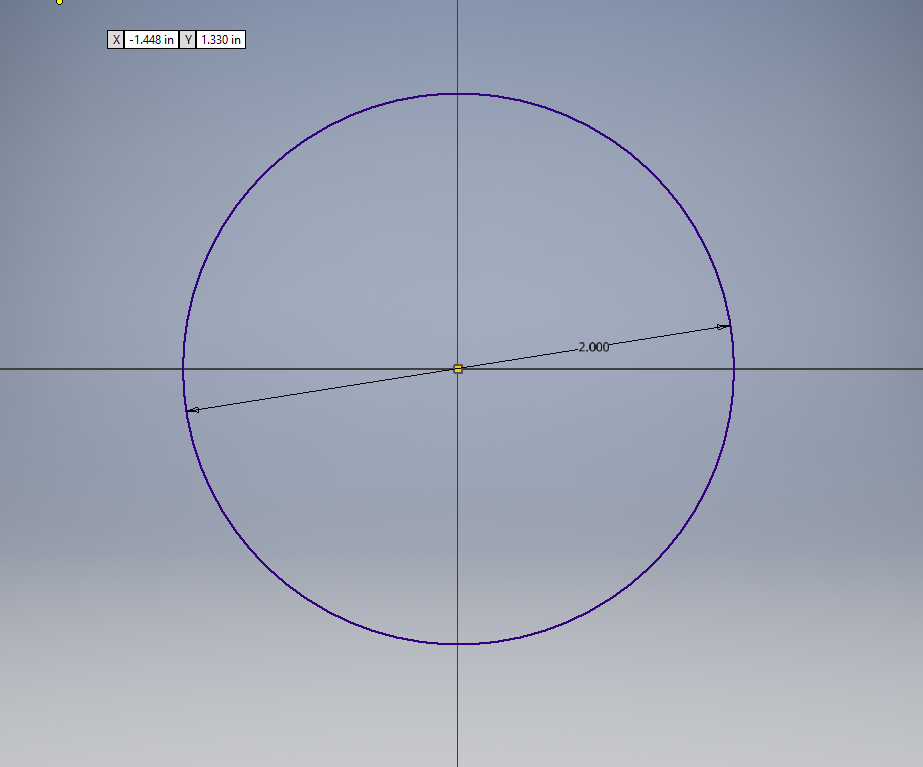
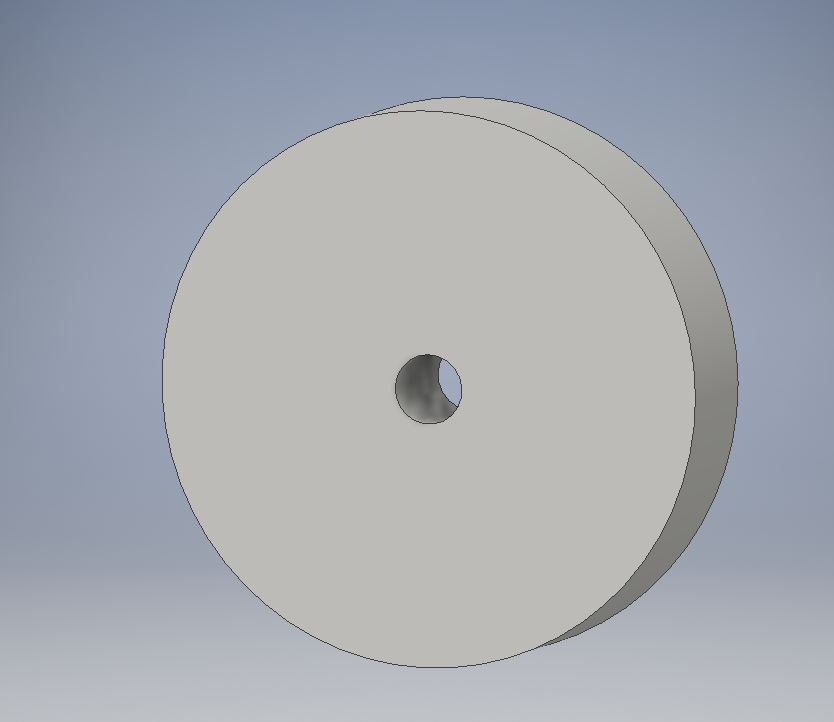
The final piece that needed to be 3D printed was the clapper. The clapper needed to be large enough to hit each pipe, but small enough that it fit between all of the pipes. We decided to make the clapper a circle with a radius of 2 inches, to match the size of the hollowed out part of the top of the chime. I created the clapper using Inventor. I sketched a circle with radius 2 inches and extruded it 1/2 inch. I then placed a 1/4 inch diameter hole in the center of the clapper so that the string would be able to fit through the center. I then used MakerBot to get the file ready for 3D printing. Finally, I printed the clapper, continuing the orange them for the chime.
Illustrator
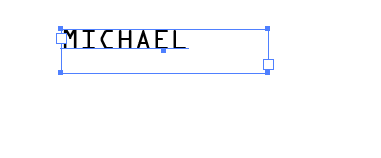
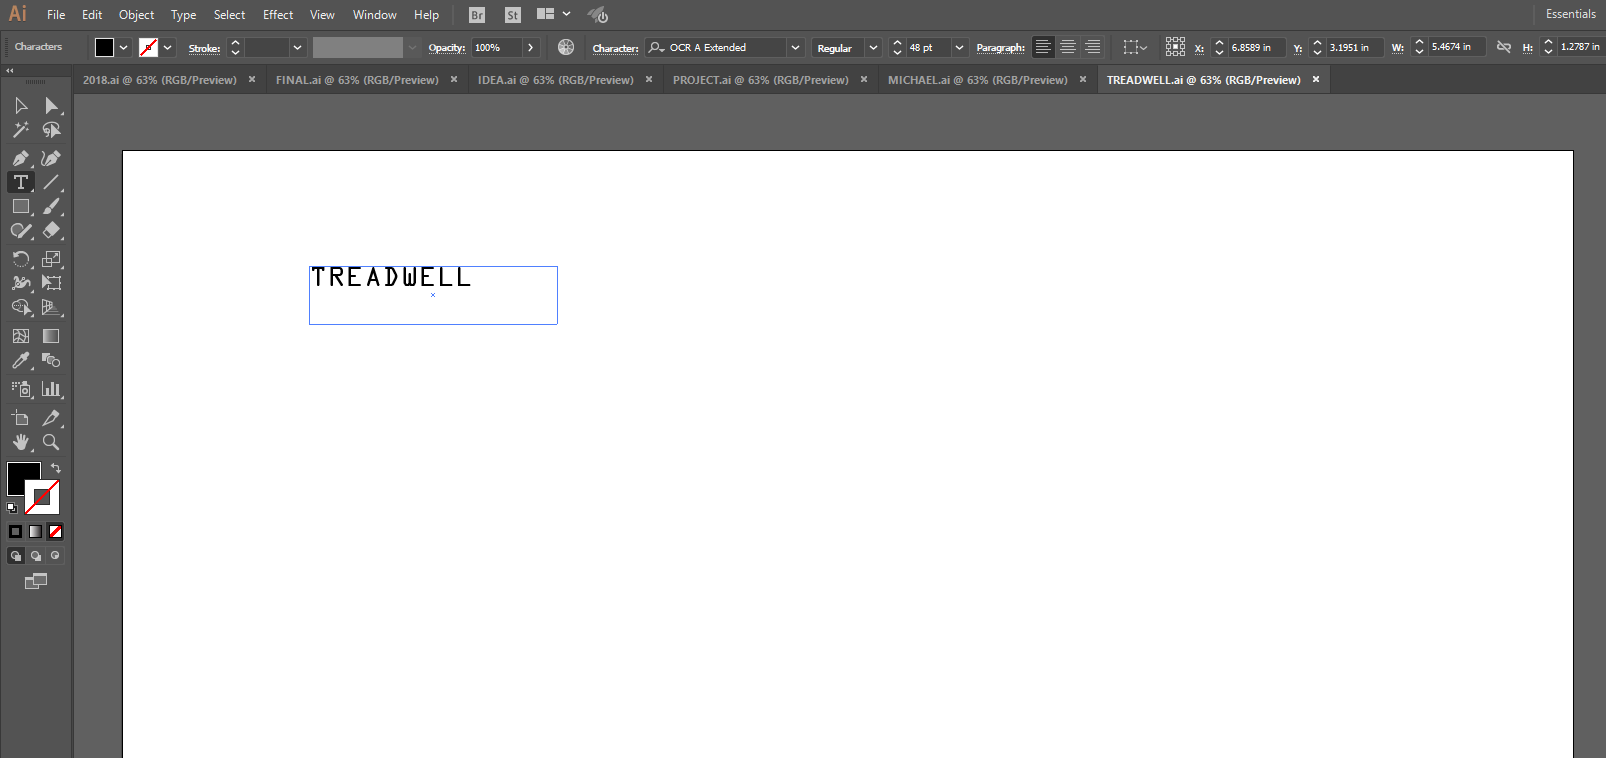
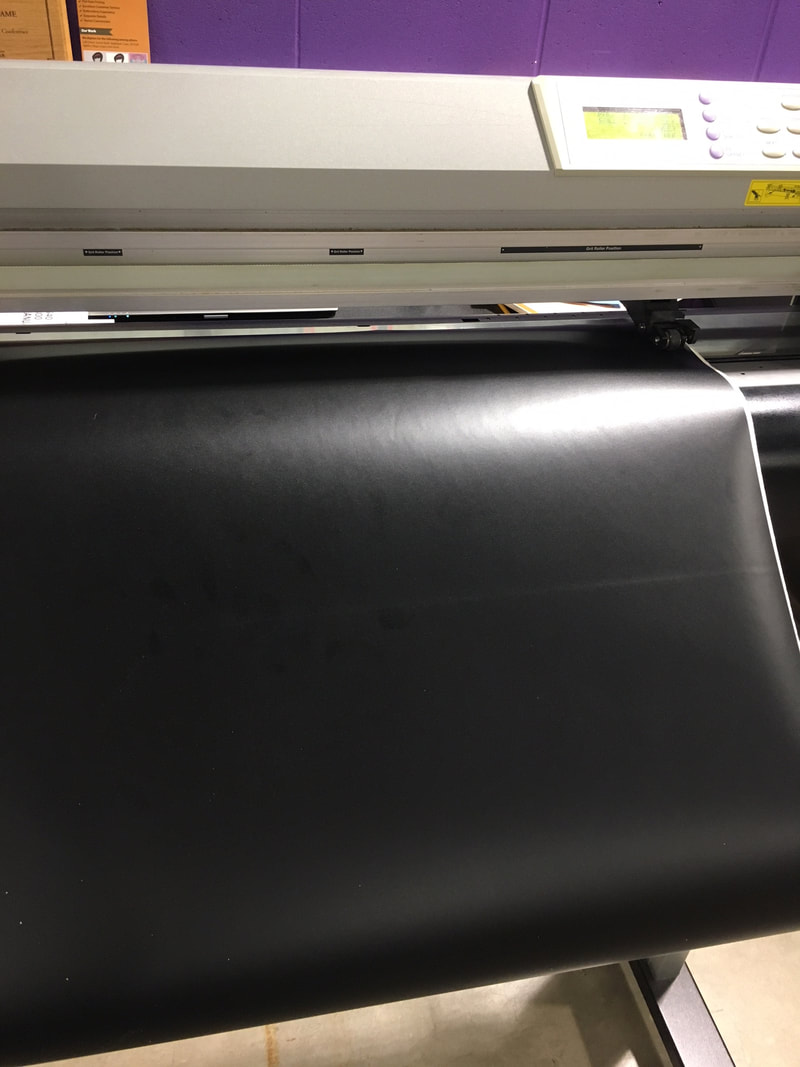
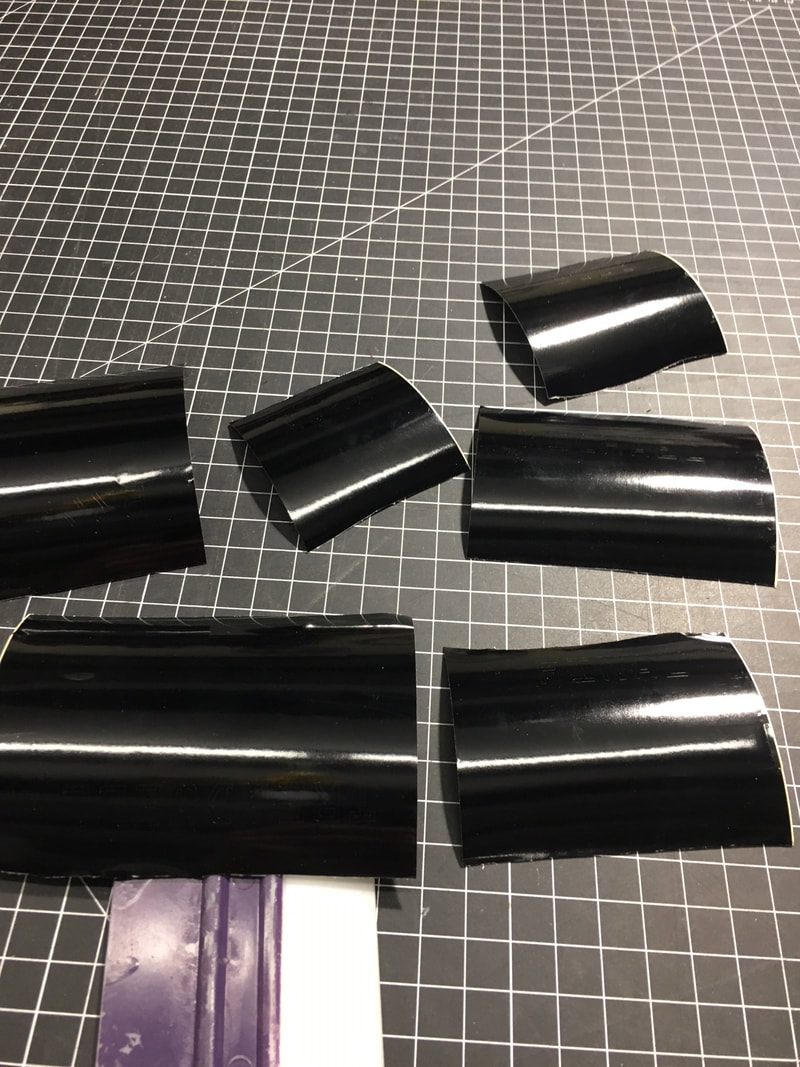
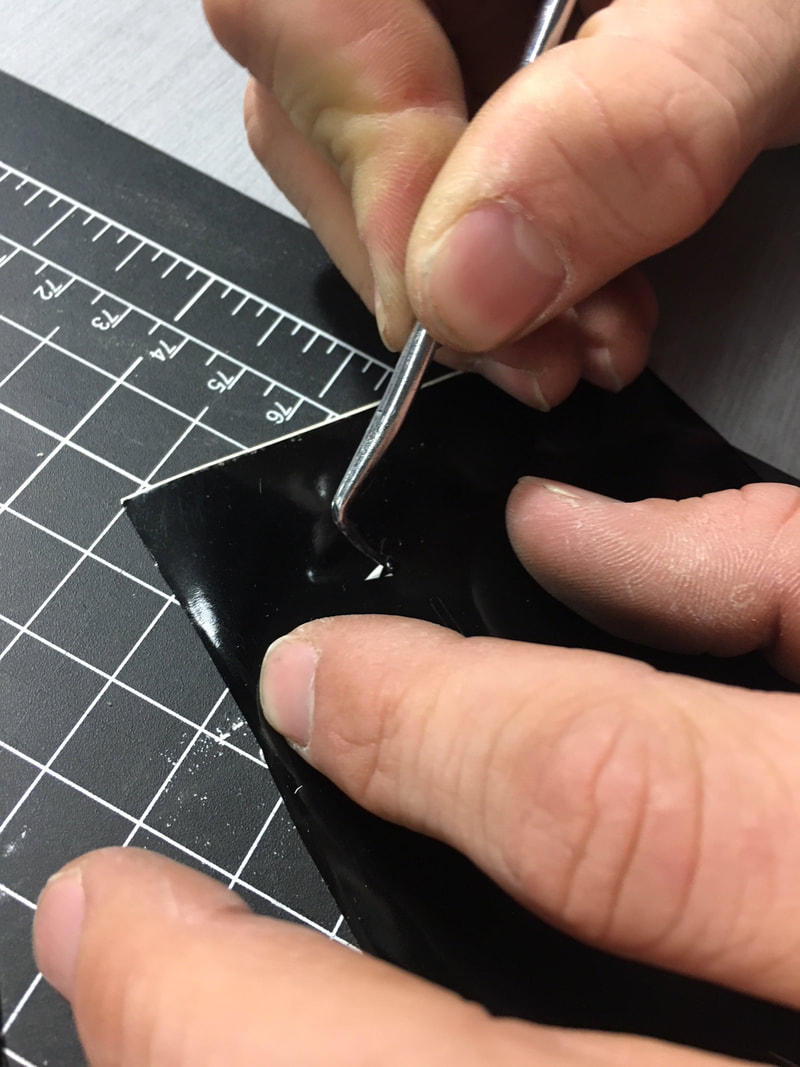
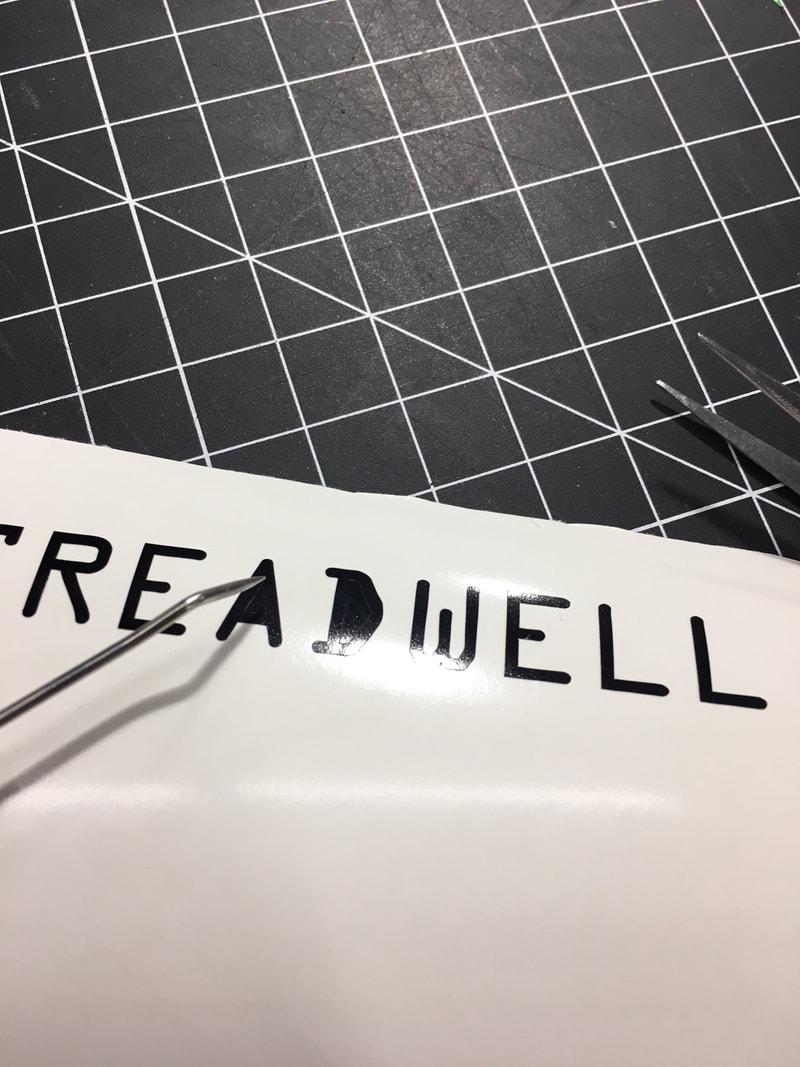
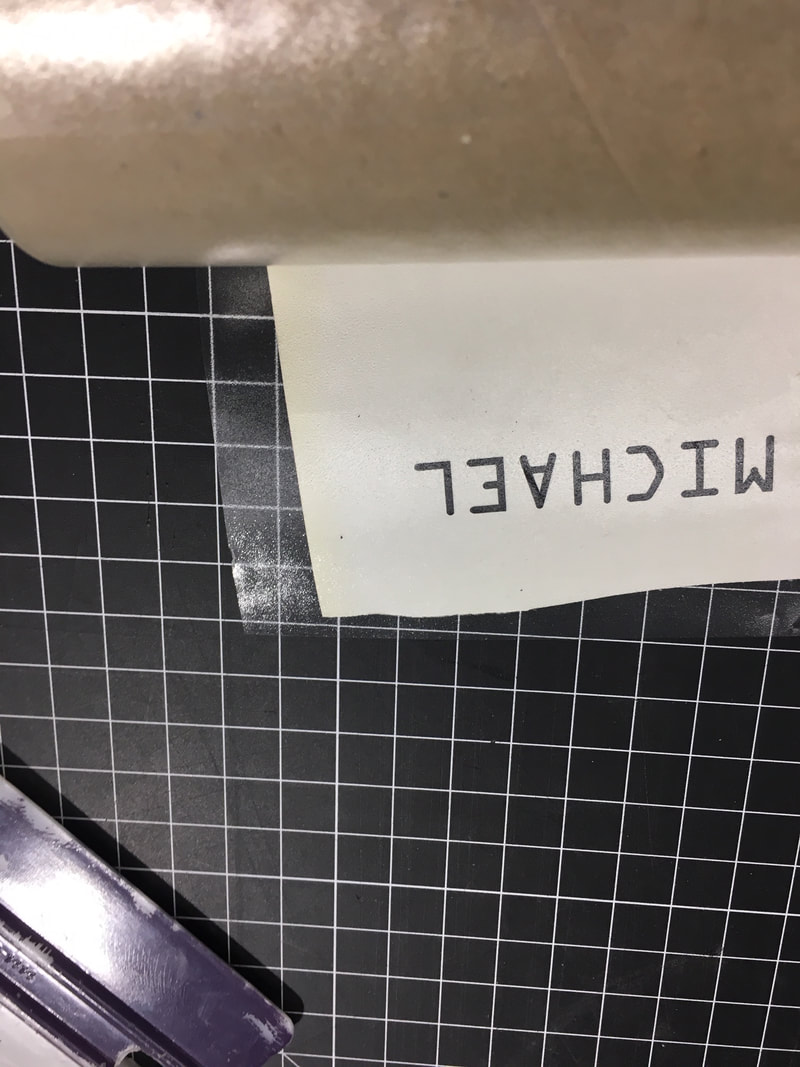
The customization of each chime was brought to life by Illustrator. Originally, we wanted to laser engrave each pipe, but our laser is not able to cut copper. Instead, we decided to use the vinyl cutter to put the words: IDEA, FINAL, PROJECT, 2018, MICHAEL (BRANDON), and TREADWELL (WAGNER) on the pipes. In Illustrator we used separate text boxes for each word. Brandon and I decided to use the font "OCR A Extended," because it matched the style that we were going for. We then made the font size 48 pt, as this would take up about a third of a pipe's circumference and would be large enough to read. We then took files down to the vinyl cutter. We decided to use black vinyl for the decals, so the words would be able to stand out against the copper color. We then cut the vinyl and proceeded to weed the decals. We went as far as placing the tape on the decals and paper backing, so that we could apply to decals during the assembly process.


Copper Piping
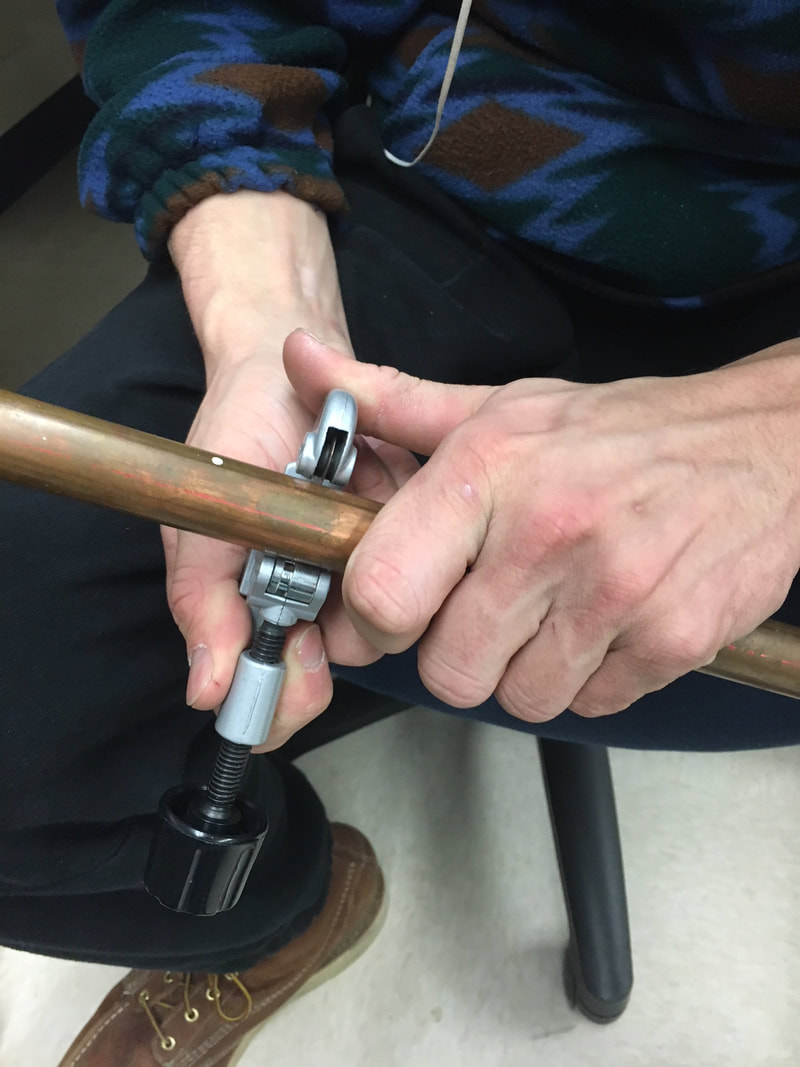
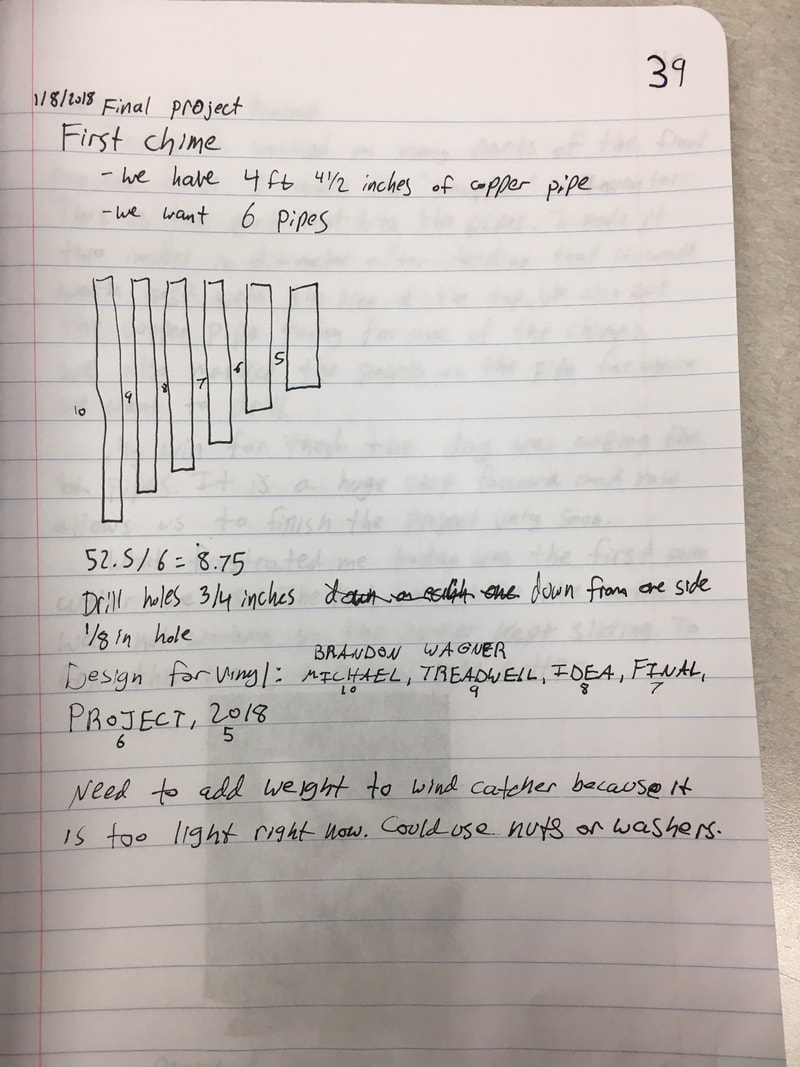
We chose to use copper piping, because Brandon had some sitting around his house. We had two pipes--both with lengths 52.5 inches. We decided to use 45 inches of each pipe, giving us some room for cutting error. The lengths of the pipes were: 10 inches, 9 inches, 8 inches, 7 inches, 6 inches, and 5 inches. We measured out each length and marked it on the pipe with a Sharpie. Then, we used a pipe/tubing cutter to cut each pipe on it's Sharpie mark. The final thing we did with the pipes was drill holes them for the string. We decided to drill a 1/8 inch hole since our string was the same diameter--giving the pipes and string a snug fit. We measured one inch down from one end of each pipe and marked the length with the Sharpie. Brandon then took the pipes to the metals lab and used the drill press to drill the holes.
Assembly
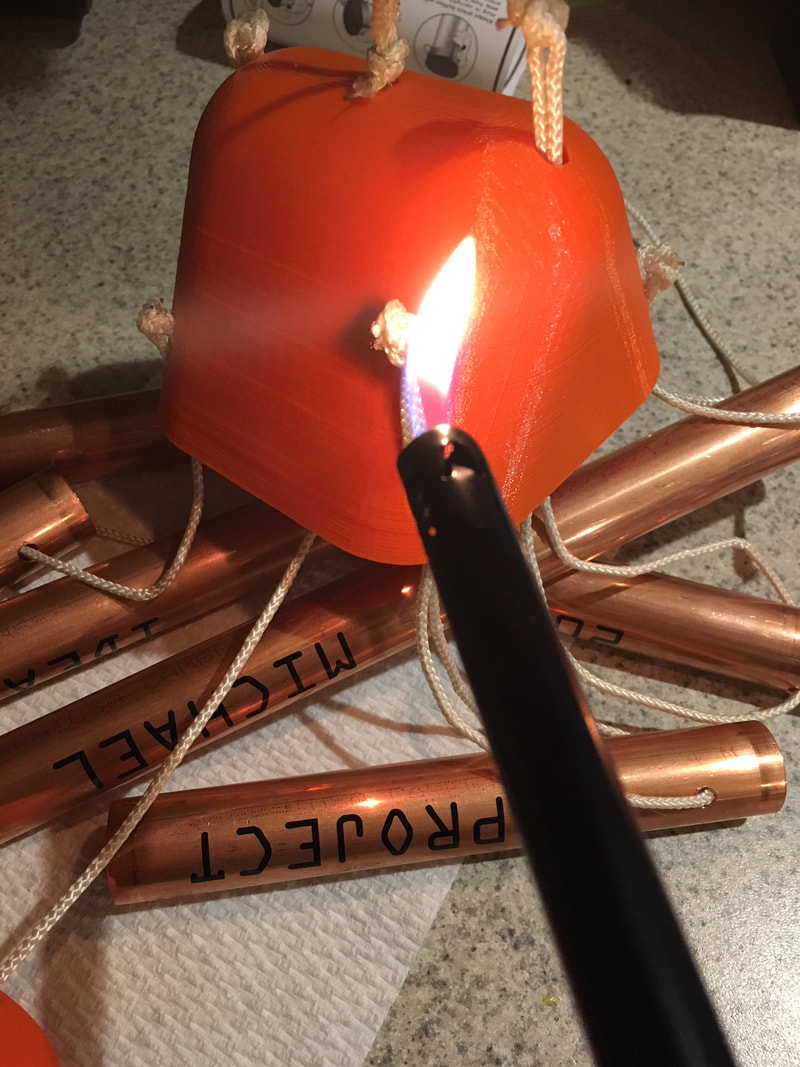
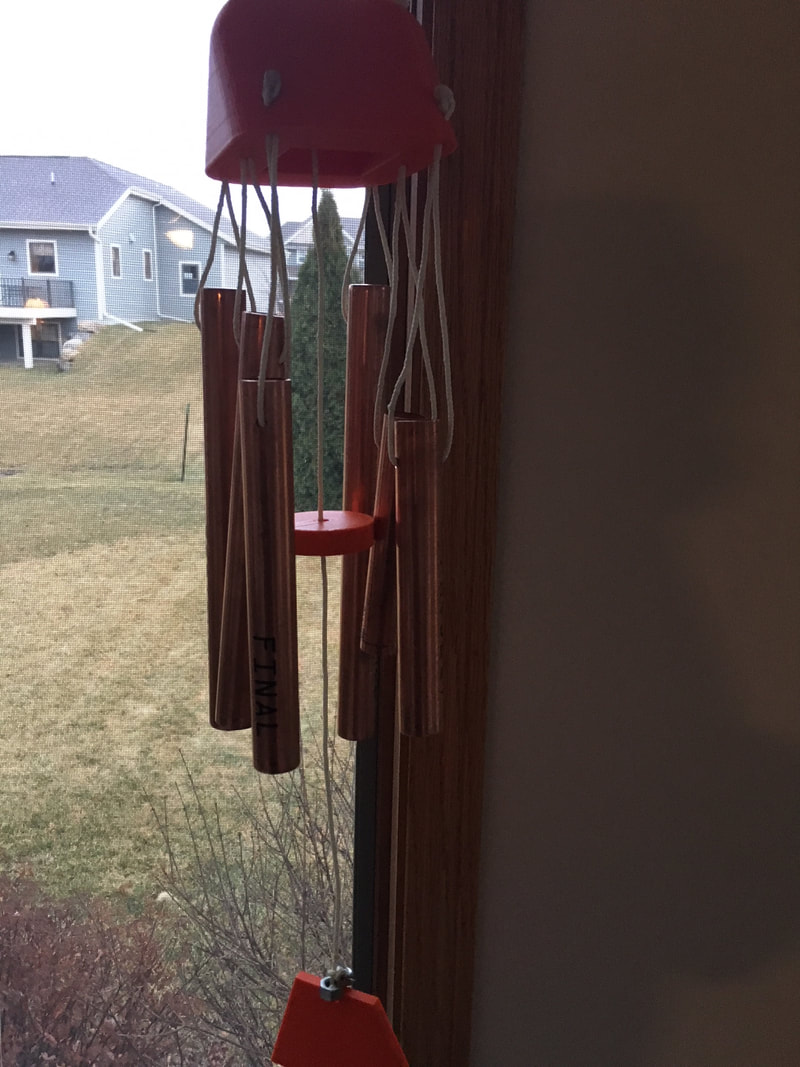
The first step in assembling the wind chime was to place the decals on the pipes. First names went on the 10 inch pipe, last names on the 9 inch pipe, IDEA on the 8 inch pipe, FINAL on the 7 inch pipe, PROJECT on the 6 inch pipe, and 2018 on the 5 inch pipe. The last letter/number of each decal was placed one inch up from the bottom of the pipe. The next step was to attach the pipes to the 3D printed top. The string was fed through the top of the hole in the 3D top then strung through the pipe with the vinyl side pointing out from the middle. The string was then fed back up through the hole in the 3D top and ends were tied together. The strings varied in length, with the longer pipes having shorter string and vise versa. This was done so that the clapper would be able to hit near the middle of each pipe and make it the sound resonate the best that it could. The pipes were put on going in order of length, and in a counterclockwise direction. This was done so that the words would also be in the correct order. The next step was to attach the wind catcher and clapper, and make the loop at the top. I first tied a loop on one end of the string and string through the top hole until the loop was touching the top of the 3D top. I then made a knot in the string at the bottom of the hole, so that the string would not slide through the hole. Next, I strung the 3D printed clapper onto the string. I lined the clapper up with the pipes so that it was in the middle of each pipe. I then tied a knot directly beneath the clapper to keep it from sliding below the middle of each pipe. The final thing that needed to be attached was the wind catcher. We chose to tie the wind catcher one foot beneath the clapper. Because the wind catcher was light, we decided to tie two metal nuts to it. Doing this weighed down the catcher, putting tension on the string and allowing the clapper to hit the pipes harder. I put the string through one nut, then through the hole in the wind catcher, then through the other nut. I then tied the string back to the long string. After everything was strung together, I cut the excess string down closer to each knot. I then burned the knots with a lighter, hardening the strings to make sure they stay together. Finally, I hung the wind chime up on a hook next to a window in my house.
What Did We Learn?
Throughout the process of creating this wind chime we were able enhance our skills in Inventor and Illustrator. I learned that copper could not be laser engraved in our laser, because it is a metal. This taught me to problem solve by using the vinyl cutter instead of the laser. Also, I learned how to use a rotational pipe cutter. I had never used one before and learned how easy they are to use. The final thing that I learned while completing this project was how easy it is to reuse simple things. We took two commonly thrown away materials and reused them to make a neat, working wind chime.
